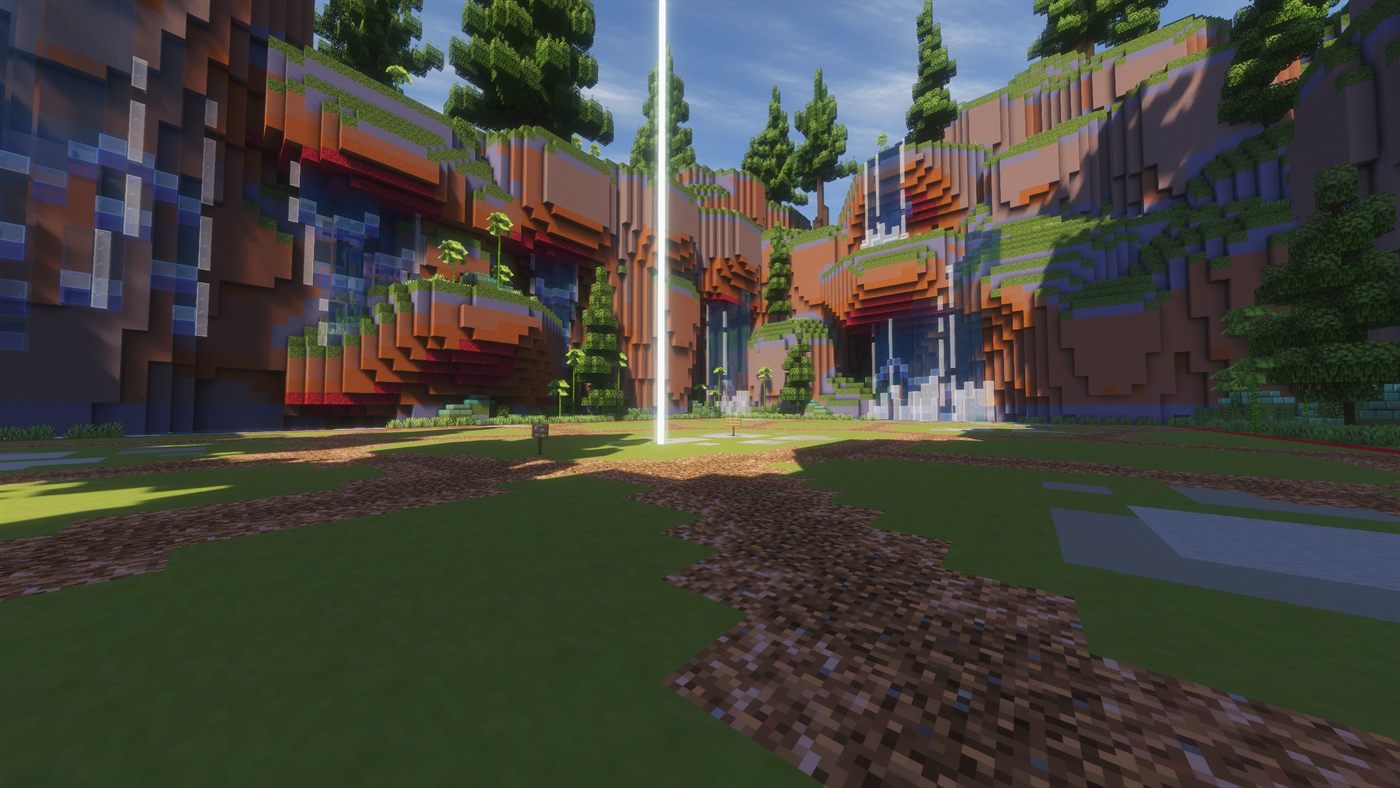
Official server knowledge base

RageMines Wiki

The official guide to RageMines worlds, systems, events, features, and progression—all in one place.

13 world entries 4 server events Always expanding Credit
Quick answers

Frequently Asked Questions

A clean home for the questions players ask most often.

How do I get started?

New to RageMines?

Our Getting Started guide walks you through everything you need to know, including your first tools, important commands, progression, PvP, bosses, and how to reach your second world.

How do I complete the Overworld?

If you're unsure how to progress through the Overworld, we've prepared a complete step-by-step video guide covering everything from your first Cohesive to defeating the Reinforced Golem and getting your first Overworld item.

How do I make money?

There are many ways to earn money on RageMines. Some of the most common methods include:

  • Link your Discord account using /discordlink and use the server tag to receive hourly rewards.
  • Claim your Daily Milestones using /dms.
  • Trade Beacons obtained throughout your progression.
  • Vote for the server to receive rewards.
  • Use /order to sell valuable items to other players.
  • Sell items on the Auction House using /ah.
  • Participate in events like Boat Races, Spleef, and King of the Hill (KOTH).
  • Join Chat Games for free rewards.
  • Trade directly with other players.
  • Purchase and open Crates, located on the left side of Spawn.
New player guide

Getting Started

This guide covers the RageMines basics: where to go first, how progression works, and what to do after finishing Overworld.

7 steps
Wood Mine Pickaxe Progression Overworld Trade Reinforced Golem Cave
02
Quick access

Useful Early Commands

These commands cover food, useful items, PvP settings, and asking other players for help.

/miscUtility

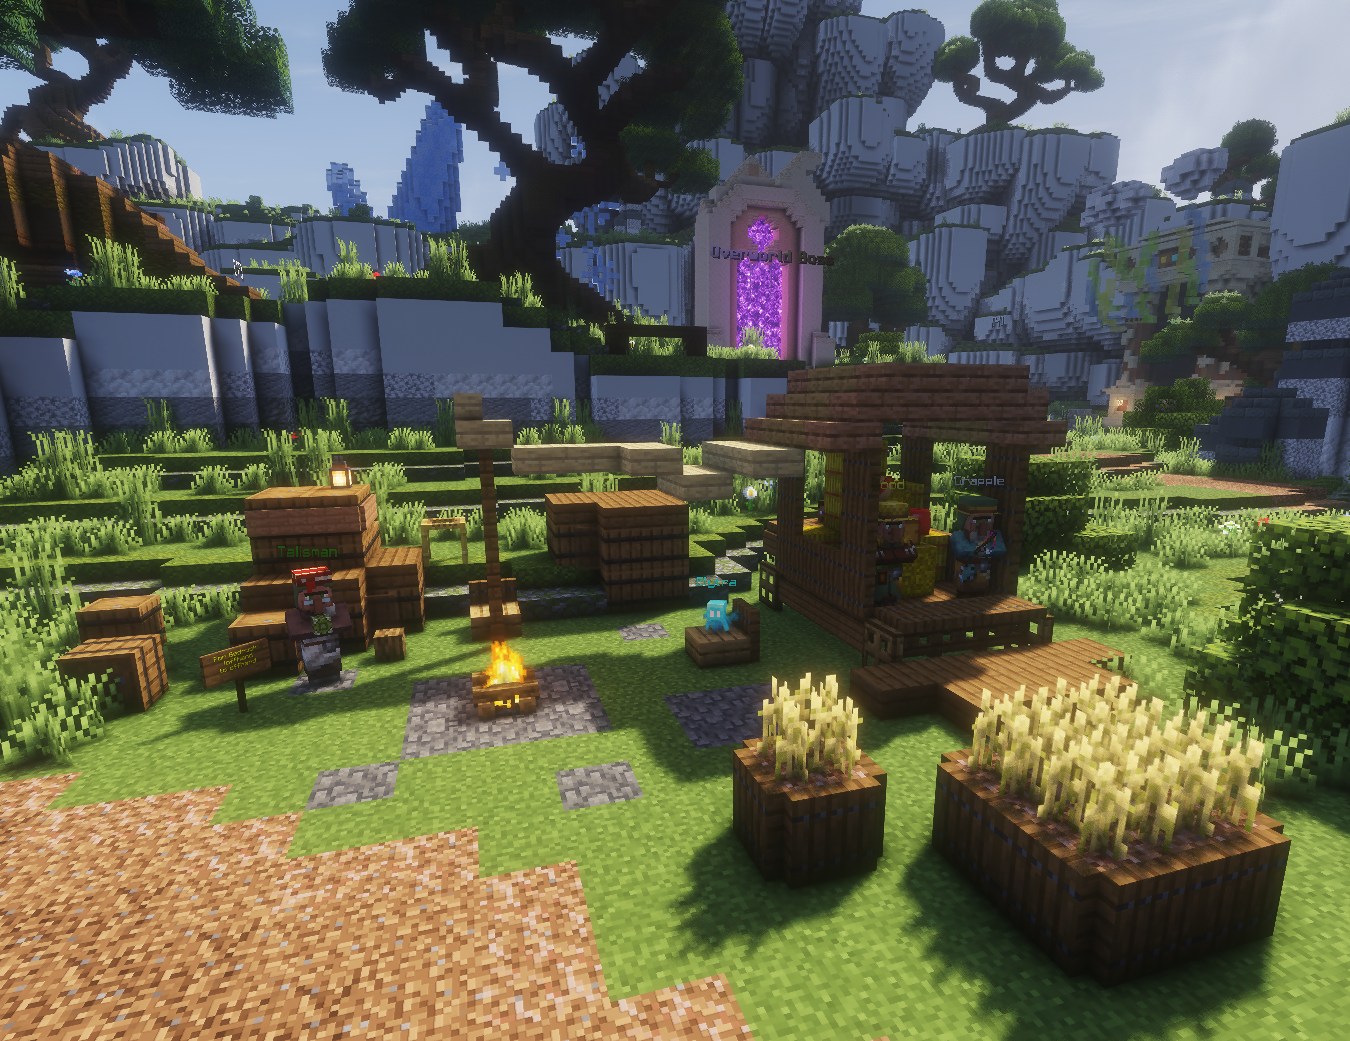
Use /misc if you run out of food. This area is also where you can get an Elytra and find the Talisman.

Using the Talisman

The Talisman gives a strong buff to speed, damage, and health. It must be placed in your offhand to work.

Java Use your assigned offhand key Bedrock Use /offhand
The RageMines miscellaneous area with food and utility NPCs
The /misc area
/pvpRisk & reward

Use /pvp to turn PvP on or off. With PvP enabled, you receive 2× Fortune on everything you mine, making progression faster.

/orderPlayer help

Use /order to ask for help or place an order for an item you need. If you are confused, you can also ask the community directly in chat.

03
Core progression

Understanding Mines

Pickaxe Mines

Most mines use your pickaxe. It is your main progression tool, so expect to upgrade and rely on it throughout the server.

Tool Mines

Around one or two mines use another tool. These mines are generally harder than the pickaxe mines.

04
After the last mine

Finishing Overworld

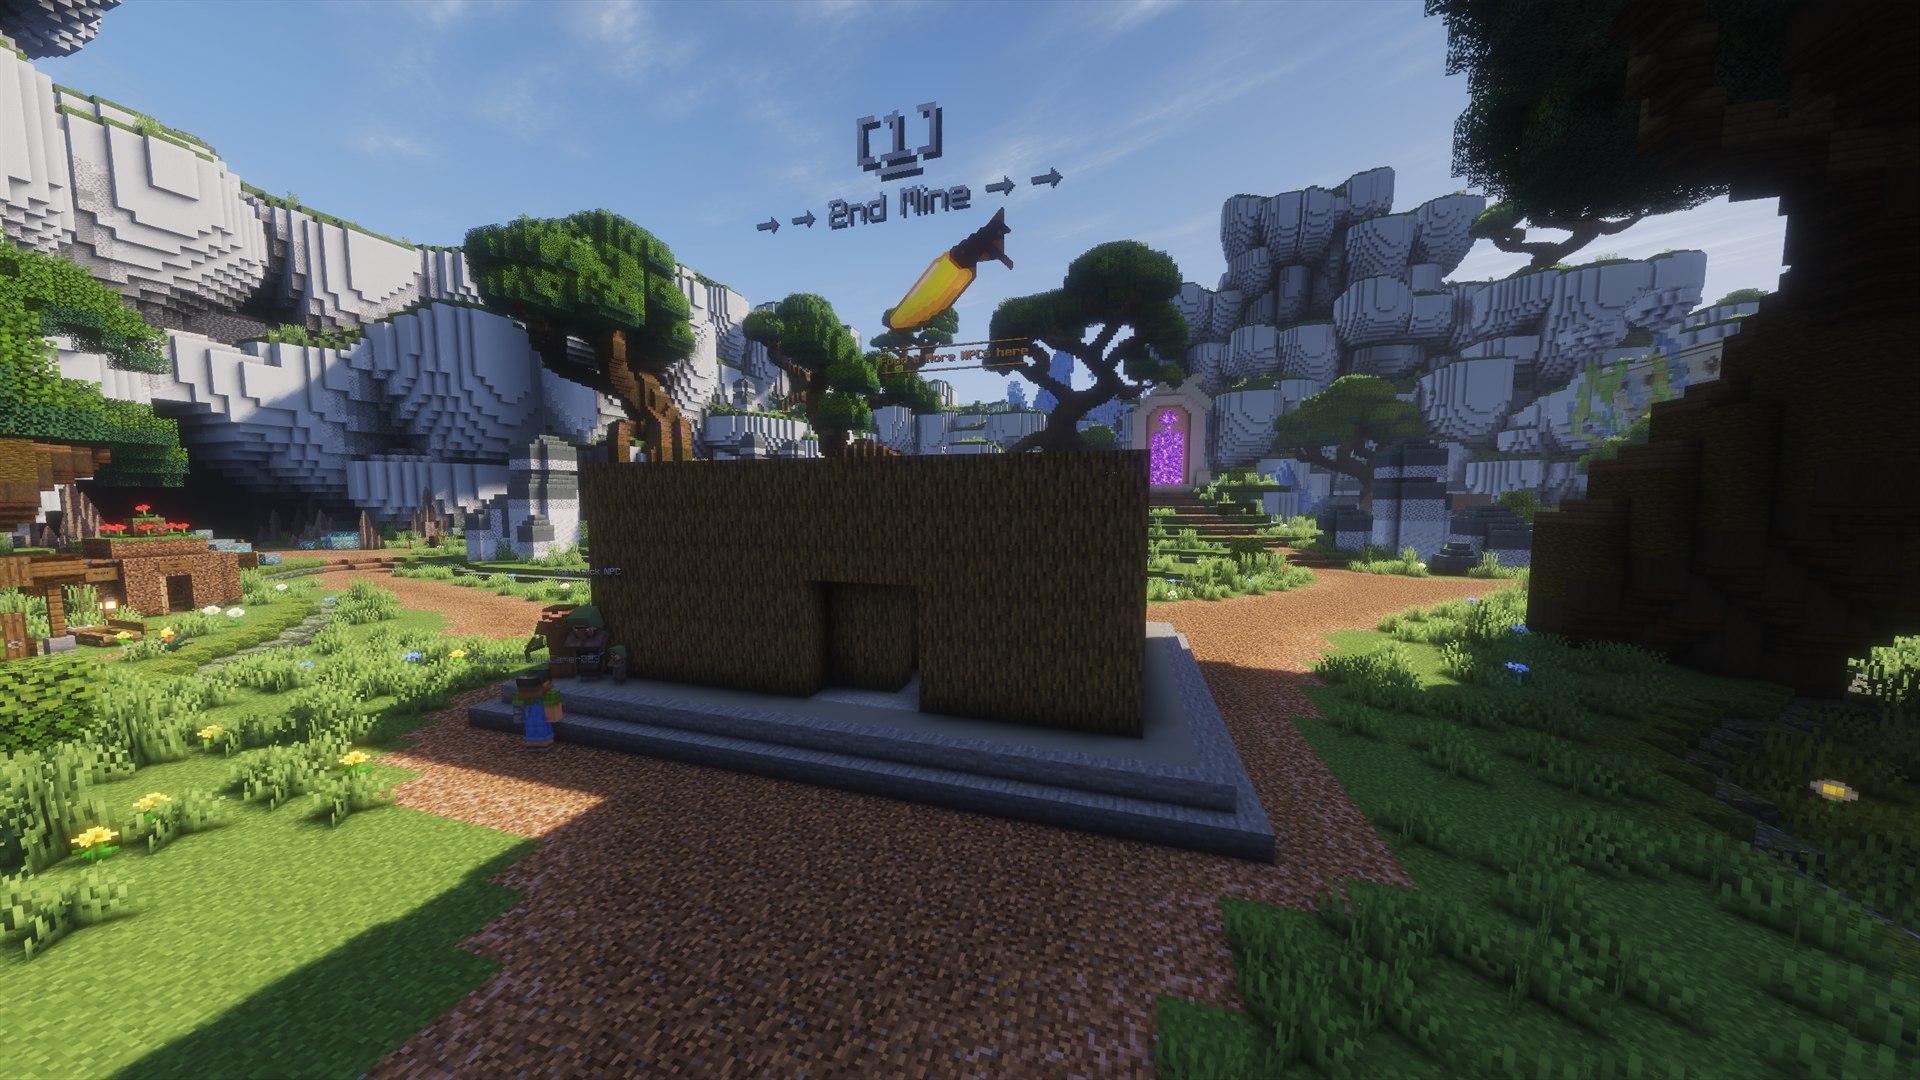
After reaching the last Overworld mine, your next goal is the Overworld boss.

  • The boss area is in the middle of Overworld, behind the wood mine.
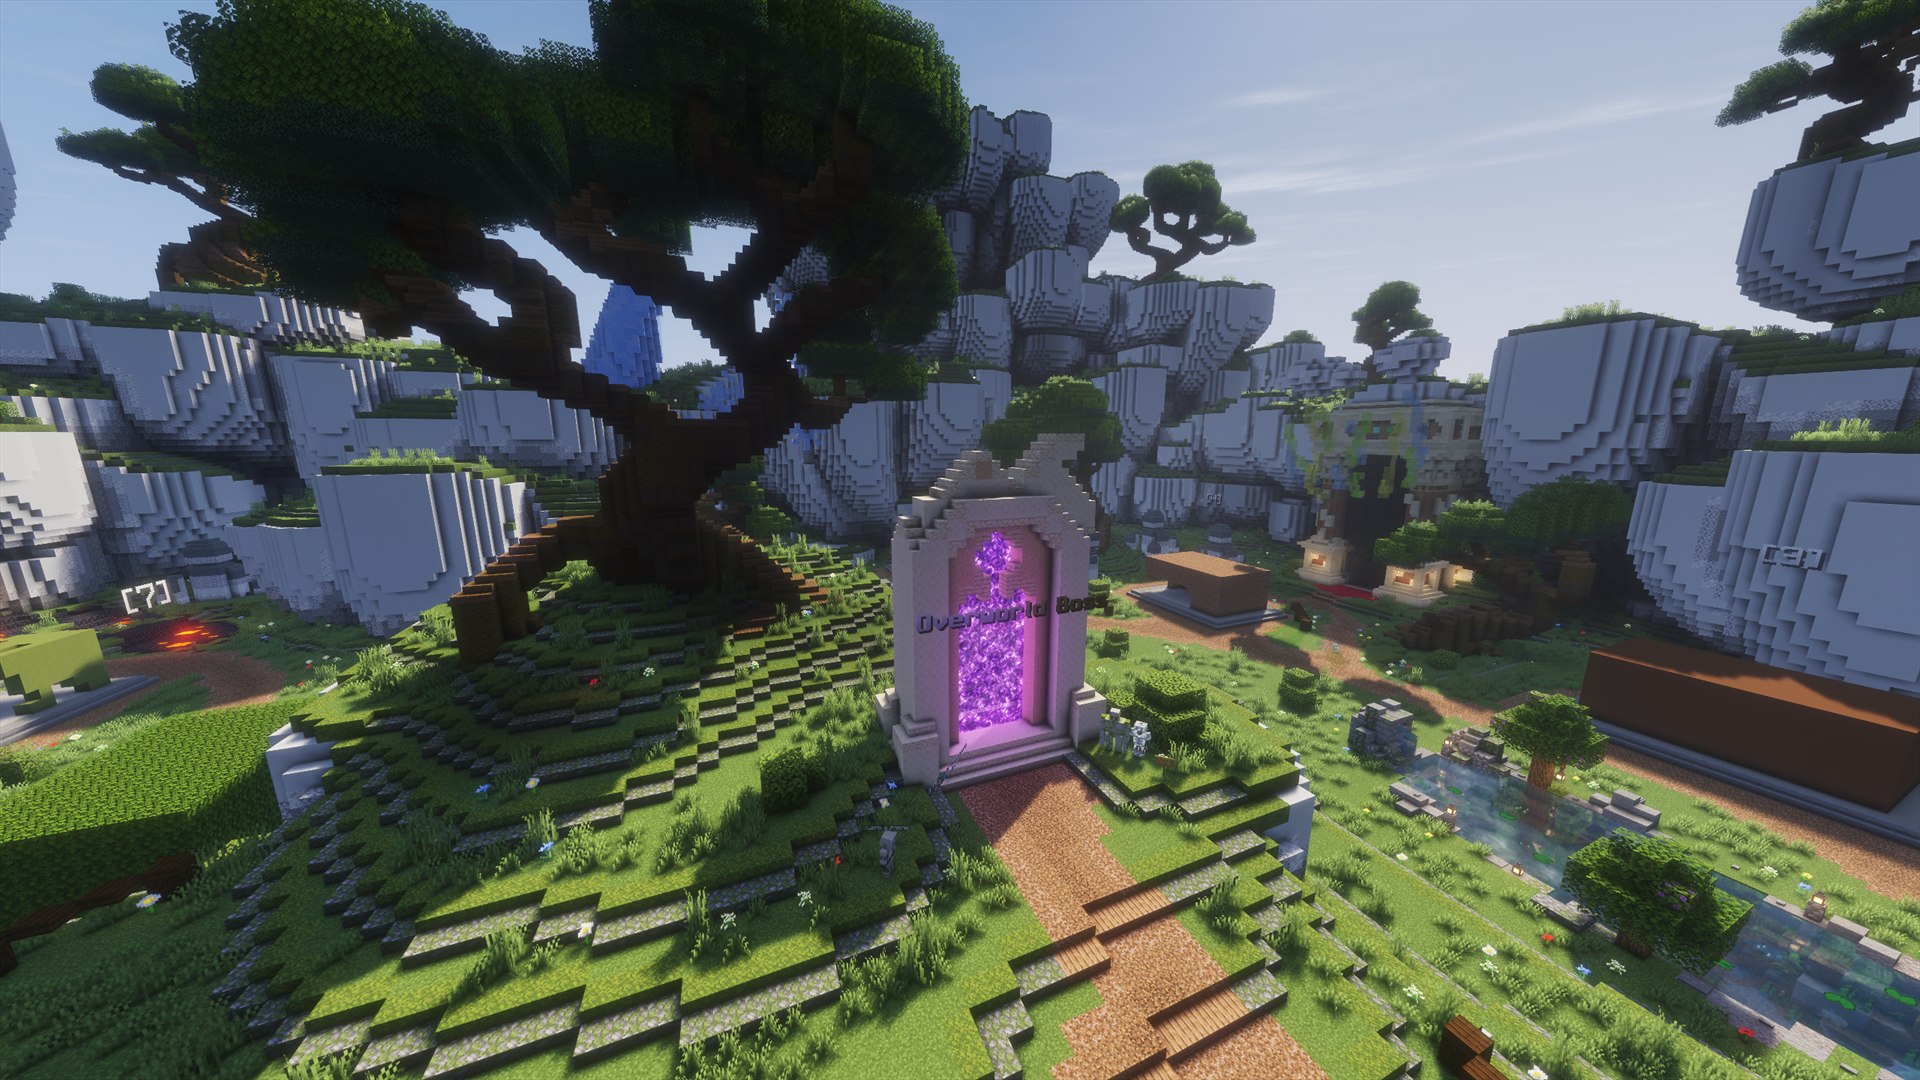
  • Look for the Overworld Boss portal shown here.
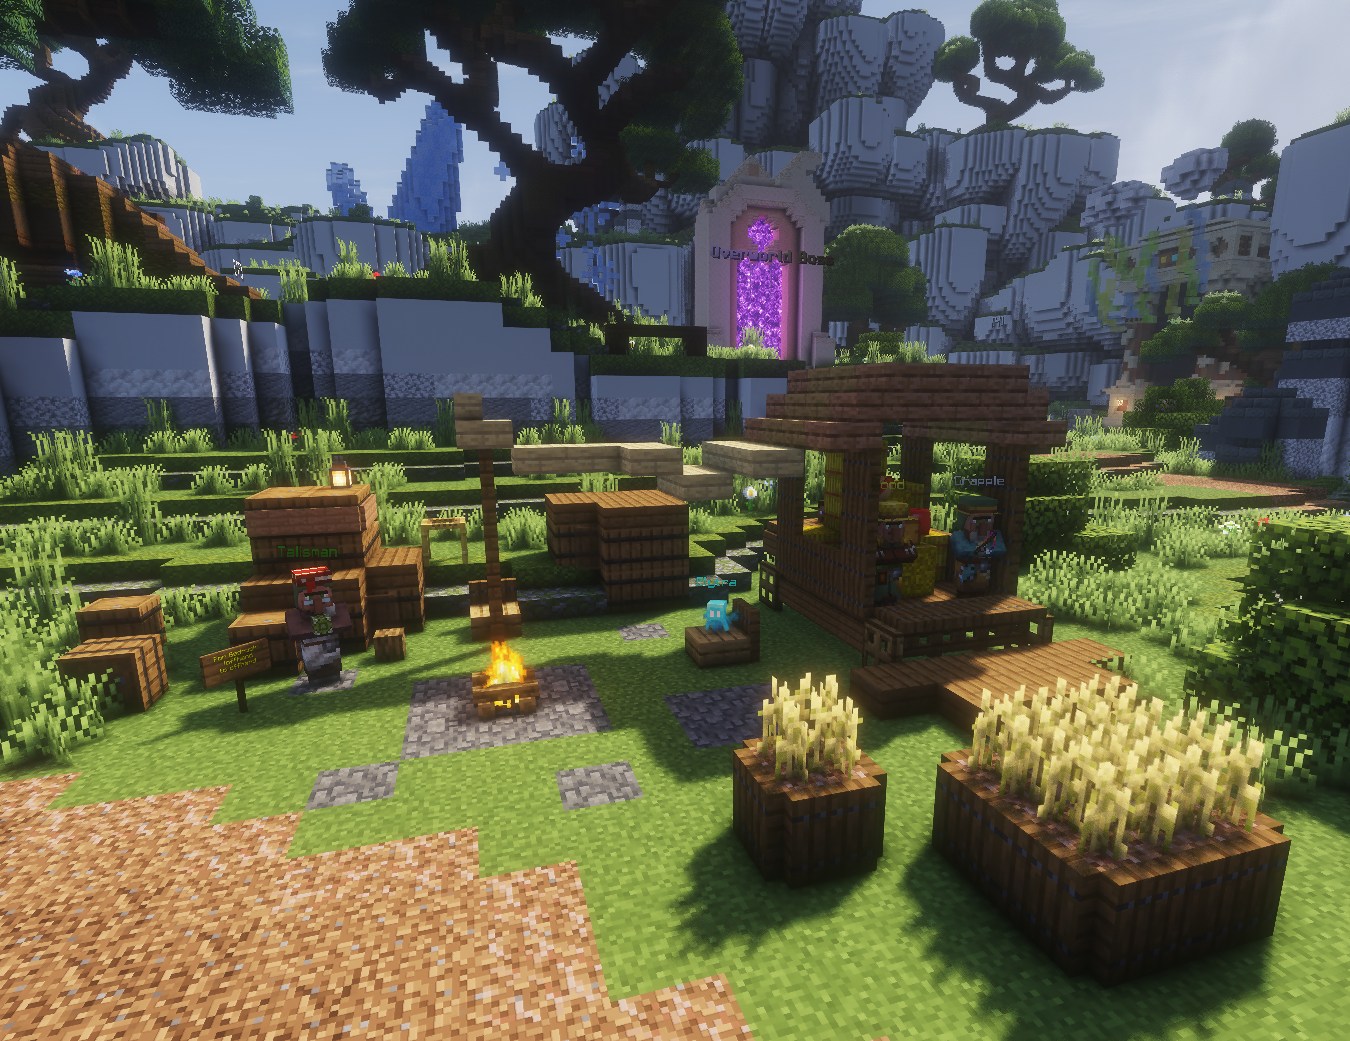
  • Talk to the Golem NPC next to the portal to view the Overworld trade.
  • The trade gives the final version of the Overworld gear.
The Overworld boss portal in the middle of Overworld behind the wood mine
Overworld landmarkThe boss portal is behind the wood mine.
05
Prepare the trade

Overworld Trade Requirements

The Overworld trade requires boss drops and a Cohesive Silvergrass. In Overworld, the boss drop is a Poppy.

1Return to the start

Go back to where your Overworld progression began.

2Repeat every mine

Travel through the mines again and upgrade your Cohesive at each one.

3Reach Silvergrass

Continue until your Cohesive has been upgraded to Cohesive Silvergrass.

06
First boss encounter

Reinforced Golem Boss

Once you have your Cohesive Silvergrass, enter the portal to fight the Reinforced Golem.

Pull ability

The boss can pull or attract players toward itself.

Golem defenders

Small golems surround and defend the Reinforced Golem.

Forced PvP

This is the first area where PvP cannot be disabled. Players can attack one another throughout the boss zone.

07
Next destination

Going to Cave

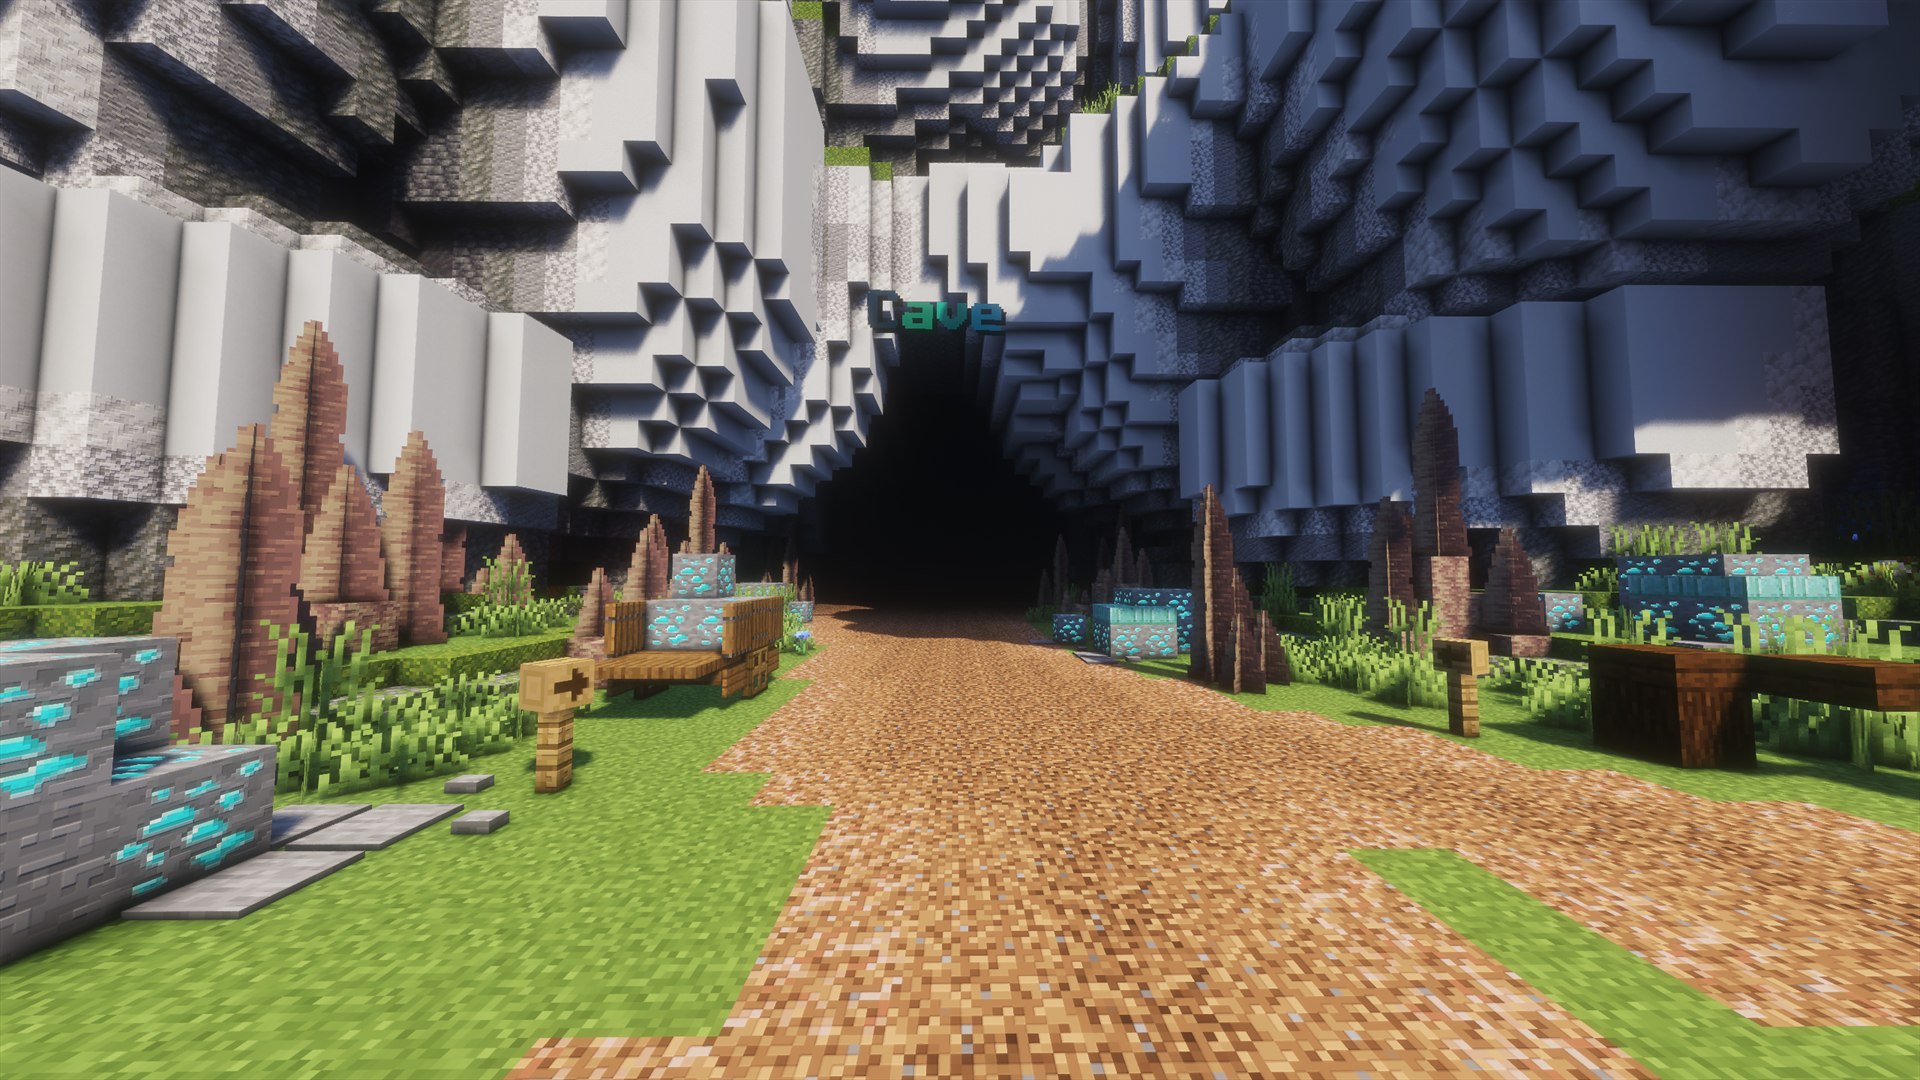
Once Overworld is completed, your next world is Cave. You can find the Cave entrance on the left side of spawn.

Next world Cave Left side of spawn
The Cave world entrance located on the left side of RageMines spawn
Next worldCave is located on the left side of spawn.
Next
Continue learning

Progression Guide

A complete world-by-world progression guide will be documented here.

Content coming soon
Player reference

Useful Commands

A complete reference of the most commonly used commands on RageMines.

Movement & destinations

Navigation

2 commands
/spawn

Return to Spawn.

/warpgui

Open the Warp GUI to teleport to unlocked warps.

Markets & player trades

Trading & Economy

4 entries
/ah

Open the Auction House.

/order

Request an item from other players or ask for assistance.

/trade

Trade with another player.

Shift + Right Click

Instantly open a trade request with another player.

Player systems

Player & Gameplay

10 commands
/pvp

Toggle PvP on or off.

/team

See team related commands.

/bounty

View or manage bounties.

/marry

Marriage system commands.

/automine

Automine in /warp automine

/stats

View yours or others statistics.

/dms

Open the Daily Rewards menu from anywhere.

/emoji

View available emojis.

/suicide

Instantly respawn.

/healthbar

Toggle health bar display.

Private messages

Communication

4 commands
/whisper

Send a private message.

/reply

Reply to the last private message.

/ignore

Ignore another player.

/discord

Display the server Discord information.

Everyday tools

Utility

8 commands
/trash

Open your personal trash inventory.

/refer

Get the referral informations.

/coinflip

Start a coinflip wager.

/warp

Warp-related commands.

/block

Block players.

/reportbug

Report a bug to the staff team.

/pvname

Rename your Personal Vault.

/ghostblockfix

Fix ghost block issues. (ON by default)

Bedrock helper

Offhand Commands

1 command
/offhand

Move the held item into your offhand. Primarily useful for Bedrock Edition players who cannot use the normal offhand keybind.

Community standards

Server Rules

Help keep RageMines fun and fair for everyone by following these rules.

Fair playCheating & Fair Play
  • No hacking. You cannot use a hacked client.

  • Auto-fishing is considered hacking.

  • Auto-clicking is bannable outside of Spawn or the AFK Area.

  • Using duplicated items is bannable.

  • No bug abusing. Reporting bugs rewards you with a Bug Token.

  • No AFK mining (except inside the AFK World).

  • No external trading.

CommunicationChat Rules
  • No spamming or flooding chat. Allowed in Team Chat.

  • English only in public chat. Non-English is allowed in Team Chat.

  • No NSFW content. Not allowed in Team Chat either.

  • No racism, slurs, religious discrimination, or death threats.

  • Common slurs, including the N-word, F-slur, and R-slur, are prohibited. Not allowed in Team Chat.

  • No excessive or offensive swearing directed at another player. General swearing is allowed, but targeted harassment is not.

  • No toxicity.

  • No political or religious discussions in public chat.

Player tradesTrading & Scamming
  • No advertising. Not allowed in Team Chat. Private messages (PMs) are allowed.

  • Scamming is only allowed if the Server Store is not involved and no Pickaxe or Epic+ Reforge Stone is involved.

  • If a Pickaxe or Epic+ Reforge Stone is involved in a scam, only that Pickaxe or Stone will be returned. The remainder of the trade will not be reversed.

  • Staff will not help move items between players.

CombatPvP & Gameplay
  • No kill farming using alternate accounts, friends, or any other arrangement.

  • Naked killing is allowed.

  • Kill spamming is only punished by the server console.

Account limitsAccounts
Helpful notes

Read Before You Play

Team Chat Exceptions

Some rules are relaxed in Team Chat, such as:

  • English-only requirement
  • Spam/Flooding

However, NSFW content, slurs, racism, discrimination, and similar behavior remain prohibited.

Bug Reports

Report bugs instead of abusing them.

Legitimate bug reports are rewarded with a Bug Token.

Trading Safety

Use trusted players and double-check every trade before accepting.

Core progression

Main Worlds

Explore each permanent RageMines world in progression order.

10 worlds

Overworld

Full Guide

The beginning of every RageMines adventure and the central hub before Prestige 2.

World TierP0
BossReinforced Golem
DifficultyBeginner
RequirementNone
Spawn NPCs7 documented
GuideExplore the full page
Open the Overworld guide

Cave

Available

World overview and progression details will be documented here.

MobsContent coming soon
BossesContent coming soon
ResourcesContent coming soon
RequirementsContent coming soon
TipsContent coming soon
ScreenshotsMedia coming soon

Sakura

Available

World overview and progression details will be documented here.

MobsContent coming soon
BossesContent coming soon
ResourcesContent coming soon
RequirementsContent coming soon
TipsContent coming soon
ScreenshotsMedia coming soon

Iceworld

Available

World overview and progression details will be documented here.

MobsContent coming soon
BossesContent coming soon
ResourcesContent coming soon
RequirementsContent coming soon
TipsContent coming soon
ScreenshotsMedia coming soon

Inferno

Available

World overview and progression details will be documented here.

MobsContent coming soon
BossesContent coming soon
ResourcesContent coming soon
RequirementsContent coming soon
TipsContent coming soon
ScreenshotsMedia coming soon

Aether

Available

World overview and progression details will be documented here.

MobsContent coming soon
BossesContent coming soon
ResourcesContent coming soon
RequirementsContent coming soon
TipsContent coming soon
ScreenshotsMedia coming soon

Oblivion

Available

World overview and progression details will be documented here.

MobsContent coming soon
BossesContent coming soon
ResourcesContent coming soon
RequirementsContent coming soon
TipsContent coming soon
ScreenshotsMedia coming soon

Ocean

Available

World overview and progression details will be documented here.

MobsContent coming soon
BossesContent coming soon
ResourcesContent coming soon
RequirementsContent coming soon
TipsContent coming soon
ScreenshotsMedia coming soon

Desert

Available

World overview and progression details will be documented here.

MobsContent coming soon
BossesContent coming soon
ResourcesContent coming soon
RequirementsContent coming soon
TipsContent coming soon
ScreenshotsMedia coming soon

Space

Coming Soon

This world has not been released yet. Official information will appear here when available.

MobsContent coming soon
BossesContent coming soon
ResourcesContent coming soon
RequirementsContent coming soon
TipsContent coming soon
ScreenshotsMedia coming soon
World 01 · Main progression

Overworld

The beginning of every RageMines adventure.

01
Your first world

Overview

Every journey, system, and first upgrade begins here.

The Overworld is the very first world every player starts in. Everything begins here, including progression, gathering resources, unlocking gear, and learning the mechanics of RageMines.

It also acts as the main hub for all worlds before Prestige 2, giving players one familiar place to return to while they advance.

Begin here, return often

Learn the fundamentals, meet key NPCs, and use the portals around the world to continue your adventure.

02
A good first adventure

Tips & Tricks

There is no need to rush through your first world.

01Explore the world.
02Talk to NPCs.
03Don't be afraid to ask questions in chat.
04Use /order if you need help obtaining items.
05Learn the server mechanics naturally.
06Visit every area around Spawn.
07Experiment and have fun.

The Overworld is designed to teach the foundations of RageMines. Take your time, explore, meet other players, and enjoy discovering everything the server has to offer.

03
The central hub

Spawn

The most important location in Overworld.

Spawn is where players find the services and routes they will use throughout their early progression.

  • Important NPCsCore progression, travel, rewards, and utility services.
  • CratesAccessible directly from the central Spawn area.
  • Access to PlotsYour Plot can be accessed at the very back of Spawn.
  • World PortalsTravel from Overworld to the other early progression worlds.
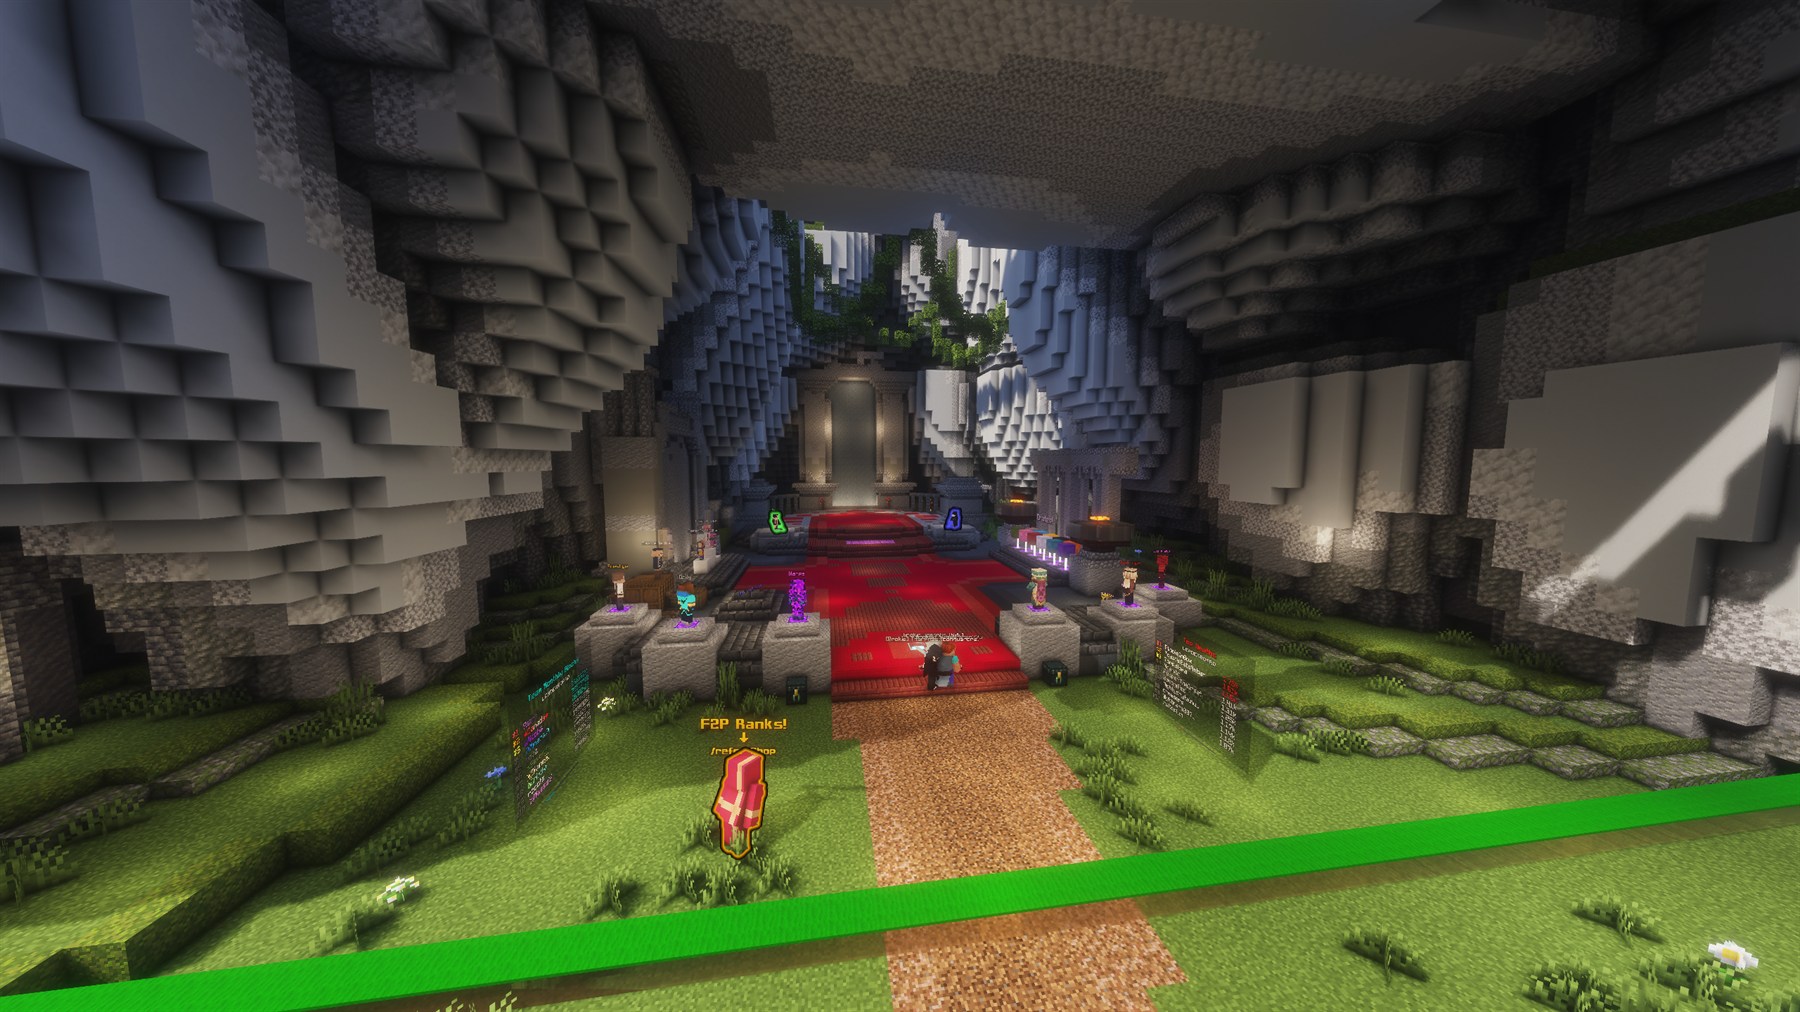
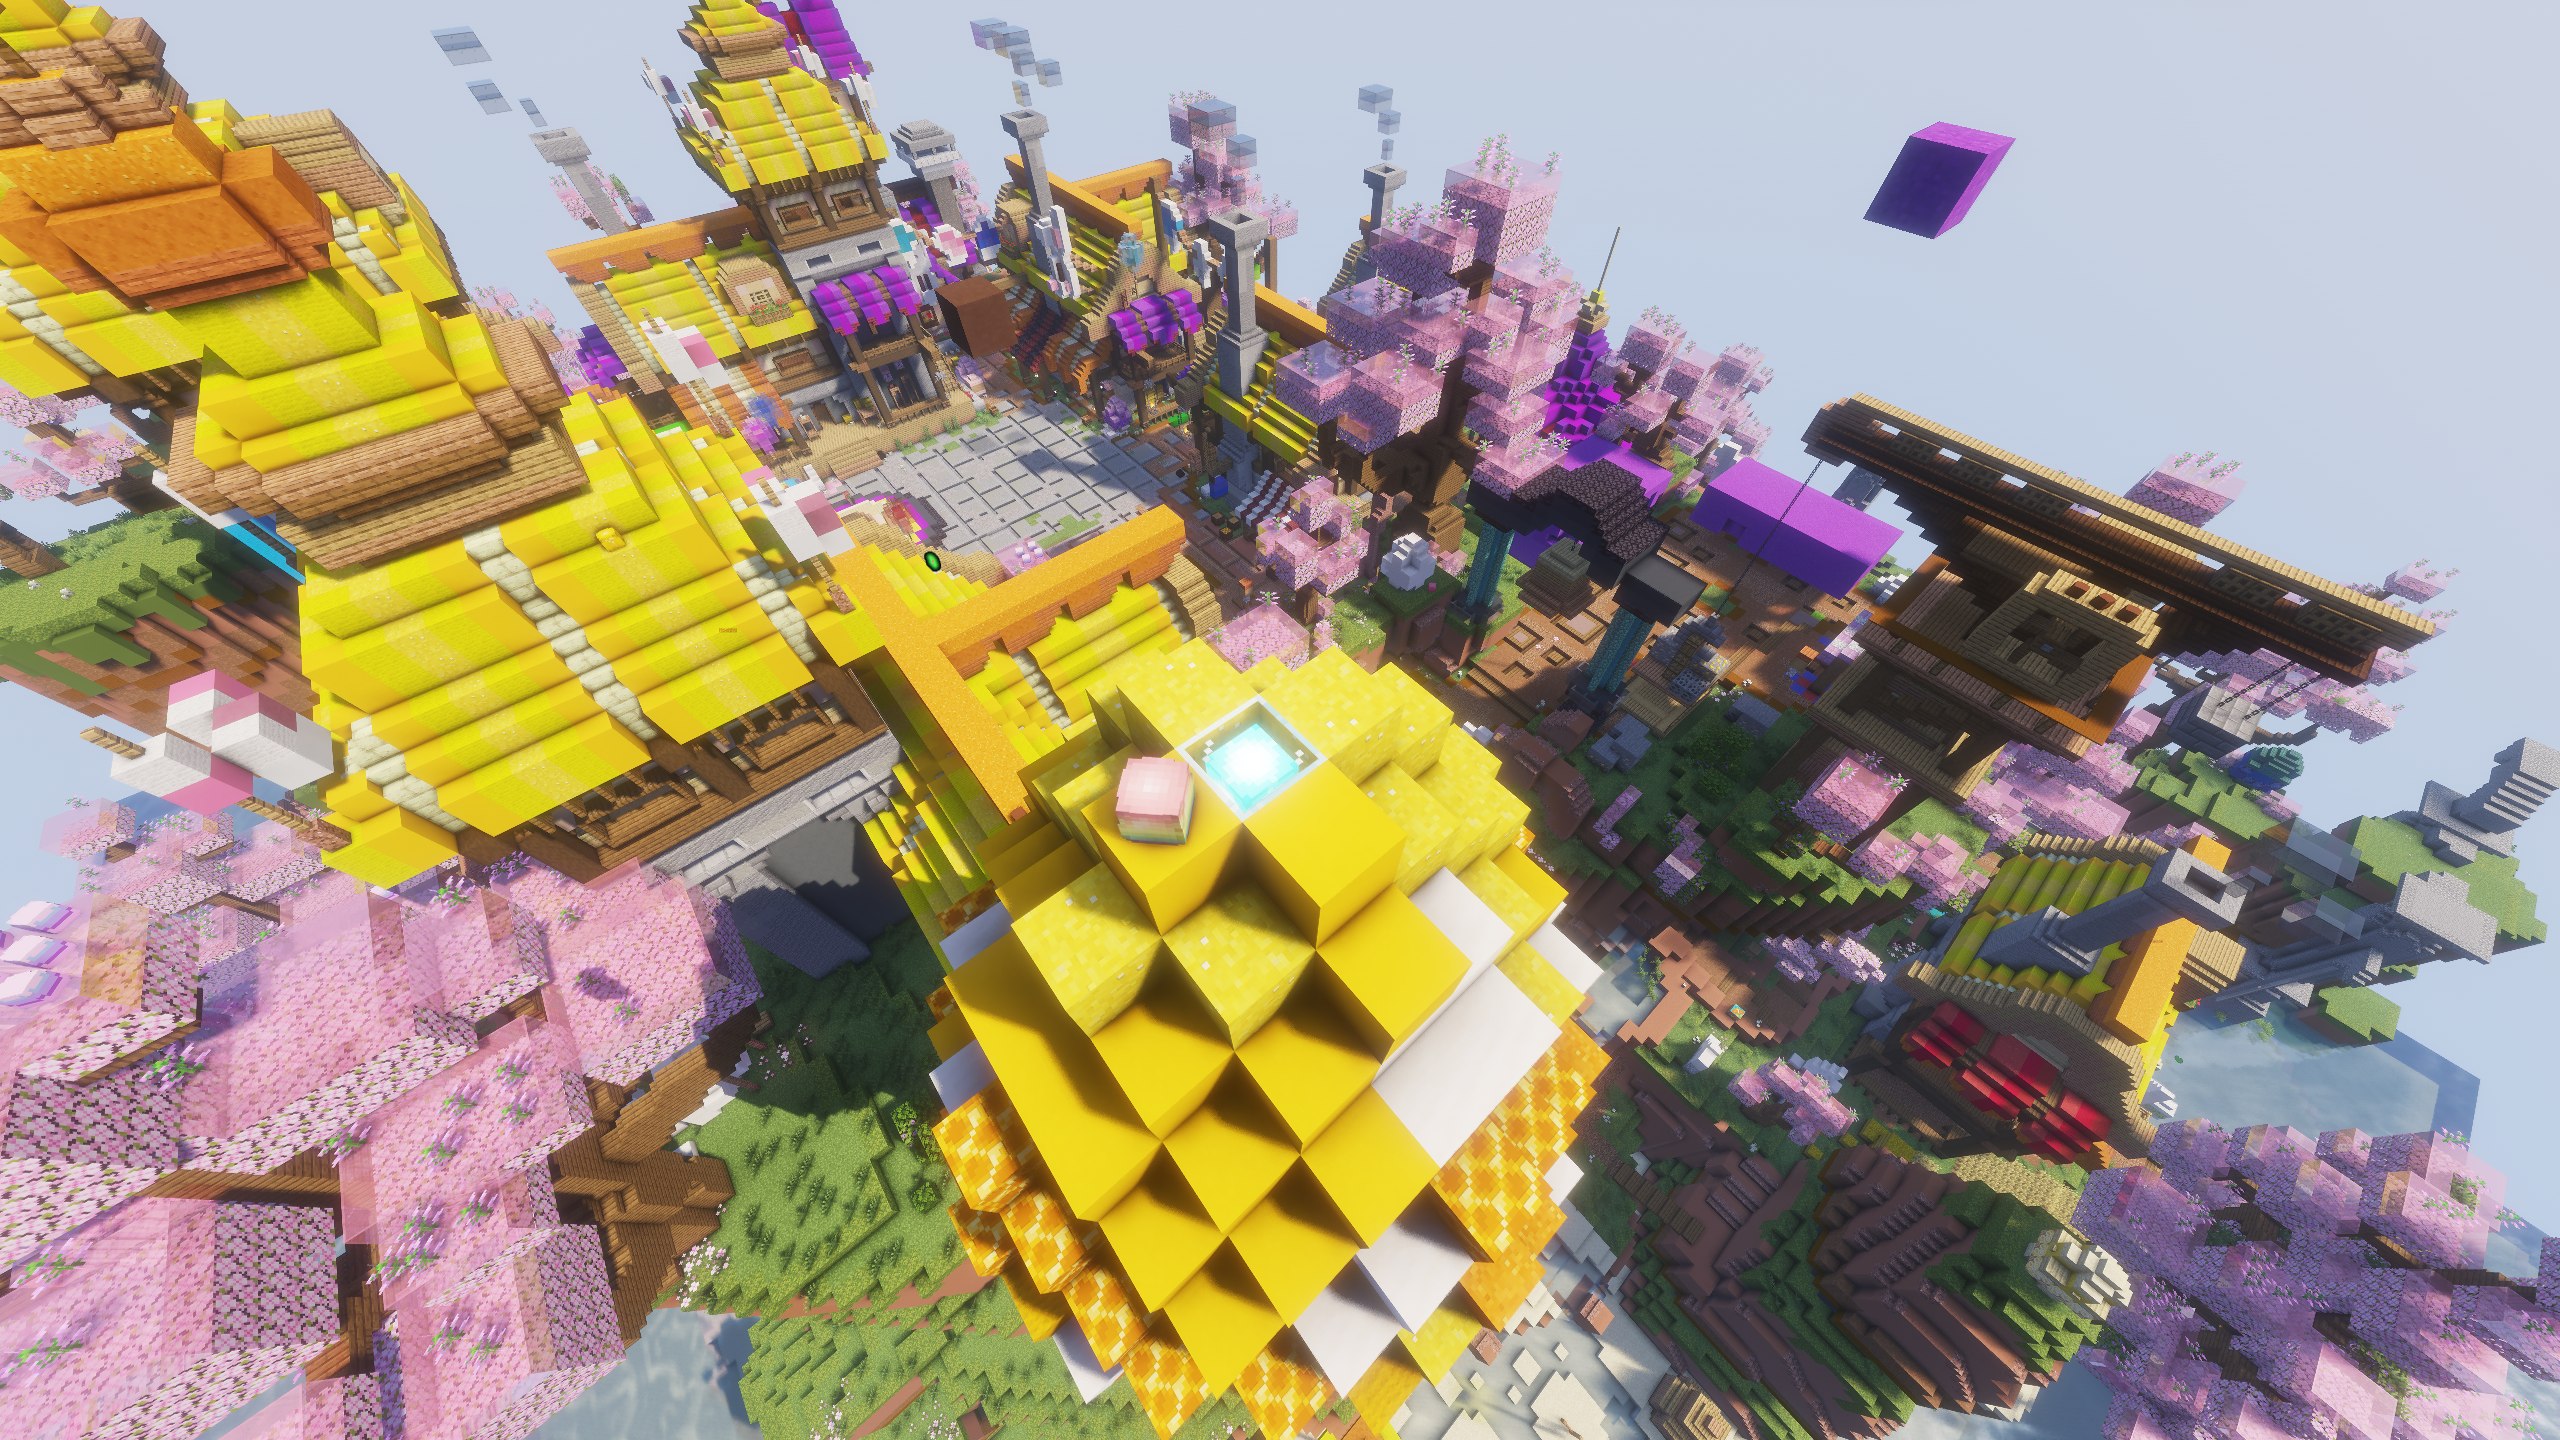
Wide view of the Overworld Spawn area with NPCs, crates, and leaderboard boards near the exit.
LocationOverworld Spawn and its main landmarks.
Spawn rankings

Leaderboards

Compare your progress with the rest of the server.

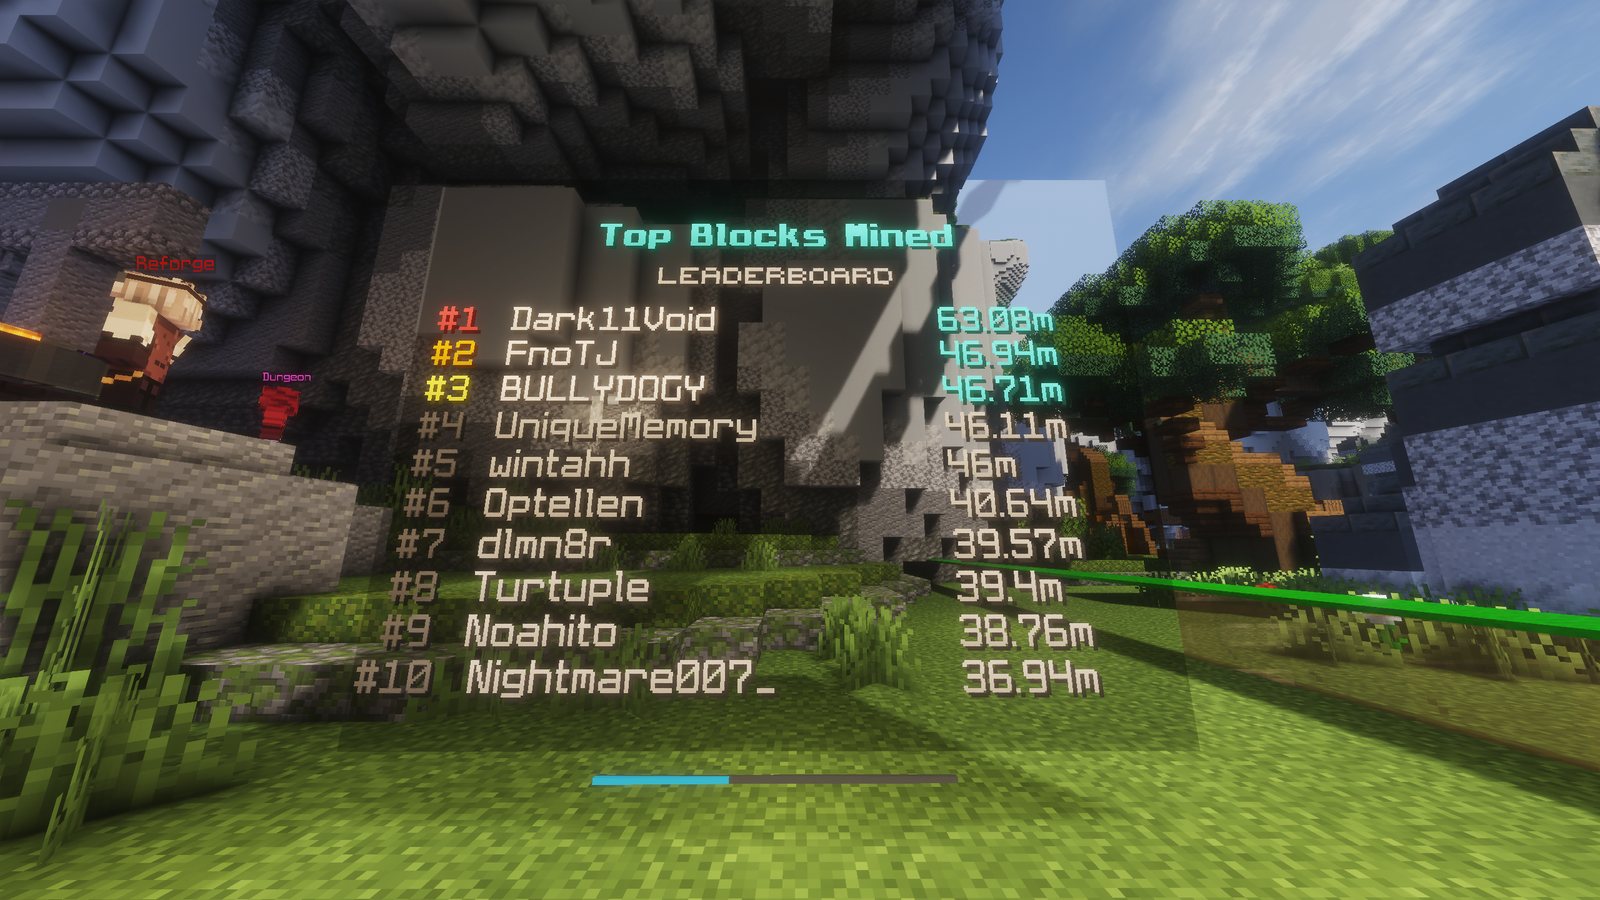
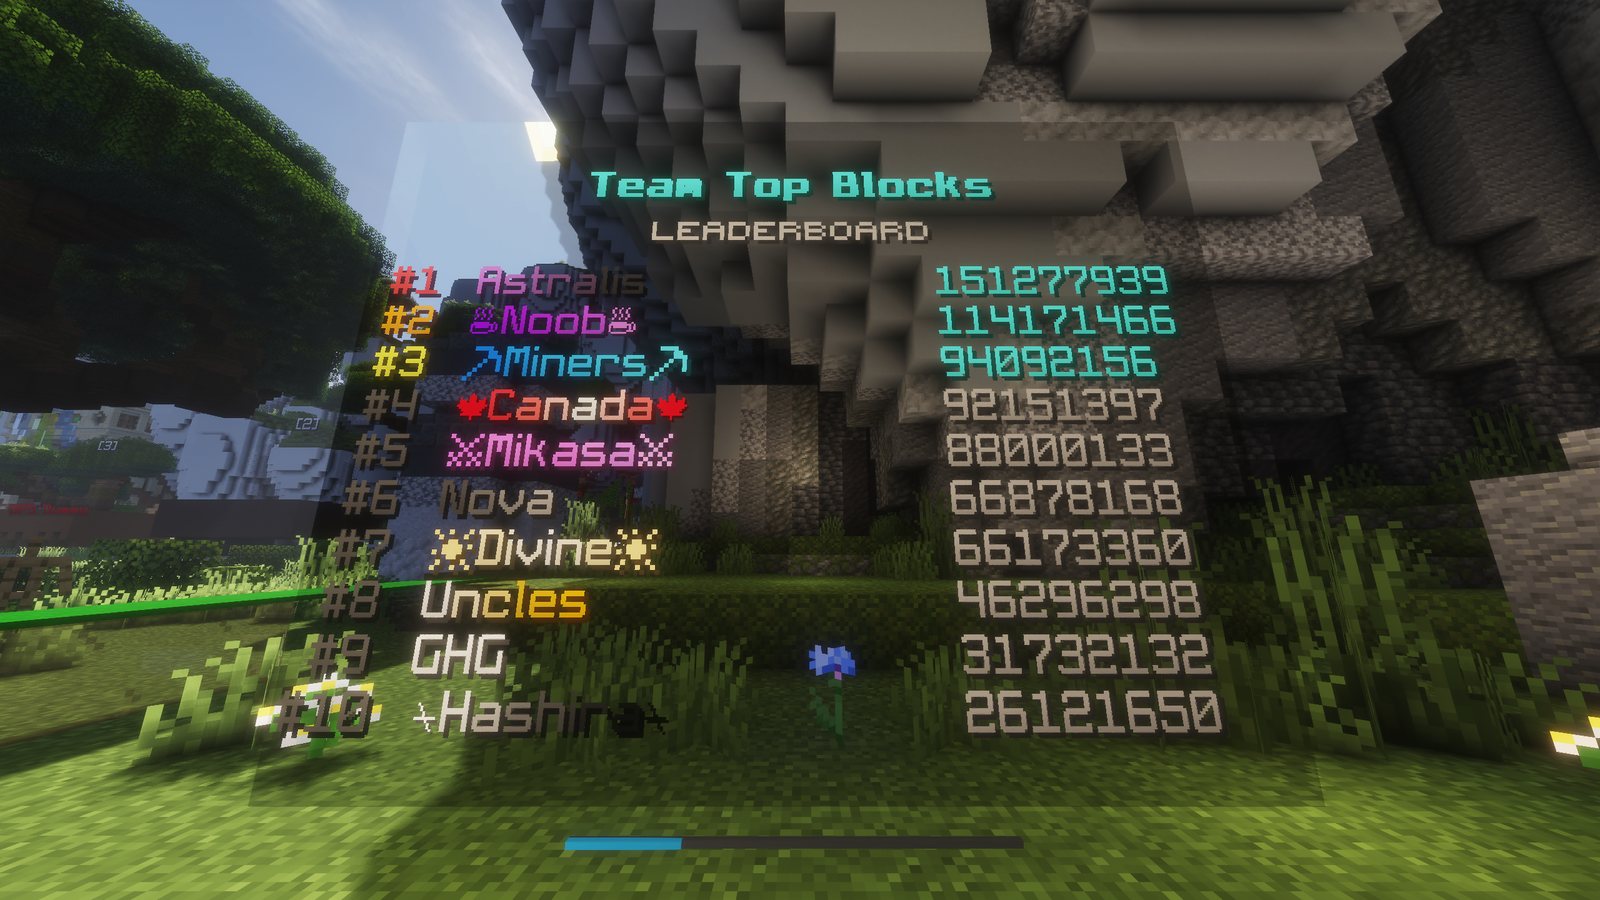
On both sides of Spawn, just before leaving the Spawn area, players will find the server Leaderboards. These display the top-performing players and teams across various categories and are a great way to track your progress and compete with others.

Left side of Spawn
Left Side Leaderboards
Top Balances
Top Kills
Top Deaths
Top Blocks Mined
Top Playtime
Top Mob Kills
Right side of Spawn
Right Side Leaderboards
Team Top Kills
Team Top Blocks Mined
Team Monthly Blocks
KOTH Wins
Chat Game Wins
Top Kisses
Left-side Overworld Spawn leaderboards before leaving the Spawn area. Right-side Overworld Spawn leaderboards before leaving the Spawn area.
Spawn LeaderboardsLeaderboards on both sides of Spawn.
04
Explore beyond the center

Places of Interest

Useful stops and social spaces around Spawn.

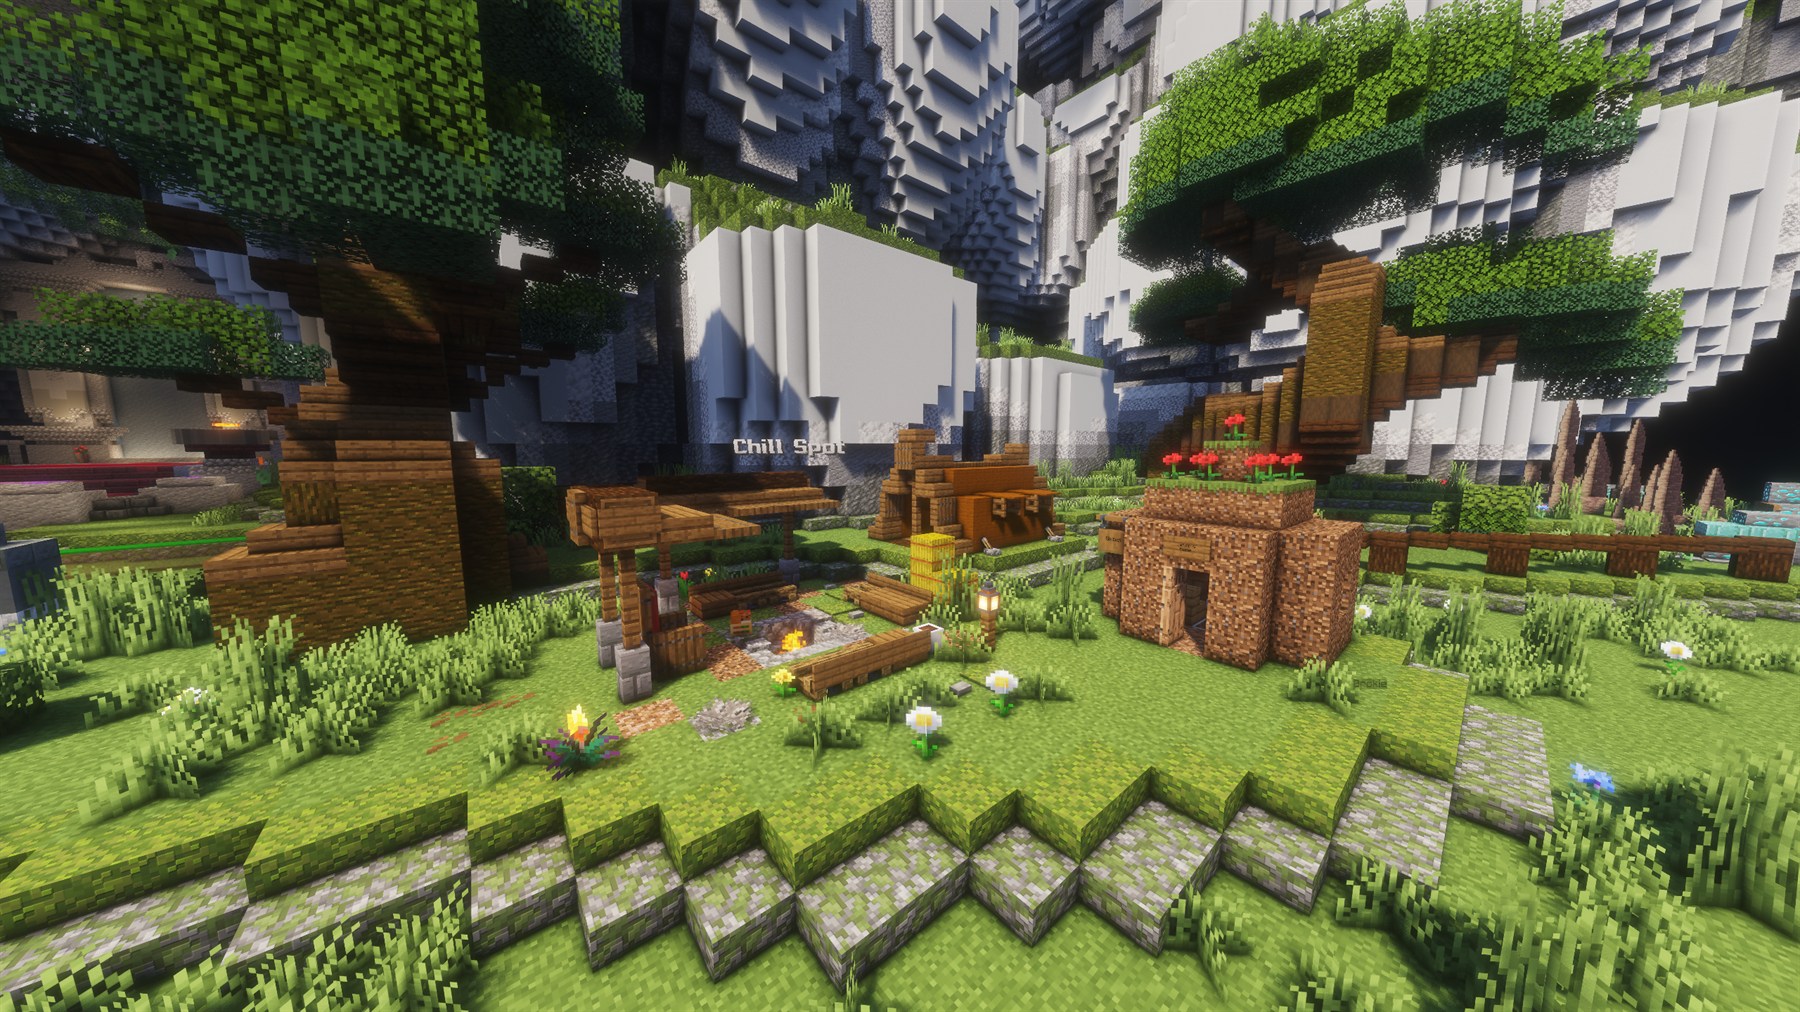
The Chill Spot area on the left side of Overworld Spawn.
Left side of Spawn

Chill Spot

A relaxing place to hang out with other players. It has no gameplay purpose.

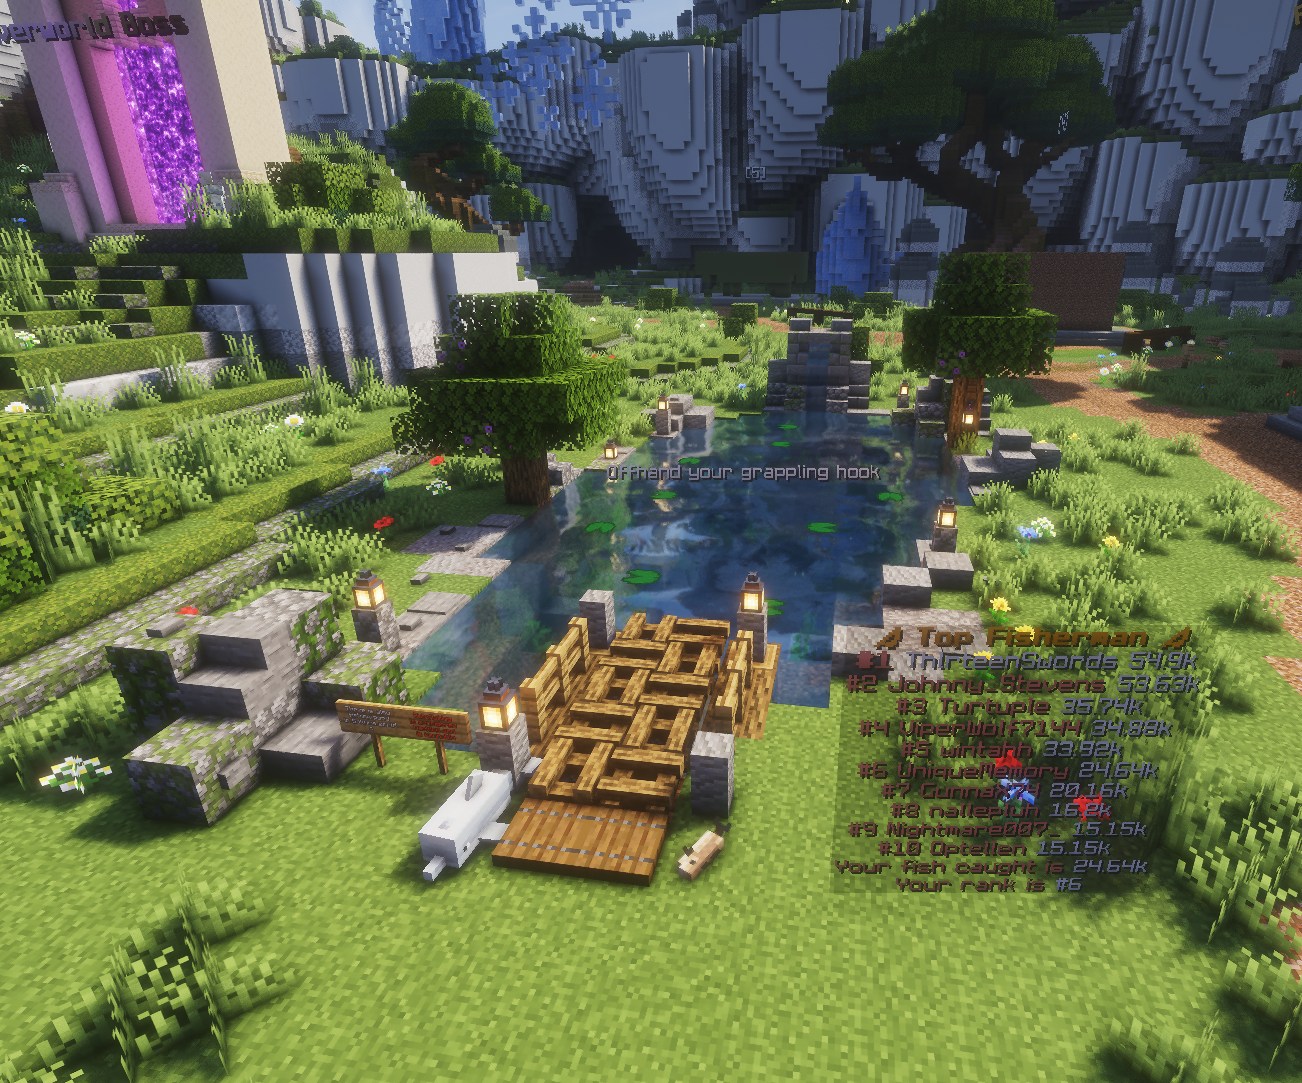
The Overworld fishing pond with fishing leaderboard and NPCs.
Further right of Spawn

Pond

The Overworld fishing area. Fishing is completely optional and is not required for progression.

Read the Fishing guide
05
Meet the locals

Spawn NPC Guide

Spawn's key NPCs are arranged across its left and right sides.

Left sideDungeons, equipment, and utility trades
Left Side NPC

Dungeons NPC

Allows players to enter the different Dungeons.

Visit the Dungeons page
Left Side NPC

Reforge NPC

Allows players to purchase and manage Reforge Stones.

Visit the Reforge page
Left Side NPC

Beacon & Blood NPC

This NPC provides several useful trades, including consumables and PvP equipment.

ConsumablesStrength Potions
ConsumablesInvisibility Potions
UtilityBeacon Trade · $15
EquipmentPvP Equipment
H

Knight HelmetCompletely removes knockback.

S

Knight SwordNotable PvP equipment.

The Beacon & Blood NPC has many additional trades, so players can discover the full trade list in-game.

Right sideTravel, daily rewards, referrals, and Prestige
Right Side NPC

Warp NPC

Teleport to unlocked warps. Additional warps can be unlocked by purchasing a Rank.

View Ranks
Right Side NPC

Daily NPC

Claim Daily Playtime Rewards and Daily Mining Rewards.

Right Side NPC

Referral NPC

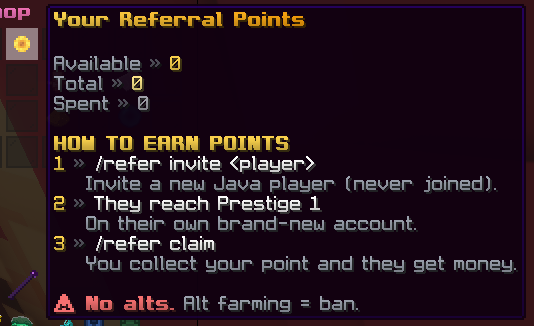
The Referral NPC rewards players for inviting friends to play on RageMines. Referring friends grants Referral Points, which can be exchanged for exclusive rewards in the Referral Shop.

Referral NPC information menu showing Referral Points and how to earn them.
Referral menu · Points and earning steps
Referral Shop rewards Notable rewards players can spend Referral Points on
RankIrritated Rank2 Referral PointsIf you already have Irritated or higher, you can open a ticket to trade it for a rankup.
Boost30 Minute 2x Boost4 Referral PointsA temporary multiplier for faster progress.
ProtectionReforge Protection1 Referral PointUseful when working with Reforge upgrades.
TeamCustom Team Name2 Referral PointsA cosmetic identity reward for your team.
ExclusiveRage Pickaxe1 Referral PointExclusive to the Referral Shop and unobtainable anywhere else.
TrailEnchant Trail1 Referral PointReferral Shop cosmetic trail.
TrailDust Trail1 Referral PointReferral Shop cosmetic trail.
TrailEnd Trail1 Referral PointReferral Shop cosmetic trail.
Right Side NPC

Prestige NPC

View Prestige requirements, increase your Prestige, and review Prestige bonuses.

06
Resource reference

Overworld Materials

Every obtainable material in Overworld is documented in the Materials Guide.

Open Materials Guide
07
First boss encounter

Reinforced Golem

The first boss players will encounter in RageMines.

Easy

The Reinforced Golem behaves similarly to a normal Minecraft Iron Golem, with two mechanics to watch for during the fight.

  • 01
    Familiar attacks

    Behaves similarly to a normal Minecraft Iron Golem.

  • 02
    Player pull

    Can periodically pull nearby players toward itself.

  • 03
    Small Golems

    The boss is protected by small Golems.

Visit the boss section
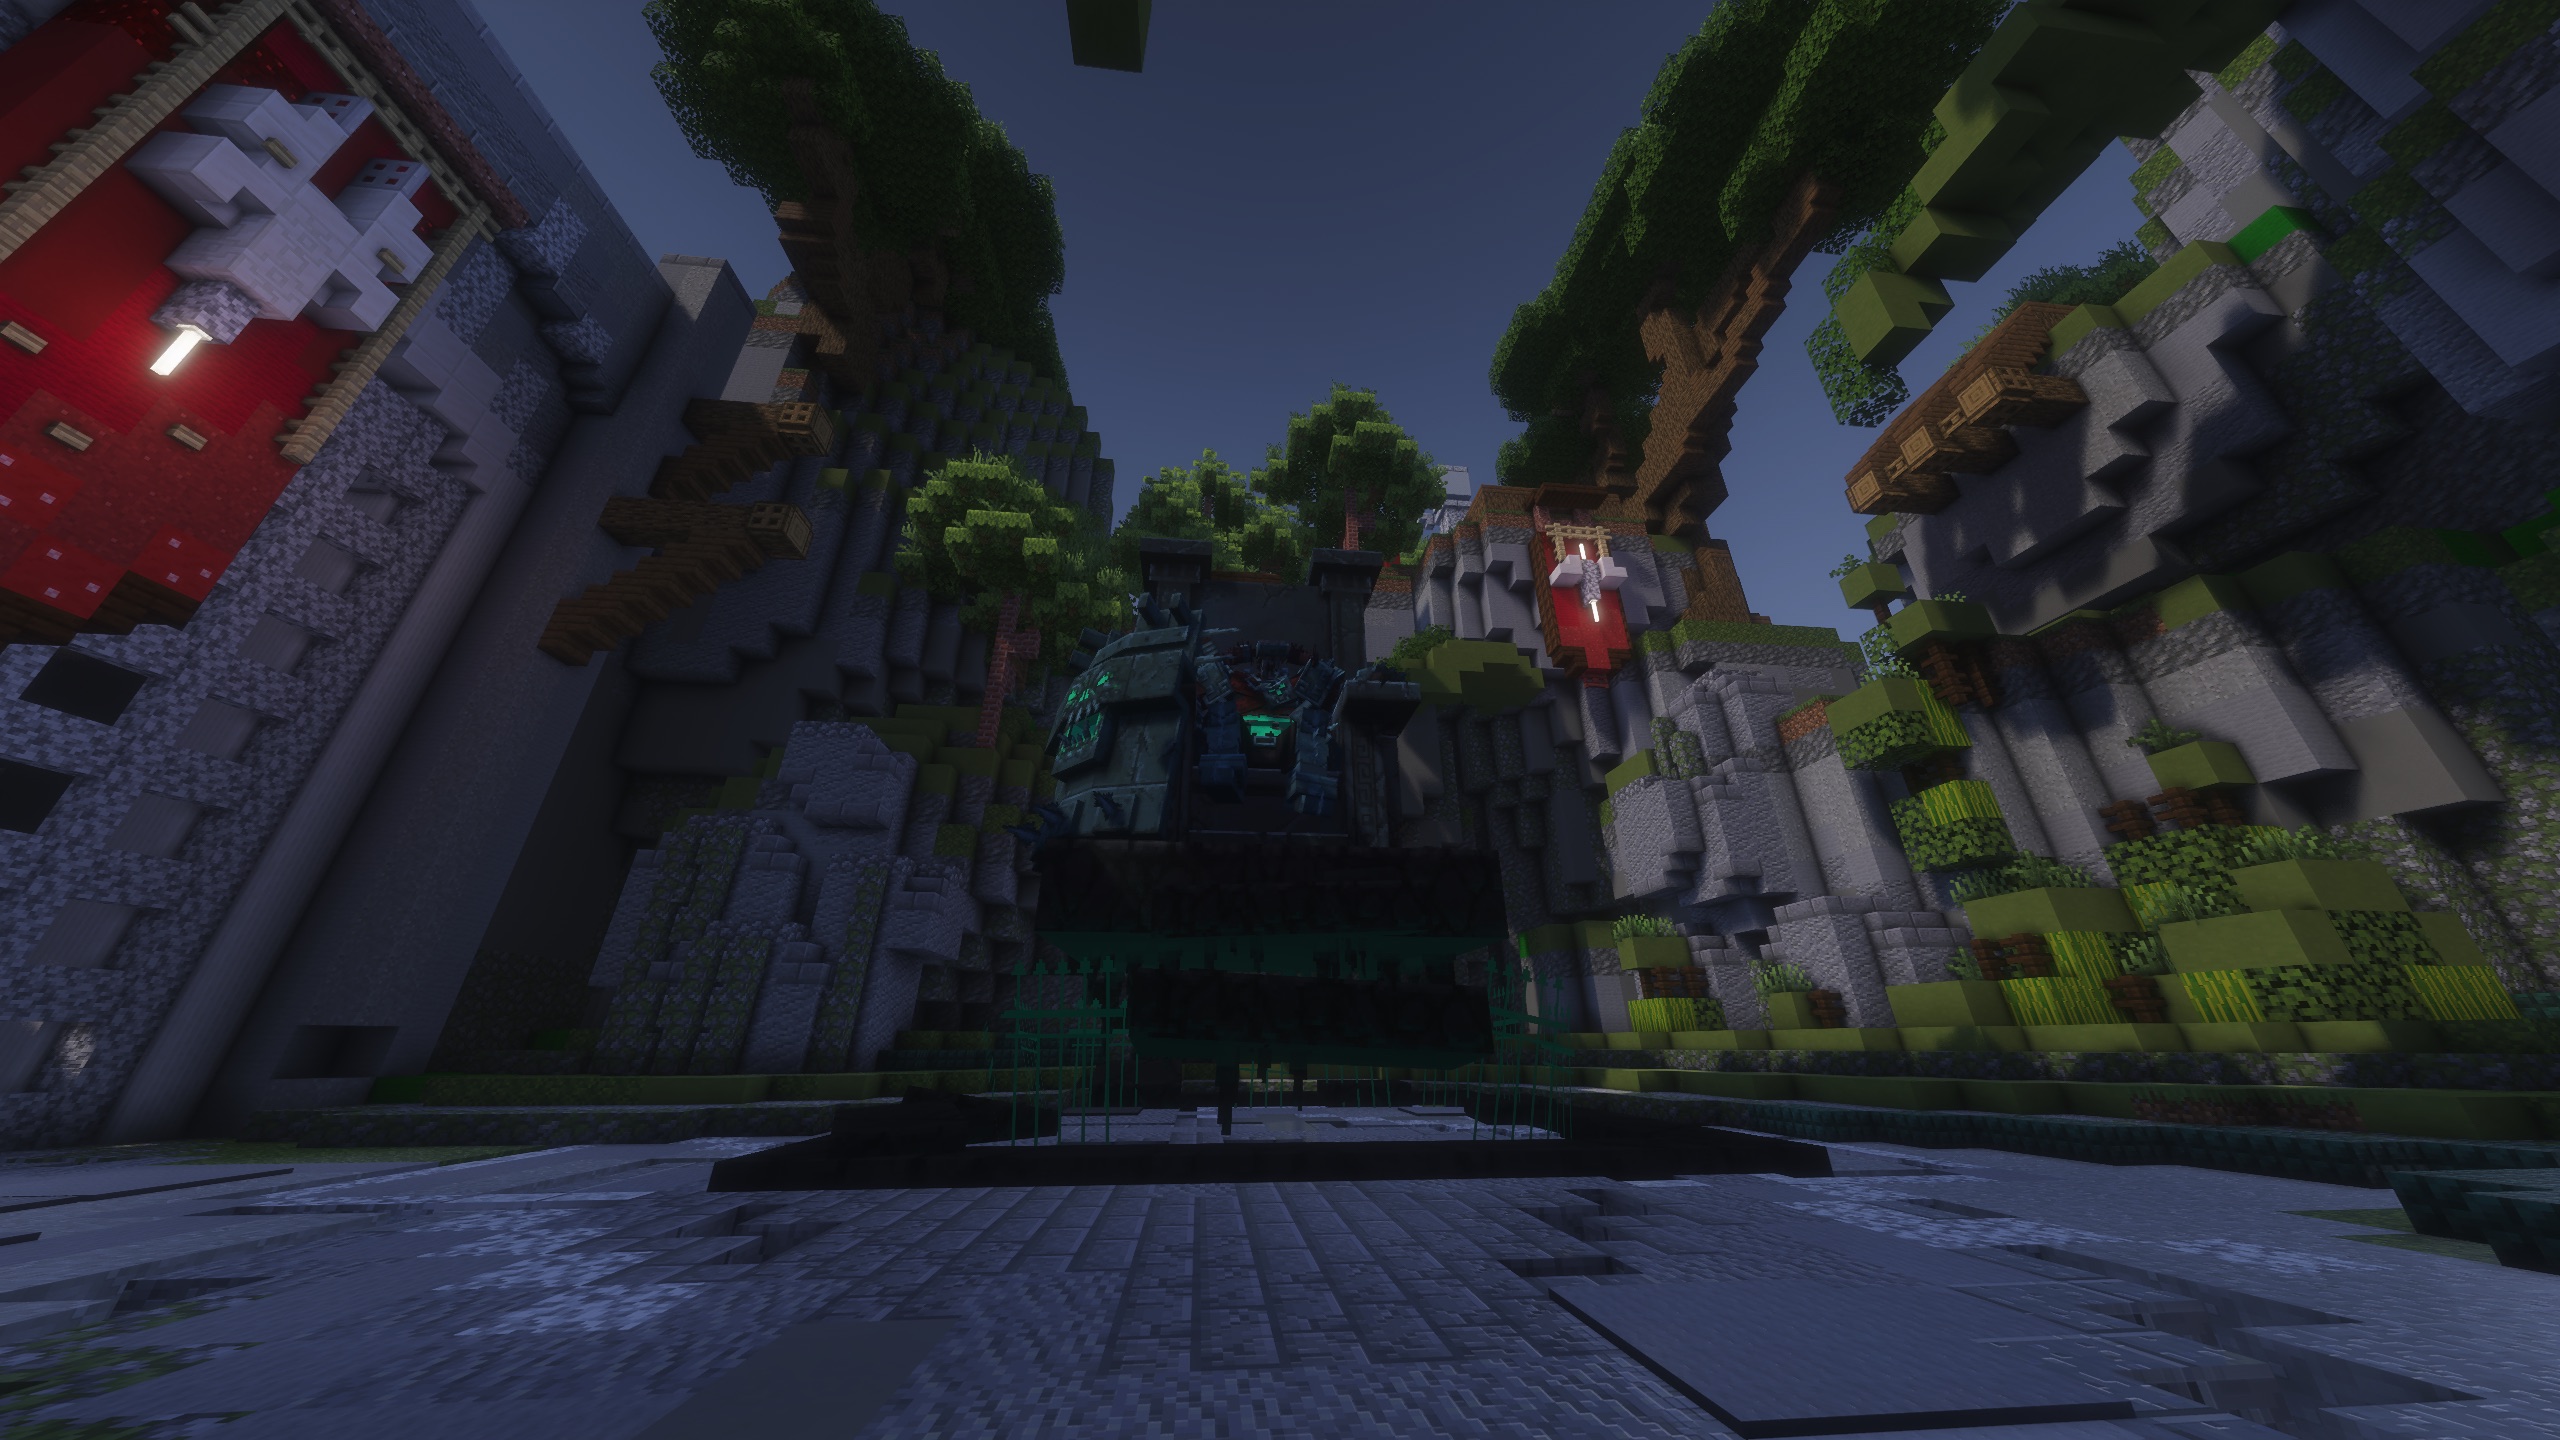
Wide view of the Reinforced Golem boss arena in Overworld.
Boss arenaThe Reinforced Golem encounter area.
08
Optional activity

Fishing

Visit the pond to collect several unique items.

J
Java Edition

Use your Grappling Hook

Equip the Grappling Hook in your offhand to begin fishing.

B
Bedrock Edition

Get a Fishing Rod

Trade with the Dolphin NPC beside the pond to obtain a Fishing Rod.

Unique item

Knockback Fish

Cod NPC only. A novelty weapon that deals knockback. It can be upgraded to increase its knockback effect.

Armor set

Fisherman Armor

Dolphin NPC. The Dolphin handles both the Fishing Rod and Fisherman Armor. Each armor piece grants +0.05 Speed, which makes a noticeable difference.

How to equip the Fisherman Hat

The Fisherman Hat cannot normally be equipped. Players need either the /hat command or any server Rank.

The /hat command can be purchased in Iceworld for $500.

09
The early-world hub

World Connections

Overworld connects the full progression path before Prestige 2.

01OverworldStart here 02Cave 03Sakura 04IceworldPrestige 1+ 05InfernoPrestige 1+ 06AetherPrestige 1+
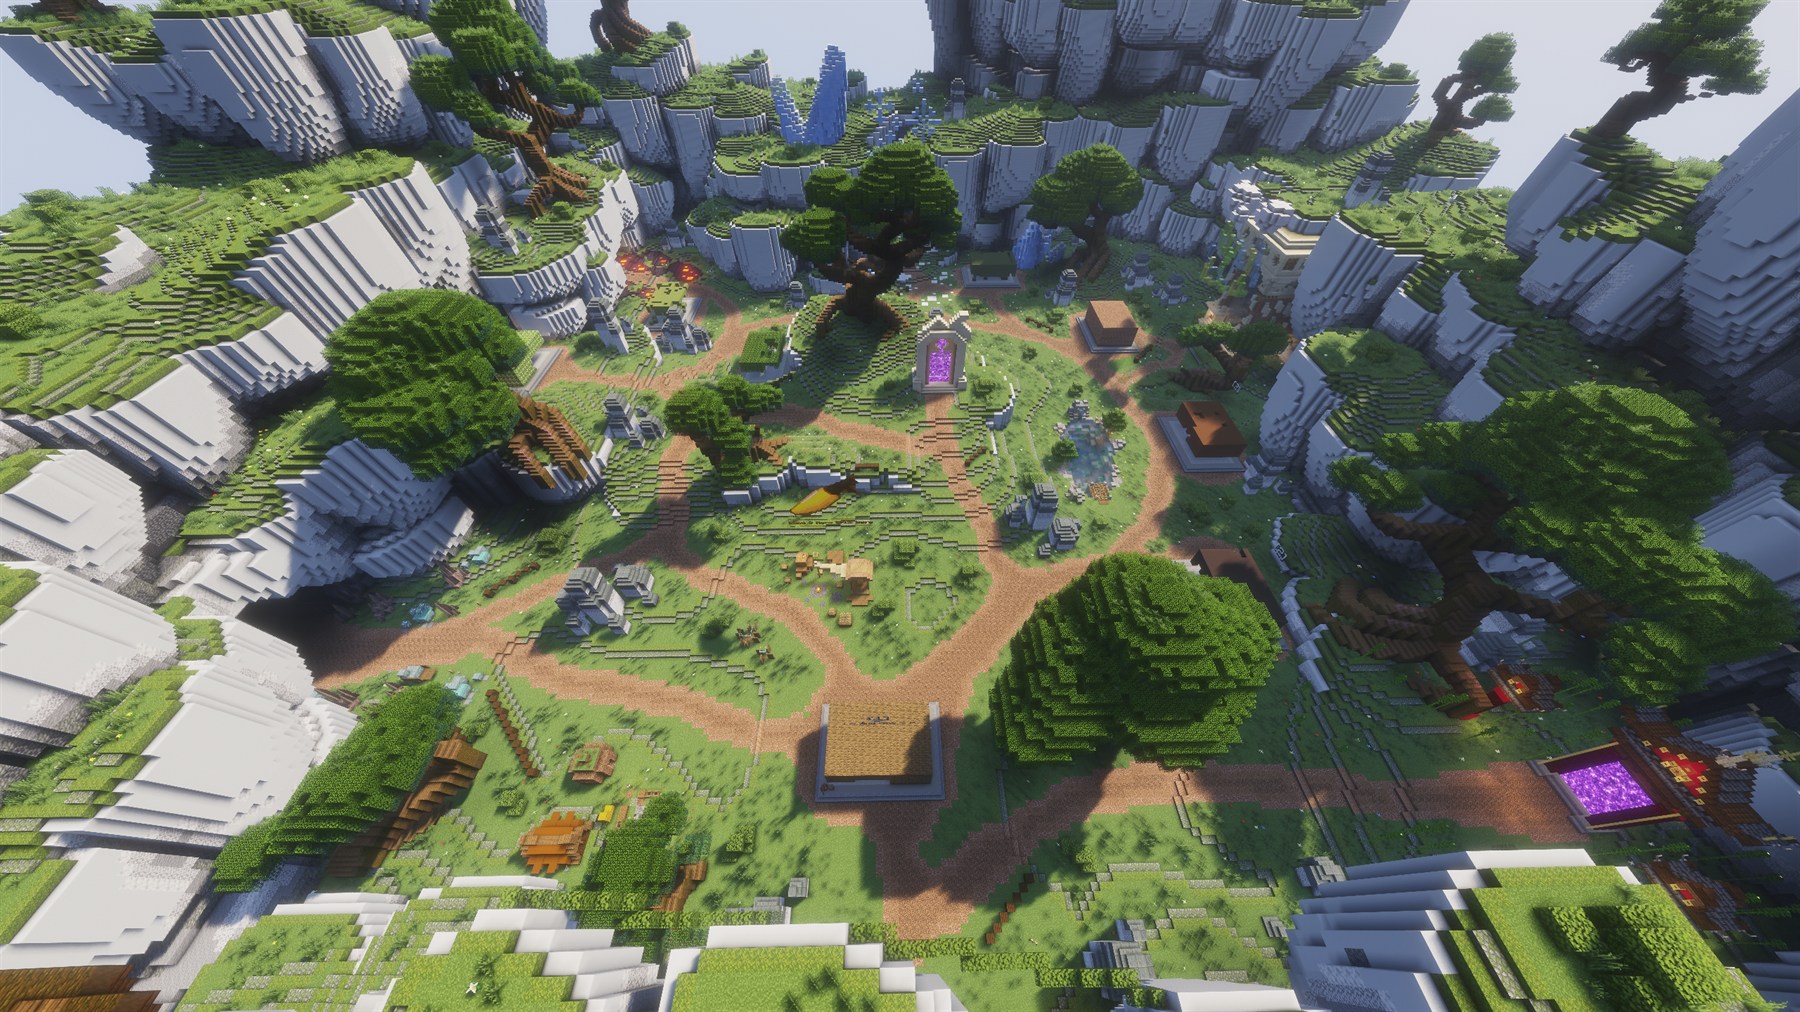
Clean overhead view of Overworld showing the world portal area and surrounding paths.
World routesPortal locations around Overworld.
Optional adventures

Side Worlds

Specialized worlds that sit alongside the main progression path.

1 world

Magic

Available

World overview and progression details will be documented here.

MobsContent coming soon
BossesContent coming soon
ResourcesContent coming soon
RequirementsContent coming soon
TipsContent coming soon
ScreenshotsMedia coming soon
Past adventures

Limited-Time Events

Archived limited-time events, listed from oldest to newest.

Archive · 2
Limited-Time Event

Valentine

No longer available

Archived event information will be documented here.

Event rewardsContent coming soon
ScreenshotsMedia coming soon
LoreContent coming soon
ActivitiesContent coming soon
Past event · Oldest
Limited-Time Event

Easter

No longer available

Archived event information will be documented here.

Event rewardsContent coming soon
ScreenshotsMedia coming soon
LoreContent coming soon
ActivitiesContent coming soon
Past event · Newest
Server systems

Events

Recurring server activities and competitive minigames.

4 events
01 Race
Movement event

Boat Race

Race through the event course and compete for the fastest finish.

Command/boatrace join
Reward$20 for first place
02 Control
King of the hill

KOTH

Fight for control of the event point and hold your ground.

Command/warp koth
Reward1 KOTH Token for the winner
03 Arena
Elimination event

Spleef

Break the arena floor, outlast opponents, and stay above the drop.

Command/spleef join
Reward$20 for the winner
04 Objective
Team event

Capture

Play around the event objective and secure the capture before the other side.

Command/capture
RewardTeam 1.25x boost for 30 minutes
Server systems

Bosses & Mobs

Learn every boss, miniboss, and hostile mob throughout your RageMines adventure.

01
Bestiary overview

Overview

Each world introduces enemies with more demanding mechanics.

Every world introduces new enemies with increasingly difficult mechanics. Some worlds only introduce a boss, while others also contain mobs and mini bosses.

Understanding attack patterns, movement windows, and recovery moments greatly increases your chance of surviving each fight.

02
World progression overview

Enemy Progression

Enemies are grouped by the world where players encounter them.

WorldBossMini BossMobs
OverworldReinforced GolemNoneNone
CaveMega WardenNoneNone
SakuraThe LoversSamurai PandaNinja
IceworldIcedrakeNoneYeti, Iceologer
InfernoFlaMentalNoneAxolotl
AetherHerald of LightNoneLuminarch
OblivionAbyssal KnightNoneNone
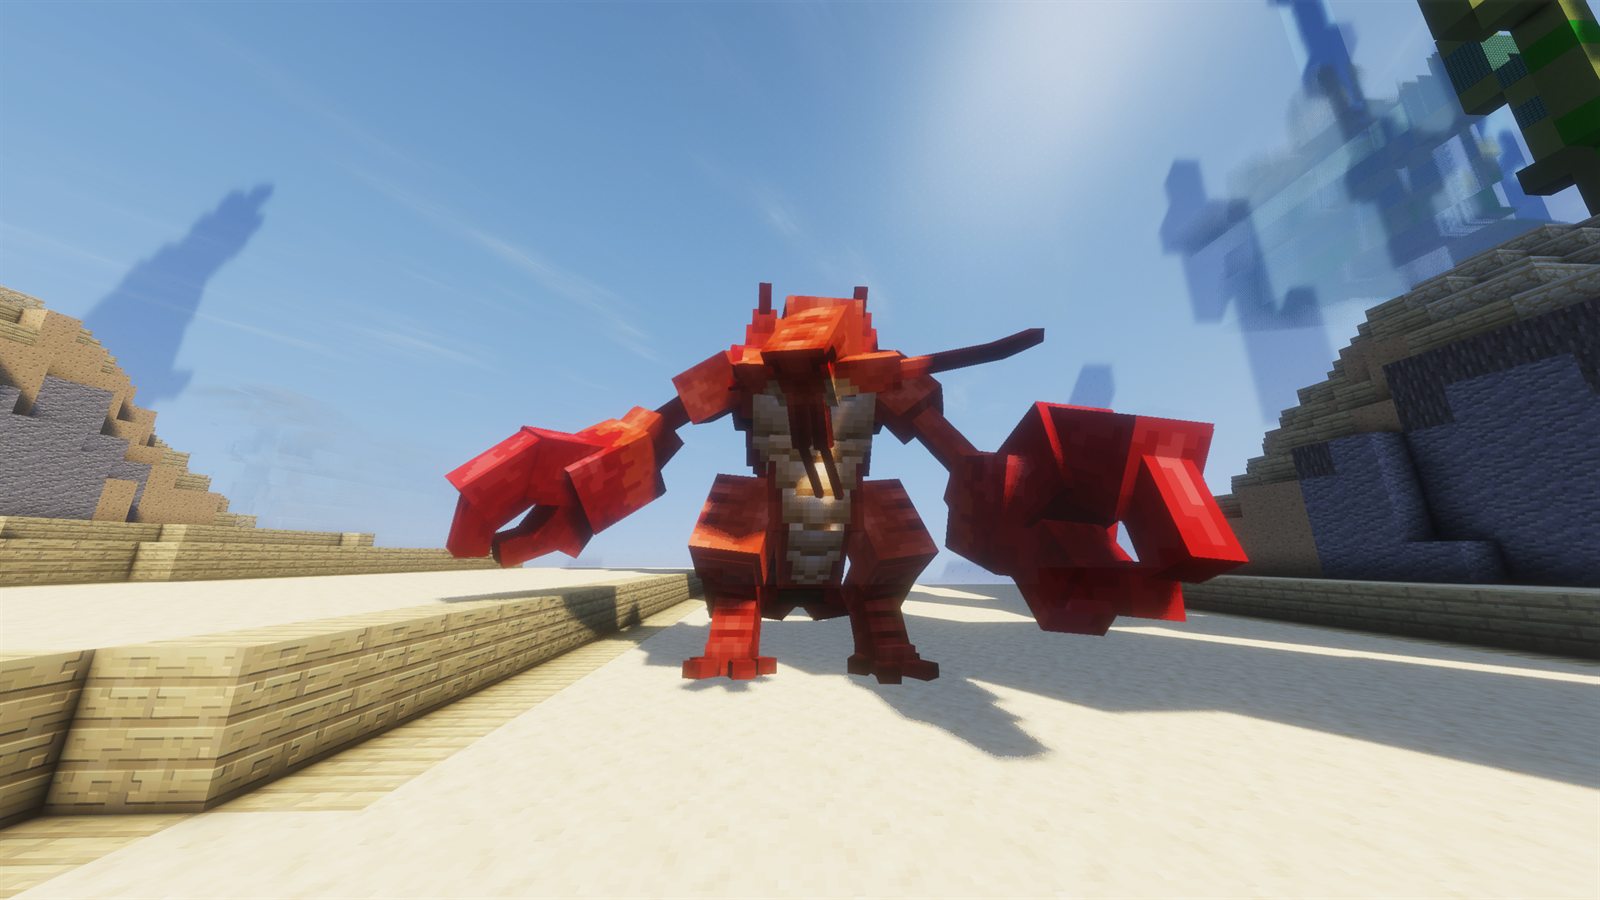
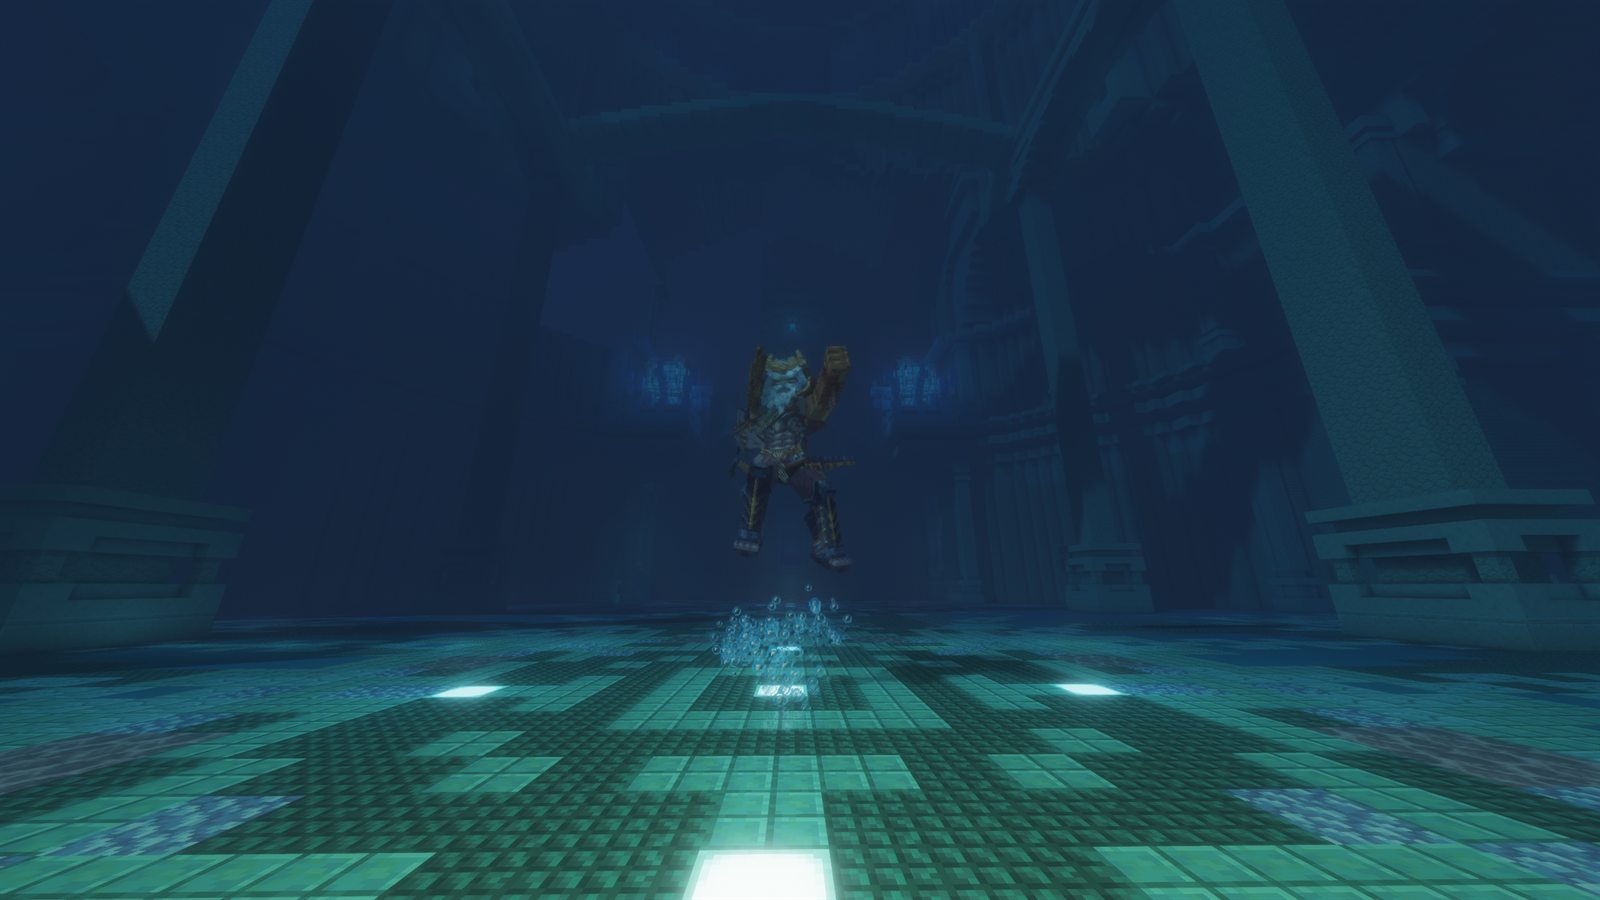
OceanNeptuneLobster, Big FihNone
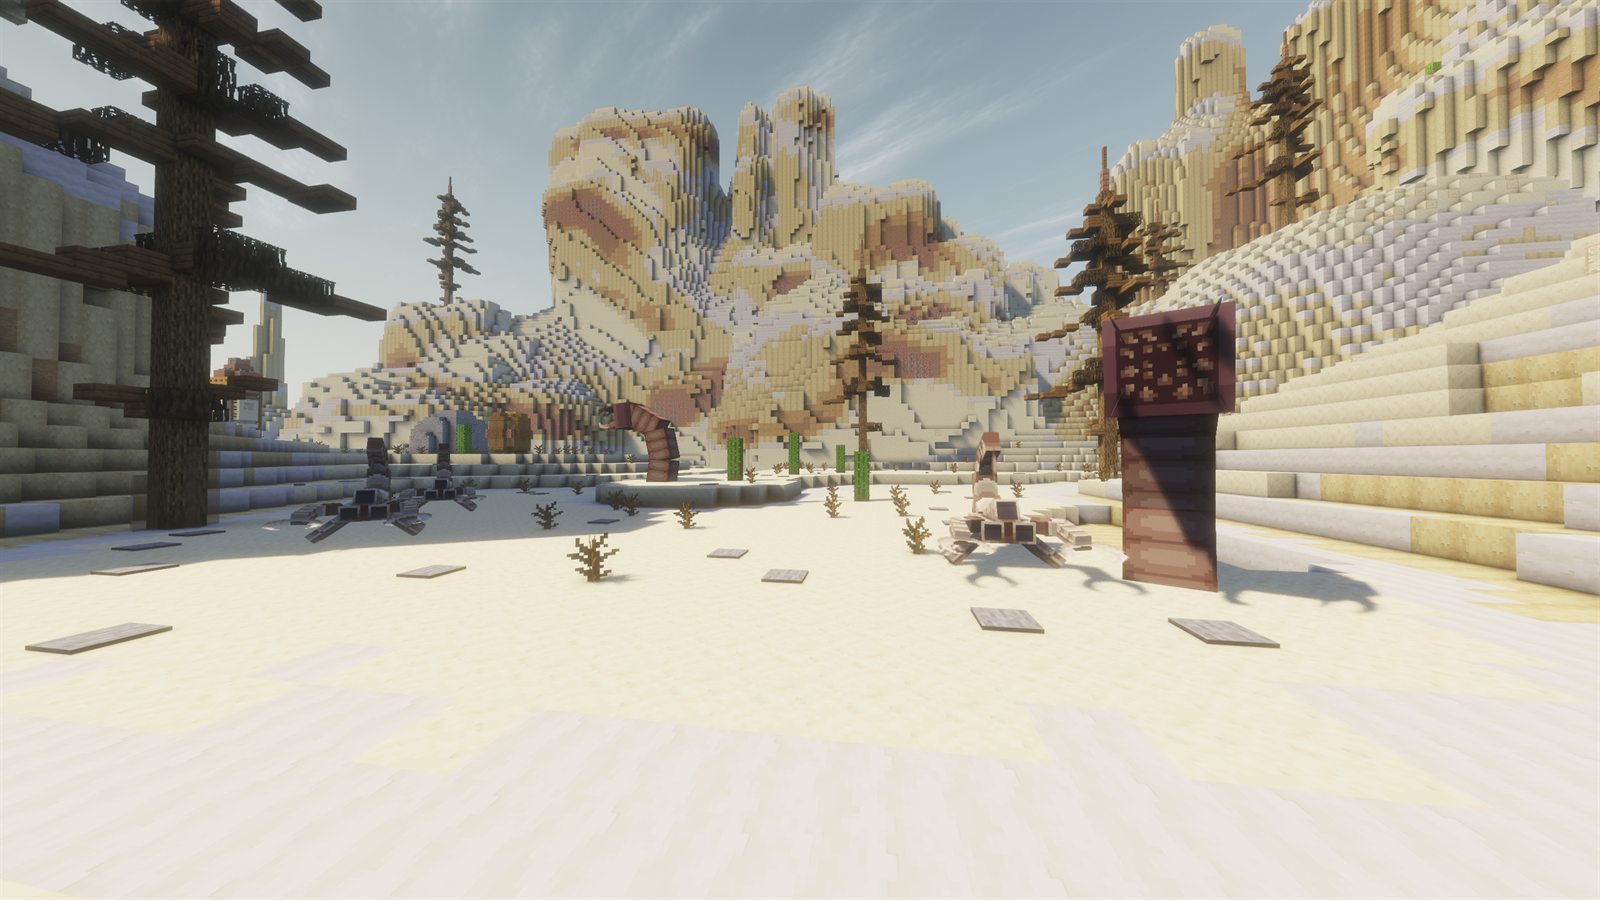
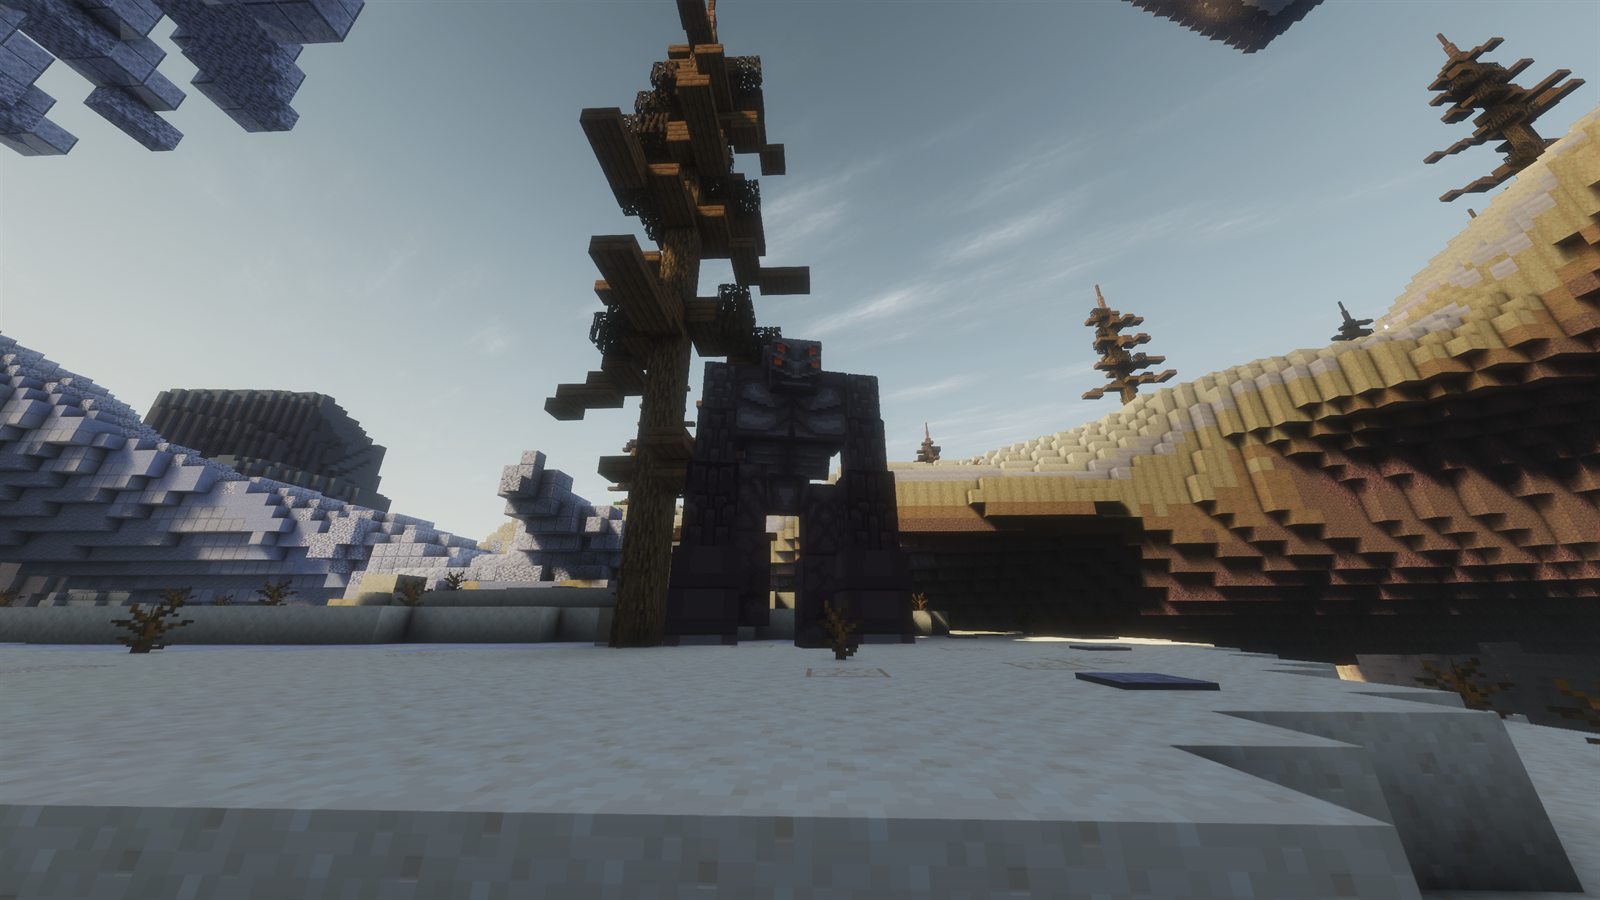
DesertA DogDesert GolemScorpion, Worm
01 World progressionOverworld 1 enemy
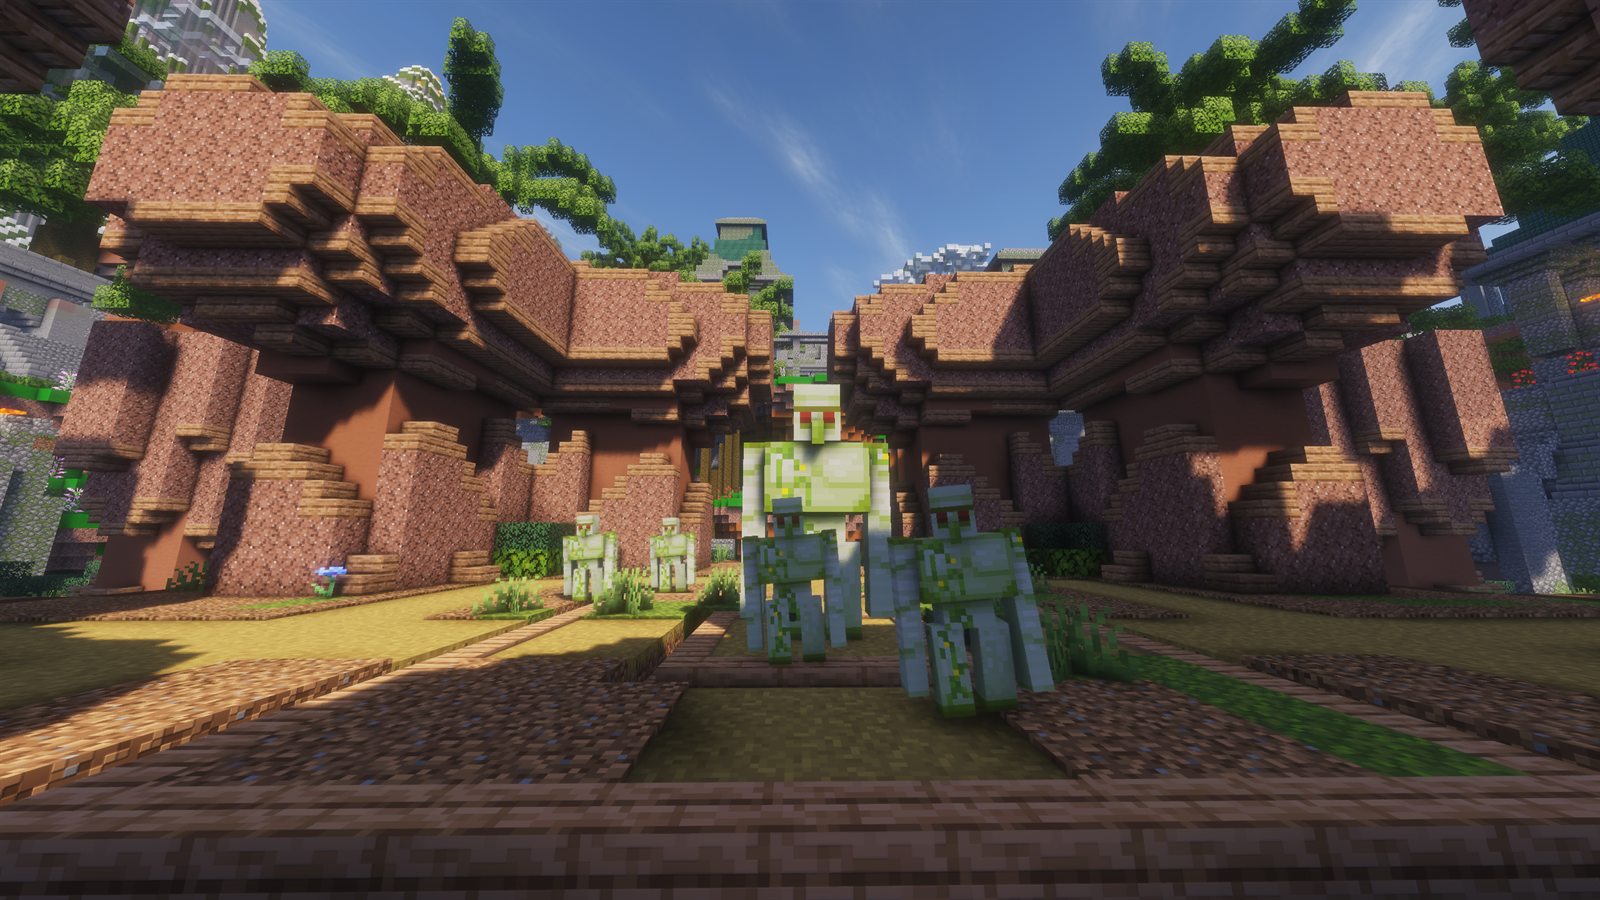
Reinforced Golem in the Overworld boss arena
Overworld bossReinforced Golem.
Overworld Boss

Reinforced Golem

BossEasy

The Reinforced Golem is the player's first boss encounter. It has moderate health and moderate damage, making it an introduction to boss mechanics.

AttackBasic melee attacks

Stay aware of your health while trading hits.

SummonSmall Golem minions

Clear minions before they crowd the fight.

ControlPlayer pull

The boss can pull nearby players toward itself.

  • This is a forgiving boss intended to teach the basics.
  • Use the terrain as a recovery tool whenever you need space.
02 World progressionCave 1 enemy
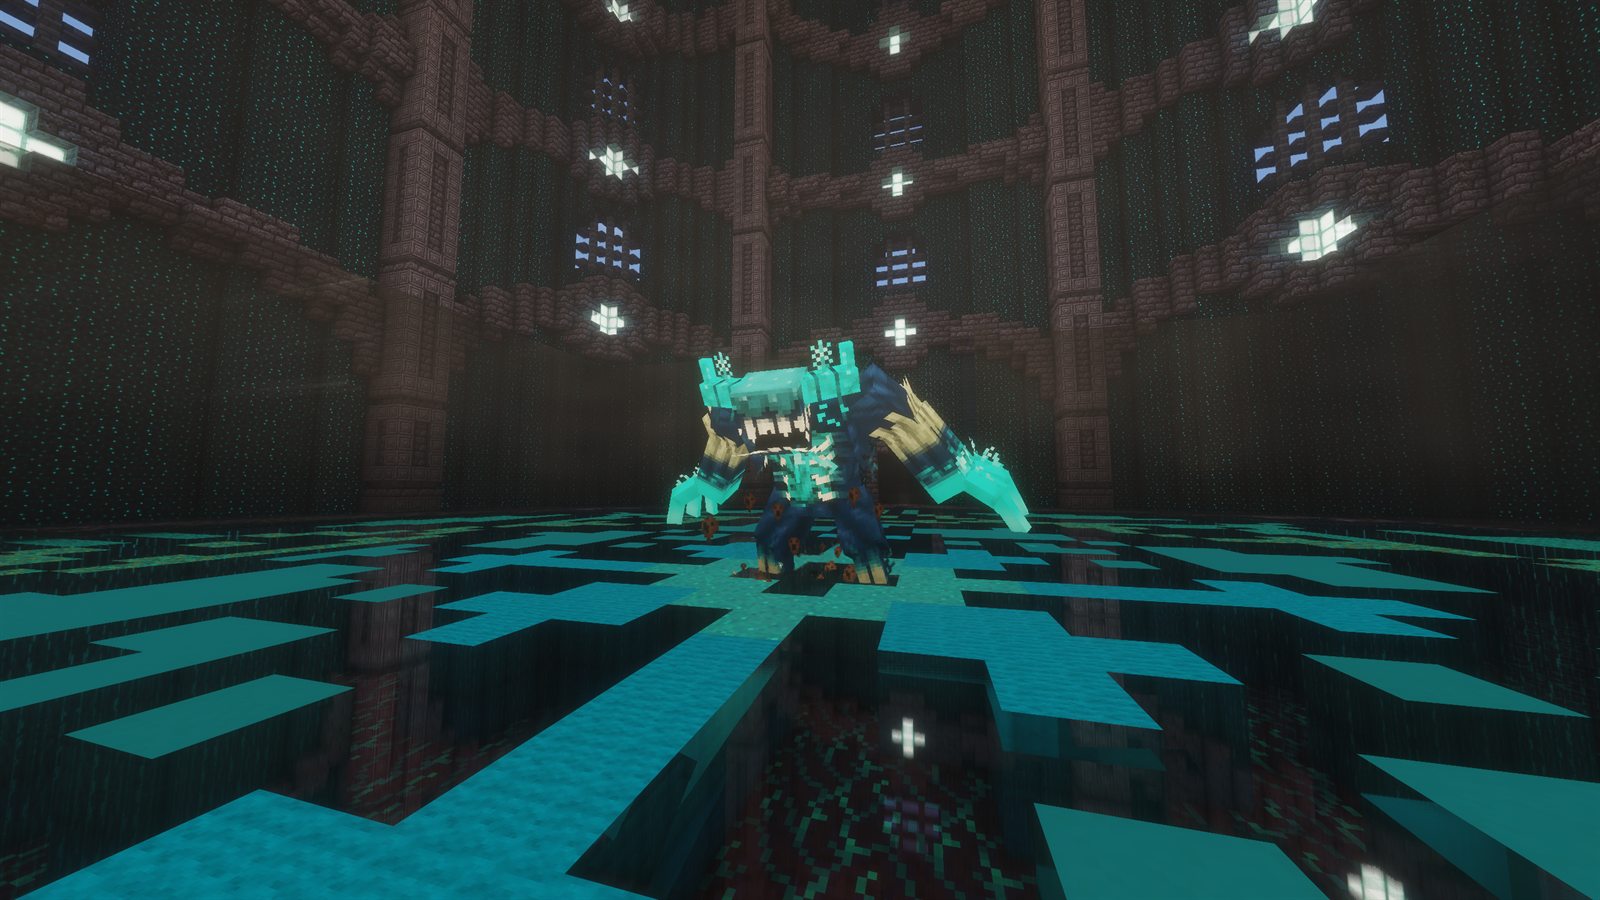
Mega Warden in the Cave arena
Cave bossMega Warden.
Cave Boss

Mega Warden

BossHard Early Game

The Mega Warden is extremely tanky and deals high damage, making it a major early-game wall for unprepared players.

AttackPowerful melee

Getting too close without healing ready is dangerous.

Range punishWarden Beam

Used when players are far away.

Mobility checkUnderground burrow

The burrow launches players into the air and can be avoided with a well-timed Grappling Hook.

  • Keep moving to reduce the chance of being hit by its abilities.
  • Time the Grappling Hook against the burrow attack instead of reacting late.
03 World progressionSakura 3 enemies
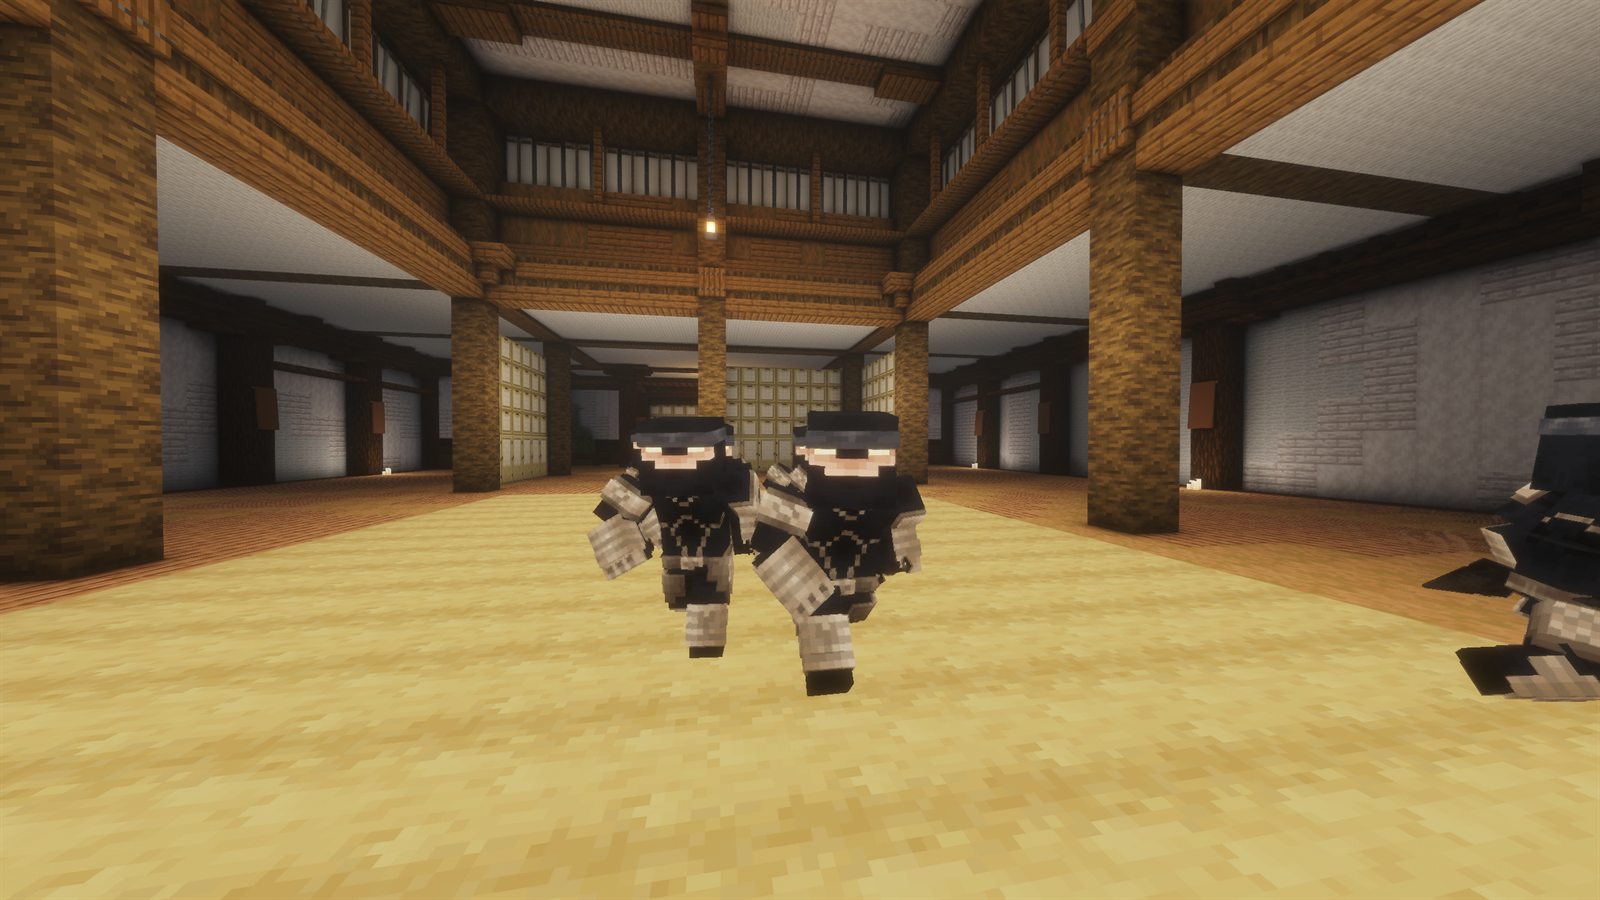
Ninjas inside the Sakura arena
Sakura mobNinja group.
Sakura Mob

Ninja

MobEasy

Ninjas are fast melee enemies that attack before quickly dashing away. Eight Ninjas can spawn at the same time.

PatternFast melee

They close distance quickly.

MovementDash away

They disengage after attacking.

Samurai Panda in Sakura
Sakura mini bossSamurai Panda.
Sakura Mini Boss

Samurai Panda

Mini BossMedium

The Samurai Panda is very slow but extremely powerful.

AttackHeavy melee

Do not stay in range after committing to a hit.

TellSlow attack animations

The long windup creates a clear dodge window.

The Lovers boss in the Sakura arena
Sakura bossThe Lovers.
Sakura Boss

The Lovers

BossMedium

The Lovers is the first three-phase boss players encounter.

Phase 1
Hanashiguro

A slow melee fighter whose most dangerous attack throws multiple Kunai before jumping backwards. Use the Grappling Hook to dodge.

Phase 2
The Lovers

A Nymph appears. At close range she uses a Trident; at long range she uses Charged Arrow and Arrow Rain.

Phase 3
Final Form

Hanashiguro breaks his armor and becomes extremely fast. The Nymph throws Tridents capable of stunning players.

RangeKunai and bow abilities

Stay mobile and use the Grappling Hook when needed.

ControlStunning Tridents

Avoid incoming Tridents during the final phase.

04 World progressionIceworld 3 enemies
Yeti in Iceworld
Iceworld mobYeti.
Iceworld Mob

Yeti

MobMedium

Yetis are large, slow enemies with high health and heavy melee attacks.

AttackHeavy melee

The slow timing gives you room to step back.

DefenseHigh health

Expect a longer fight than early mobs.

Iceologers and Snow Spirit in Iceworld
Iceworld mobIceologer group.
Iceworld Mob

Iceologer

MobMedium

Iceologers spawn in groups of three and create pressure with ranged attacks and summoned spirits.

ProjectileSnowballs

Keep moving to avoid repeated hits.

SummonSnow Spirits

Snow Spirits explode on contact.

Icedrake boss in Iceworld
Iceworld bossIcedrake.
Iceworld Boss

Icedrake

BossHard

The Grappling Hook is the key to defeating Icedrake, especially during aerial attacks and gusts.

BreathIcy Breath

Move behind the boss and attack the tail when positioned safely.

AreaIce Crystals

Move away from marked danger zones.

KnockbackWing Gust

Use the Grappling Hook to recover or dodge.

Air phaseAerial Ice Breath

Keep moving and use the Grappling Hook to avoid the breath line.

05 World progressionInferno 2 enemies
Inferno Axolotls
Inferno mobAxolotl group.
Inferno Mob

Axolotl

MobEasy

Axolotls use simple attacks that are easy to avoid with basic movement.

BreathLava Breath

Back away from the breath path.

ChargeCharging Dash

Move to the side when it commits.

FlaMental in the Inferno arena
Inferno bossFlaMental.
Inferno Boss

FlaMental

BossMedium

FlaMental layers melee pressure, fire projectiles, and repositioning into a demanding Inferno boss fight.

ComboThousand Punches

Back away whenever this is charged.

AreaFire Rings

Watch the arena and move through safe gaps.

ProjectileFireball Barrage

Ice Staff projectiles can destroy incoming Fireballs.

MeleeBoxing Combo and Uppercut

Respect close-range pressure and heal after mistakes.

MovementTeleportation

Reacquire the boss quickly after it relocates.

06 World progressionAether 2 enemies
Luminarch in Aether
Aether mobLuminarch.
Aether Mob

Luminarch

MobMedium

Luminarchs are armored Aether enemies with a clear damage opportunity when their core is exposed.

ComboRapid Punch Combo

Give yourself room before it starts chaining hits.

AreaGround Slam

Move out before the slam connects.

WindowCore Exposure Phase

The armor opens and exposes the core.

Herald of Light in the Aether arena
Aether bossHerald of Light.
Aether Boss

Herald of Light

BossHard

Herald of Light is a three-phase fight that demands strong healing, clean movement, and careful positioning.

Phase 1
Opening Form

Basic melee combat, Teleport, and Double Slash.

Phase 2
Gladiator Form

Spear Throw, Launch Attack, and more aggressive melee.

Phase 3
Light Storm

Frequent teleports, Drill Charge, Rotating Mirrors, Falling Light Beams, and a 360-degree Light Beam.

07 World progressionOblivion 1 enemy
Abyssal Knight in Oblivion
Oblivion bossAbyssal Knight.
Oblivion Boss

Abyssal Knight

BossVery Hard

The fight becomes significantly harder below roughly 40% health.

Phase 1
Standard Duel

The opening phase focuses on standard melee combat.

Phase 2
Giant Sword

The boss gains a giant sword, a green-glowing shield, slash attacks, shockwaves, explosions, leap attacks.

SlashVertical and Horizontal Slashes

Avoid every ranged slash.

AreaShield Shockwave and Explosion

Heal often and move out immediately.

DefenseDefensive Shield

Do not become greedy with damage.

08 World progressionOcean 3 enemies
Big Fih underwater in Ocean
Ocean mini bossBig Fih.
Ocean Mini Boss

Big Fih

Mini BossVariable

Big Fih is a fishing mini boss that can randomly spawn while fishing. It behaves like a regular Elden Guardian, but has more health and deals more damage.

SpawnRandom fishing spawn

Big Fih can appear when players are fishing.

BehaviorElden Guardian style

Expect regular Elden Guardian behavior with higher health and damage.

LocationOcean damage spike

It is quite weak if fished outside of Ocean, but deals significantly more damage inside Ocean.

Lobster mini boss in Ocean
Ocean mini bossLobster.
Ocean Mini Boss

Lobster

Mini BossHard

The Lobster is a dangerous Ocean mini boss with strong melee pressure and disruptive attacks.

ControlGrab & Slam

Avoid being caught in close range.

AttackHeavy Melee

Respect its damage up close.

MobilityLeap Attack

Dark Orb Staff can interrupt the leap.

Neptune underwater in the Ocean arena
Ocean bossNeptune.
Ocean Boss

Neptune

BossVery Hard

Neptune is fought entirely underwater. Bring at least an Aqualith Helmet, and preferably Aqualith Boots.

ProjectileTrident Throw

Keep moving underwater.

AreaWater Tornado

Do not drift into the tornado path.

ChargeFast Swim Charge

Maintain enough room to dodge.

WindowHealing Bubble Phase

This is the safest opportunity to deal heavy damage.

09 World progressionDesert 4 enemies
Scorpions and Worms in the Desert
Desert mobScorpion.
Desert Mob

Scorpion

MobHard

Scorpions pressure players with slams and poison.

AttackClaw Slam

Move away when the slam is telegraphed.

DebuffPoison Tail

Poison significantly slows players.

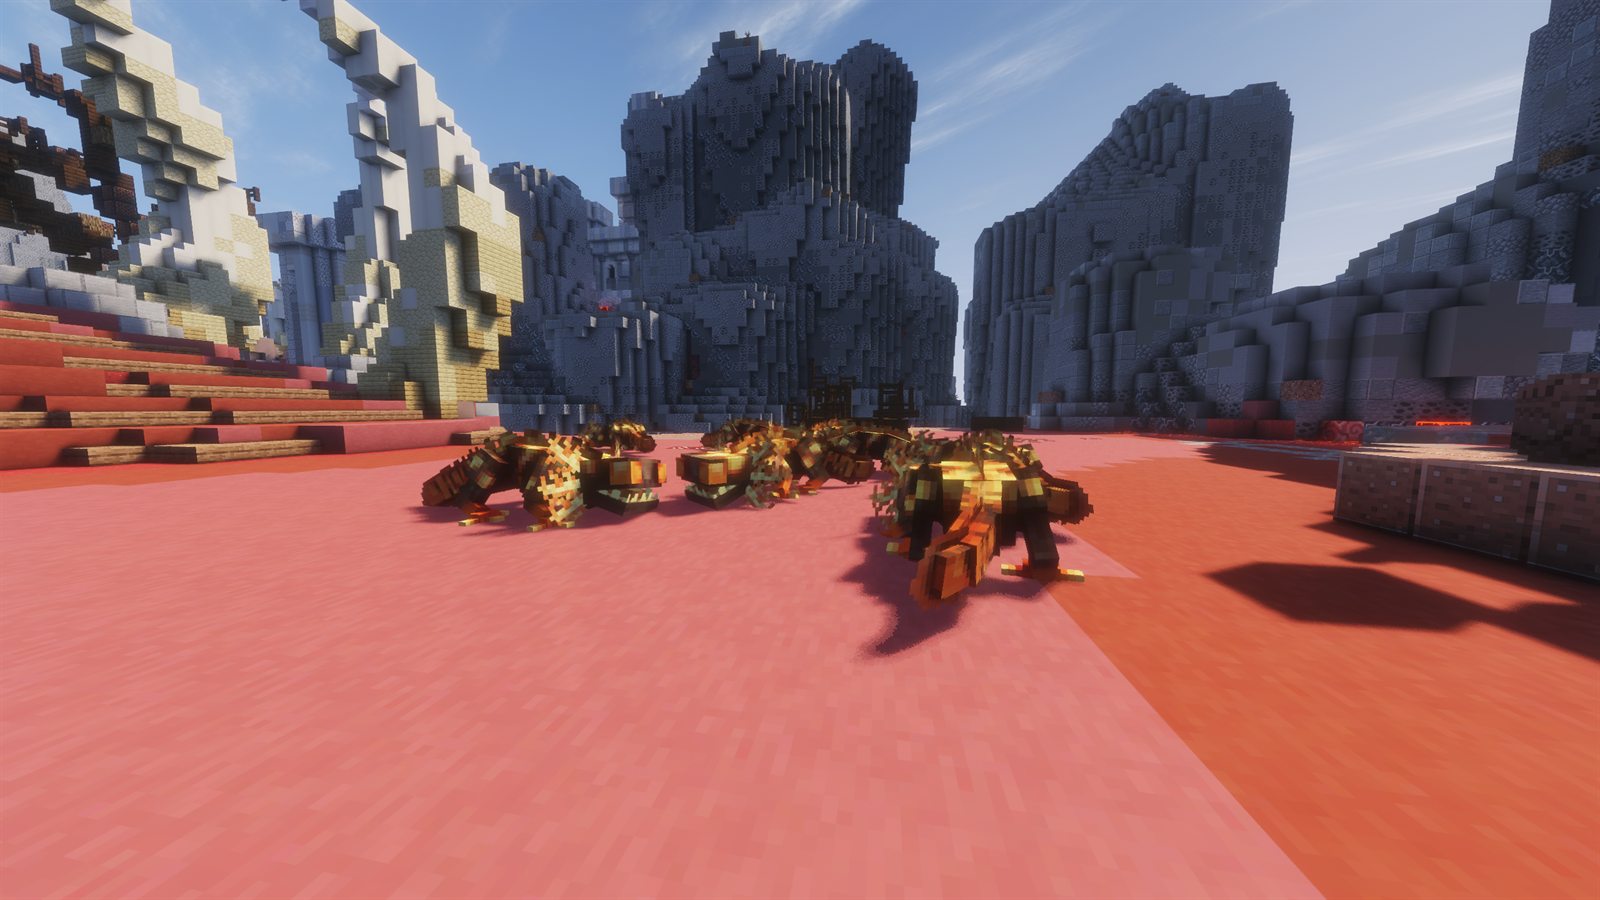
Worms and Scorpions in the Desert
Desert mobWorm.
Desert Mob

Worm

MobHard

Worms are persistent ranged enemies and should be dealt with quickly.

RangeLong-range Spit

Close distance or break line of sight.

AreaGround Slam

Move out before the slam lands.

Desert Golem in the Desert
Desert mini bossDesert Golem.
Desert Mini Boss

Desert Golem

Mini BossEasy

The Desert Golem randomly appears while Brushing.

AttackGround Slam

Dodge the telegraphed impact.

LineRock Line

Move out of the line before it reaches you.

AreaX-shaped Sand Attack

Use movement or the Grappling Hook to dodge.

A Dog boss in the Desert
Desert bossA Dog.
Desert Boss

A Dog

BossHard

A Dog is a hard Desert boss built around heavy melee pressure and repeated movement checks.

AttackHeavy melee attacks

Do not overstay after attacking.

AreaGround Slam

Back away from the impact.

MovementFire Jump Back

Watch for the reposition after fire pressure.

Gap closeLeap Attack

Keep healing ready through the fight.

10
General Boss Tips

Before You Fight

Small habits make the hardest fights much more manageable.

01Always carry healing food.
02The Grappling Hook becomes one of the most valuable tools during later boss fights.
03Learn attack patterns before committing to melee.
04Some fights are significantly easier with a bow.
05Teaming up can greatly simplify the hardest encounters.
06Do not panic; most attacks are telegraphed and can be avoided with practice.
Server systems

Beacons

Discover hidden Beacons across RageMines and exchange them for easy money.

Hidden collectibles

Overview

Beacons are repeatable collectibles hidden throughout RageMines worlds.

Beacons are hidden collectibles scattered throughout the different worlds of RageMines.

Every Beacon respawns every 1 hour, allowing players to collect them repeatedly.

Once collected, Beacons can be traded at the Beacon & Blood NPC located at Spawn.

Each Beacon is worth$15
Active world route

Beacon Locations

There are 12 Beacon entries documented on this page, with active worlds listed first in progression order.

WorldCoordinatesRespawnTrade Value
Overworld1248 165 16441 Hour$15
Cave-759 52 -4331 Hour$15
Sakura1549 158 -6141 Hour$15
Iceworld2471 24 6531 Hour$15
Inferno1935 42 -21511 Hour$15
Aether1811 147 7431 Hour$15
Oblivion3863 263 24281 Hour$15
Ocean160 246 651 Hour$15
Desert-889 171 14681 Hour$15
Magic-677 158 24591 Hour$15
Overworld Beacon location at coordinates 1248 165 1644
OverworldBeacon at 1248 165 1644.
World Beacon

Overworld

Respawn Time1 Hour
Trade Value$15
Coordinates1248 165 1644
Cave Beacon location at coordinates -759 52 -433
CaveBeacon at -759 52 -433.
World Beacon

Cave

Respawn Time1 Hour
Trade Value$15
Coordinates-759 52 -433
Sakura Beacon location at coordinates 1549 158 -614
SakuraBeacon at 1549 158 -614.
World Beacon

Sakura

Respawn Time1 Hour
Trade Value$15
Coordinates1549 158 -614
Iceworld Beacon location at coordinates 2471 24 653
IceworldBeacon at 2471 24 653.
World Beacon

Iceworld

Respawn Time1 Hour
Trade Value$15
Coordinates2471 24 653
Inferno Beacon location at coordinates 1935 42 -2151
InfernoBeacon at 1935 42 -2151.
World Beacon

Inferno

Respawn Time1 Hour
Trade Value$15
Coordinates1935 42 -2151
Aether Beacon location at coordinates 1811 147 743
AetherBeacon at 1811 147 743.
World Beacon

Aether

Respawn Time1 Hour
Trade Value$15
Coordinates1811 147 743
Oblivion Beacon location at coordinates 3863 263 2428
OblivionBeacon at 3863 263 2428.
World Beacon

Oblivion

Respawn Time1 Hour
Trade Value$15
Coordinates3863 263 2428
Ocean Beacon location at coordinates 160 246 65
OceanBeacon at 160 246 65.
World Beacon

Ocean

Respawn Time1 Hour
Trade Value$15
Coordinates160 246 65
Desert Beacon location at coordinates -889 171 1468
DesertBeacon at -889 171 1468.
World Beacon

Desert

Respawn Time1 Hour
Trade Value$15
Coordinates-889 171 1468
Magic Beacon location at coordinates -677 158 2459
MagicBeacon at -677 158 2459.
World Beacon

Magic

Respawn Time1 Hour
Trade Value$15
Coordinates-677 158 2459
Event World Beacons

Event World Beacons

Event World Beacons are separated from the main progression world route.

Valentine Event World Beacon location at coordinates 732 228 -587
ValentineEvent Beacon at 732 228 -587.
Event World

Valentine

Respawn Time1 Hour
Trade Value$15
Available Event
Coordinates732 228 -587
Easter Event World Beacon location at coordinates -553 154 3131
EasterEvent Beacon at -553 154 3131.
Event World

Easter

Respawn Time1 Hour
Trade Value$15
Available Event
Coordinates-553 154 3131
Cash out at Spawn

Trading Beacons

Turn collected Beacons into money at the Beacon & Blood NPC.

Every collected Beacon can be exchanged at the Beacon & Blood NPC.

The Beacon & Blood NPC is located at Spawn.

1 Beacon $15
Jump to the Beacon & Blood NPC
Efficient collecting

Tips & Tricks

Use Beacons as a simple repeatable source of income.

01Beacons respawn every hour, making them a reliable source of income.
02Collect them whenever you're progressing through a world instead of making a separate trip.
03Once you unlock more worlds, you can create a farming route that visits every Beacon in progression order.
04Don't forget to trade them at the Beacon & Blood NPC before they fill your inventory.
Server systems

Staffs & Rare Drops

Discover the rarest drops, unique staffs, cosmetics, and collectible items throughout RageMines.

01
How rare items work

Overview

Unique items appear as players move through world progression.

Certain bosses, minibosses, and special mechanics throughout RageMines have a chance to drop exclusive items.

Some items are purely cosmetic, while others provide useful utility or powerful combat abilities.

Staffs are unique weapons with cooldown-based abilities and become an important part of PvE and PvP later in progression.

02
Magic upgrade location

Staff Upgrades

Every staff has an upgrade location later in progression.

All staffs can be upgraded in the Magic world at the Wizard Hut. You can access Magic with /warp magic.

Magic Warp Command /warp magic
Wizard Hut Coordinates -685 149 2363
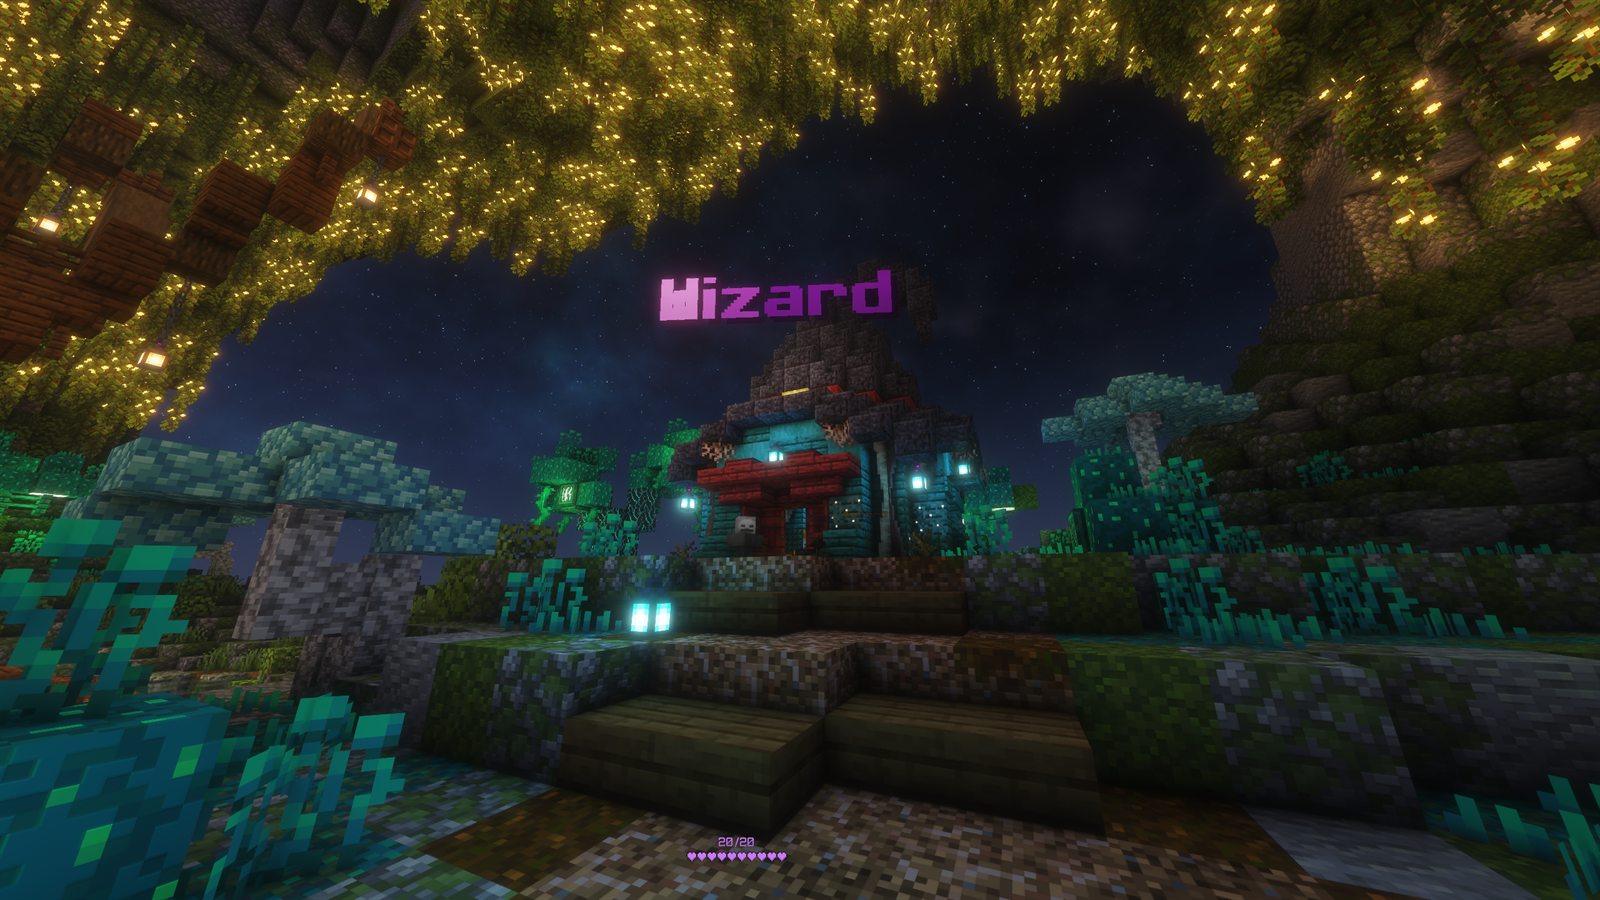
The Wizard Hut in Magic where staffs can be upgraded
Magic worldThe Wizard Hut staff upgrade location.
01 World progressionOverworld 1 item
Overworld rare food

Super Pizza

Rare DropFood
Dropped byReinforced Golem
TypeRare Food

Super Pizza restores your hunger bar, but it does not restore saturation.

  • Can be used infinitely.
  • Has a 1 minute cooldown between uses.
02 World progressionCave 1 item
Cave cosmetic

Warden Hat

Rare DropCosmetic
Dropped byMega Warden
TypeCosmetic
Equipped with/hat
Bonus+0.05 Speed

The Warden Hat grants +0.05 Speed while equipped. Players must use the /hat command to wear it.

Getting /hat Own any Rank, or purchase it in Iceworld for $500.
03 World progressionSakura 2 items
Sakura rare food

Spicy Bread Bun

Rare DropFood
Dropped byNinja
TypeRare Food

Spicy Bread Bun provides the same effects as a regular Hot Dog with an extra instant heal and fire resistance.

  • Fire Resistance.
  • Instant Heal.
  • Very useful, but not a reliable food source because of its rarity.
Sakura utility item

Wedding Ring

Rare DropUtility
Dropped byLovers Boss
TypeRare Utility Item

If two players each own a Wedding Ring, they can get married.

  • Using /kiss with your partner every 24 hours rewards a Money Key.
  • The Money Key can be opened at the Money Crate located at Spawn.
  • Marriage is mostly cosmetic and social, with no major gameplay advantages beyond the daily reward.
04 World progressionIceworld 2 items
Iceworld staff

Ice Staff

Rare DropStaff
Dropped byIceologer, Yeti
TypeStaff
AbilityIceball
CooldownVery short

The Ice Staff fires a snowball that deals decent damage and slows the target.

Its very short cooldown makes it useful throughout progression.

Iceworld rare armor

Drakewind Boots

Rare DropUtility
TypeRare Armor
Custom enchantmentTailwind
Requires/fly access

The Drakewind Boots have the custom enchantment Tailwind, which allows players to fly faster.

Getting /fly Own any Rank, or purchase it in Aether (P2+) for $7,500.
05 World progressionInferno 1 item
Inferno staff

Fire Staff

Rare DropStaff
Dropped byFlaMental
TypeStaff
AbilityFireball

The Fire Staff launches a fireball that deals decent damage.

  • Longer cooldown than the Ice Staff.
  • Generally considered one of the weaker staffs.
06 World progressionAether 2 items
Aether staff

Healing Staff

Rare DropStaff
Dropped byHerald Of Light
TypeStaff
AbilityInstant self-heal
CooldownModerate

The Healing Staff instantly heals the user whenever it is activated.

One of the most useful staffsIts instant healing ability makes it a strong utility option.
Aether secret trade

Lightning Staff

StaffUtility
TypeSecret Trade Staff
Trade Cost3 Aether
Secret Trade Location 1684 56 706

The Lightning Staff summons lightning onto your target.

It is primarily used for PvP because it can tag players from a long distance.

07 World progressionOblivion 1 item
Oblivion staff

Dark Orb Staff

Rare DropStaff
Dropped byAbyssal Knight
TypeStaff
ProjectileWither Skull
Default Cooldown5 seconds

The Dark Orb Staff fires a Wither Skull. If it hits a target, it stuns them for 2 seconds.

It is considered one of the strongest PvP staffs while also being situationally useful in PvE for delaying bosses or enemies.

08 World progressionOcean 2 items
Ocean rare food

Fih

Rare DropFood
Dropped byLobster Mini Boss
TypeRare Food

Fih functions similarly to the Spicy Bread Bun, but with stronger effect.

Like other rare foods, it is not reliable because of its low drop rate.

Ocean staff

Wave Staff

Rare DropStaff
Dropped byNeptune
TypeStaff
EffectPushes nearby enemy players away

The Wave Staff creates a large wave centered around the player.

It is primarily designed for PvP, allowing players to escape dangerous situations.

Although useful, it is generally not considered a top-tier staff because of its rarity and the difficulty of obtaining it.

09 World progressionDesert 2 items
Desert collectible

Ancient Coin

Rare DropUtility
TypeRare Collectible
Used forPharaoh's Wrath trade

Players must first obtain an Ancient Coin from brushing before they can receive Pharaoh's Wrath.

Trade Location -859 96 1717
03
Staff reference

Staff Comparison

Compare each staff by source, use case, cooldown style, and combat role.

StaffObtained FromMain UseCooldown StylePvEPvP
Ice StaffIceologer, YetiDamage and slowing targetsVery short cooldownUseful throughout progressionSlows the target
Fire StaffFlaMentalFireball damageLonger than Ice StaffGenerally one of the weaker staffsDeals decent damage
Healing StaffHerald Of LightInstant self-healModerate cooldownStrong utilityStrong utility
Lightning StaffSecret trade at 1684 56 706; costs 3 AetherSummons lightning onto a targetShort cooldownNot the best damageLong-distance player tags
Dark Orb StaffAbyssal KnightWither Skull stun5 seconds by defaultCan delay bosses or enemiesOne of the strongest PvP staffs
Wave StaffNeptunePushes nearby enemy players awayModerate cooldownNot usefulEscaping dangerous situations
Pharaoh's WrathBrushing, then Ancient Coin trade at -859 96 1717Massive beam damageCharge before firing; interruption places it on cooldownMassive multi-target beamVery big damage potential if used correctly
04
Player advice

Tips & Tricks

Use this checklist when deciding what to keep and what to prioritize.

01Staffs become increasingly important during later progression.
02Healing Staff is one of the best utility staffs.
03Dark Orb Staff is excellent for PvP and can temporarily stop dangerous enemies.
04Wave Staff is ideal for escaping PvP situations.
05Rare foods are powerful but should not be relied upon as your primary food source.
06Keep every rare drop you obtain because many are unique and difficult to replace.
07Use /warp magic to reach Magic, then upgrade staffs at the Wizard Hut at -685 149 2363.
Team combat and shard progression

Dungeons

Challenge powerful enemies, earn valuable Shards, and strengthen your team.

01
Before you queue

Creating a Team

All Dungeons require a team except Dungeon Farm.

Players can join an existing team or create their own team before entering team-based Dungeons. Once a team exists, every active team member can help start a Dungeon.

01Join an existing teamUse an already-created team.
02Create your own teamStart a team for $100.
Command /team create <name>
$100
  • Any member can start a Dungeon.The Team Leader is not required.
  • AFK players cannot enter Dungeons.Only active players can join the run.
  • Every active player must stand completely still for 5 seconds.The Dungeon starts after the stillness requirement is met.
Chat confirmation asking the player to run /team create again to confirm the $100 team creation cost
Team creationRun the command again to confirm the $100 team creation cost.
02
Access methods

Starting a Dungeon

Dungeons can be accessed through the NPC, commands, or the Dungeon Farm warp.

Dungeon NPC

Speak to the Dungeon NPC located on the left side of Spawn.

Dungeon Command

/dg start <dungeon name>

Dungeon Farm

/warp dungeon_farm
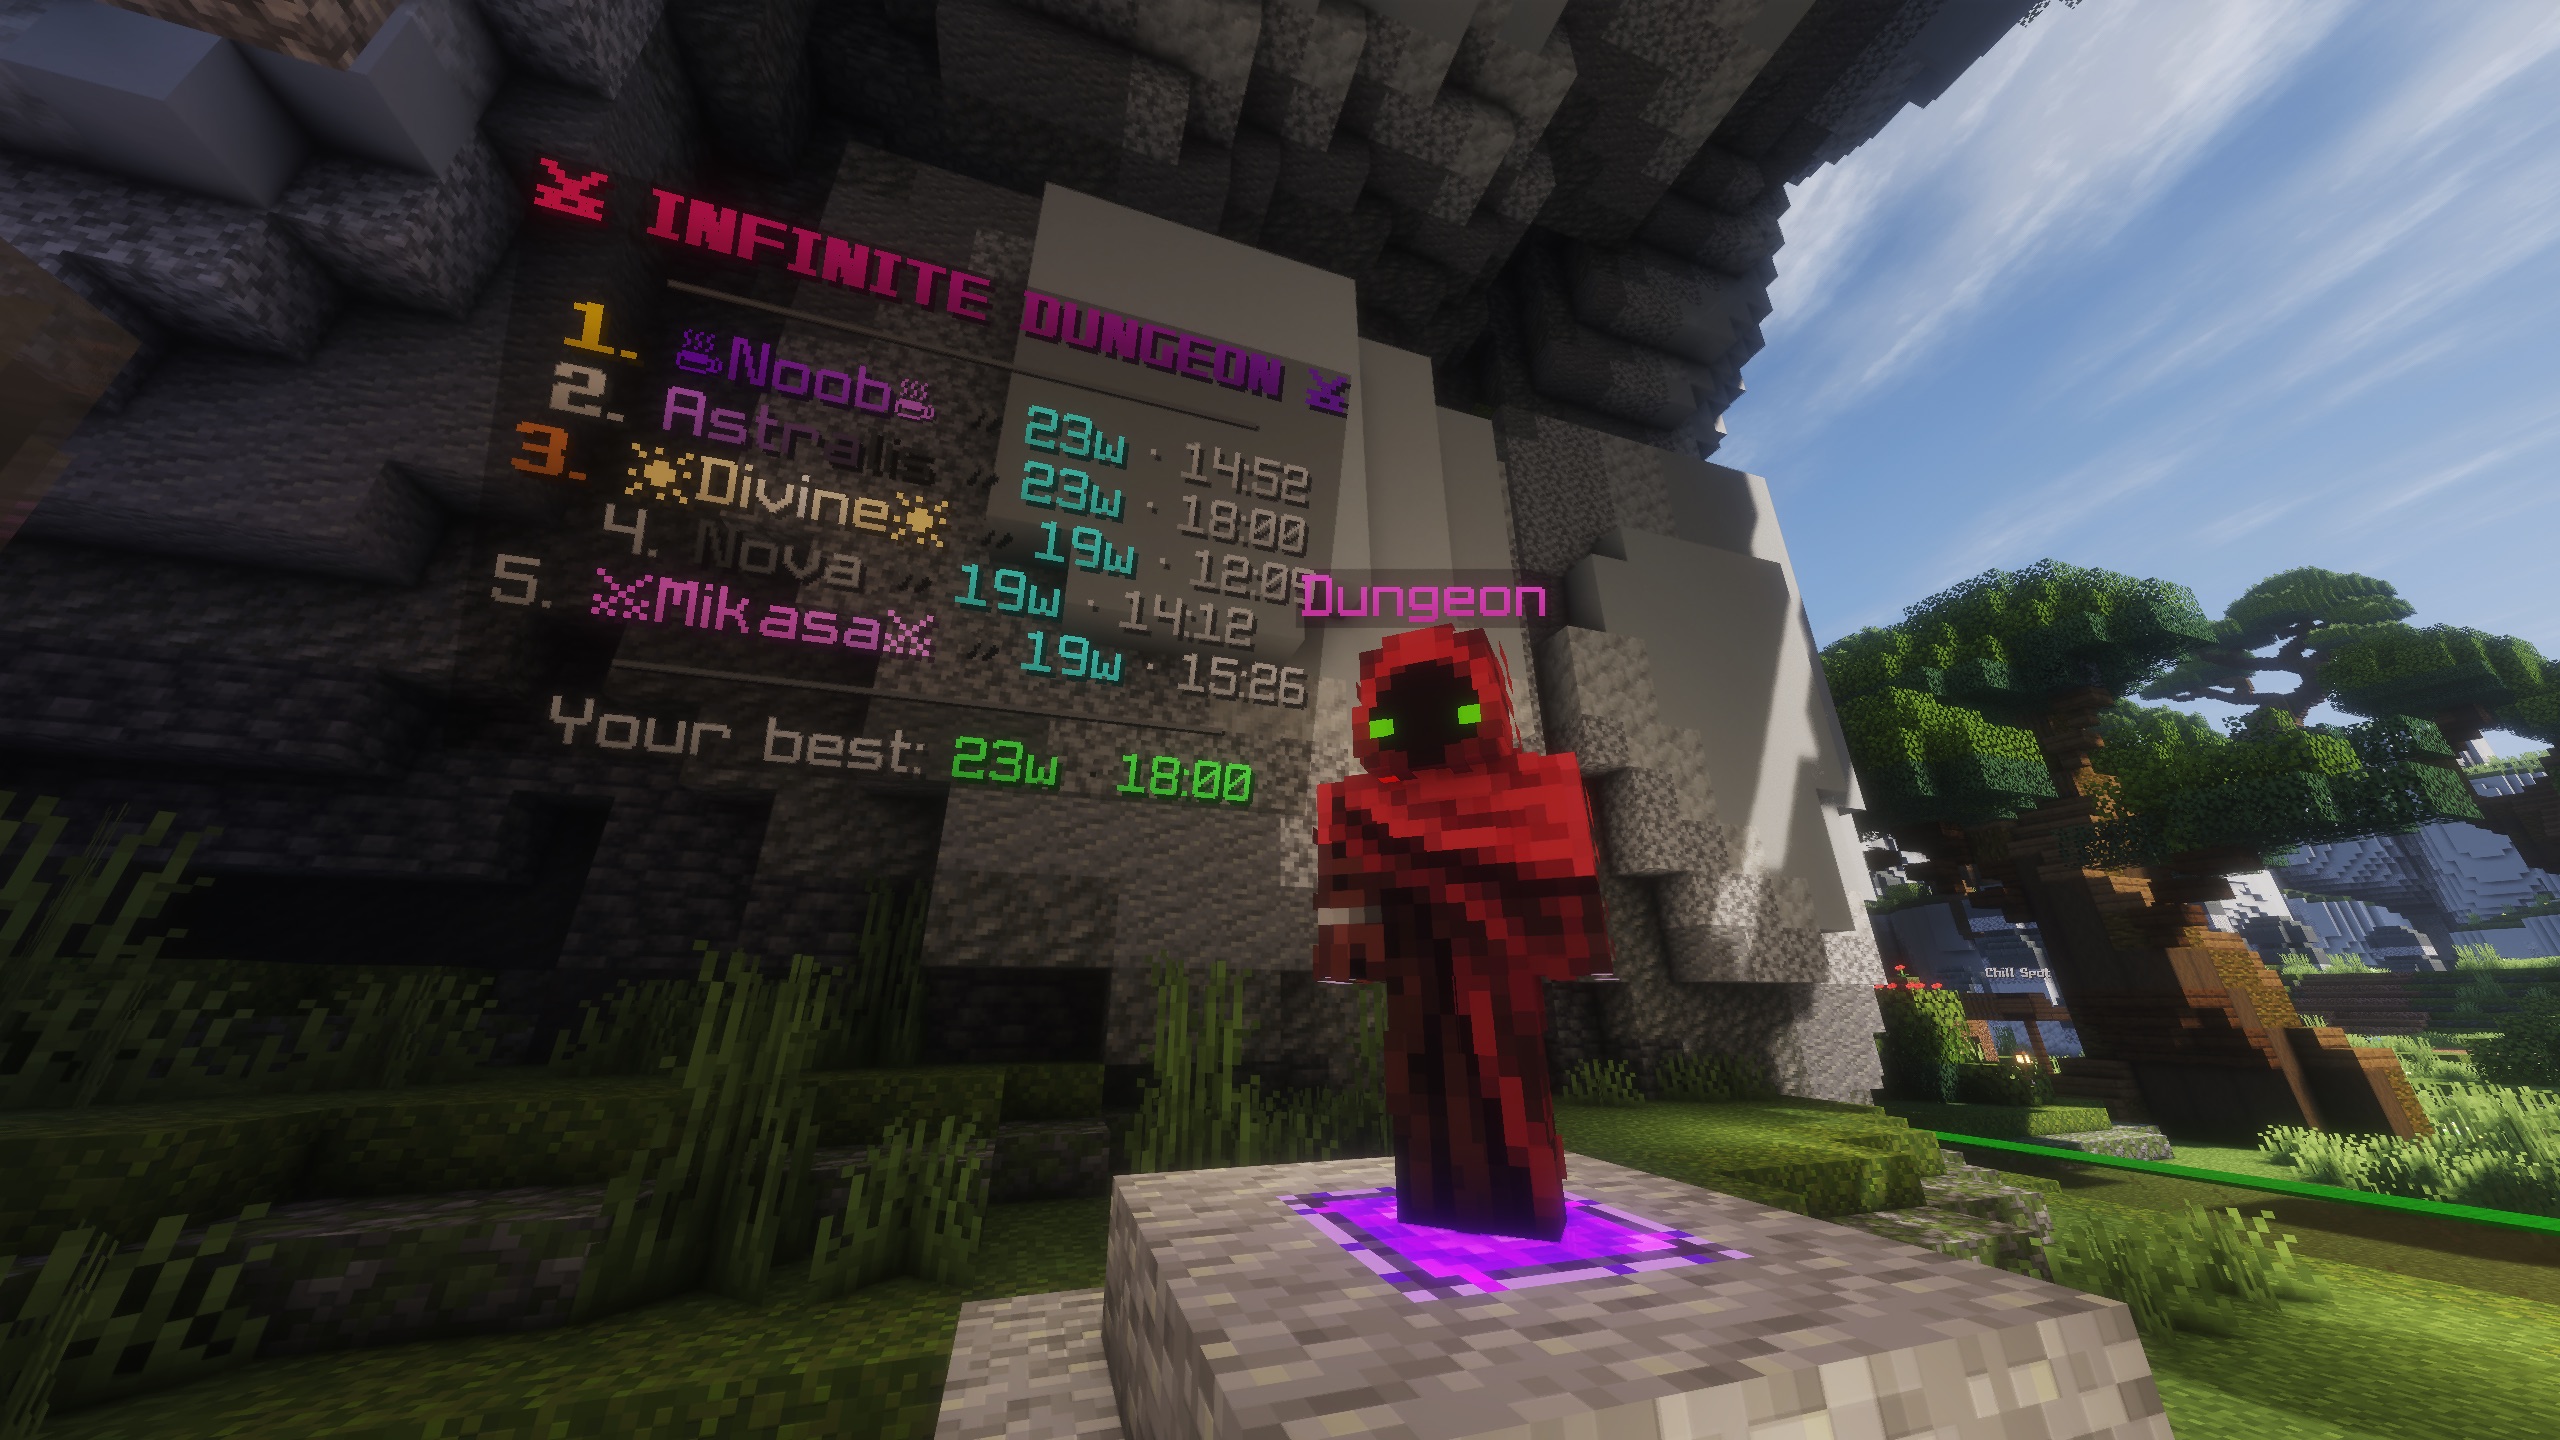
Dungeon NPC beside the Infinite Dungeon leaderboard at Spawn
Dungeon NPCThe Dungeon NPC stands beside the Infinite Dungeon leaderboard.
03
Gear and team levels

Entry Requirements

Every player must be prepared before entering a Dungeon.

Required Equipment

  • Full ArmorEvery player must wear a full armor set.
  • Offhand TalismanEvery player must equip a Talisman in their offhand.
DungeonRequired Team Level
Daily1
Easy1
Medium2
Hard4
Infinite4
Dungeon FarmNone
04
Choose your challenge

Dungeon Overview

Every Dungeon provides a different challenge and rewards different types of Shards.

Section 05Daily Dungeon Very Easy
AvailabilityOnce every 24 hours
Reward$20
DifficultyVery Easy

The Daily Dungeon consists of two waves. After clearing both waves, players receive $20 and the 24-hour cooldown immediately begins.

Wave 1Reinforced Golems
  • 2 Reinforced Golems
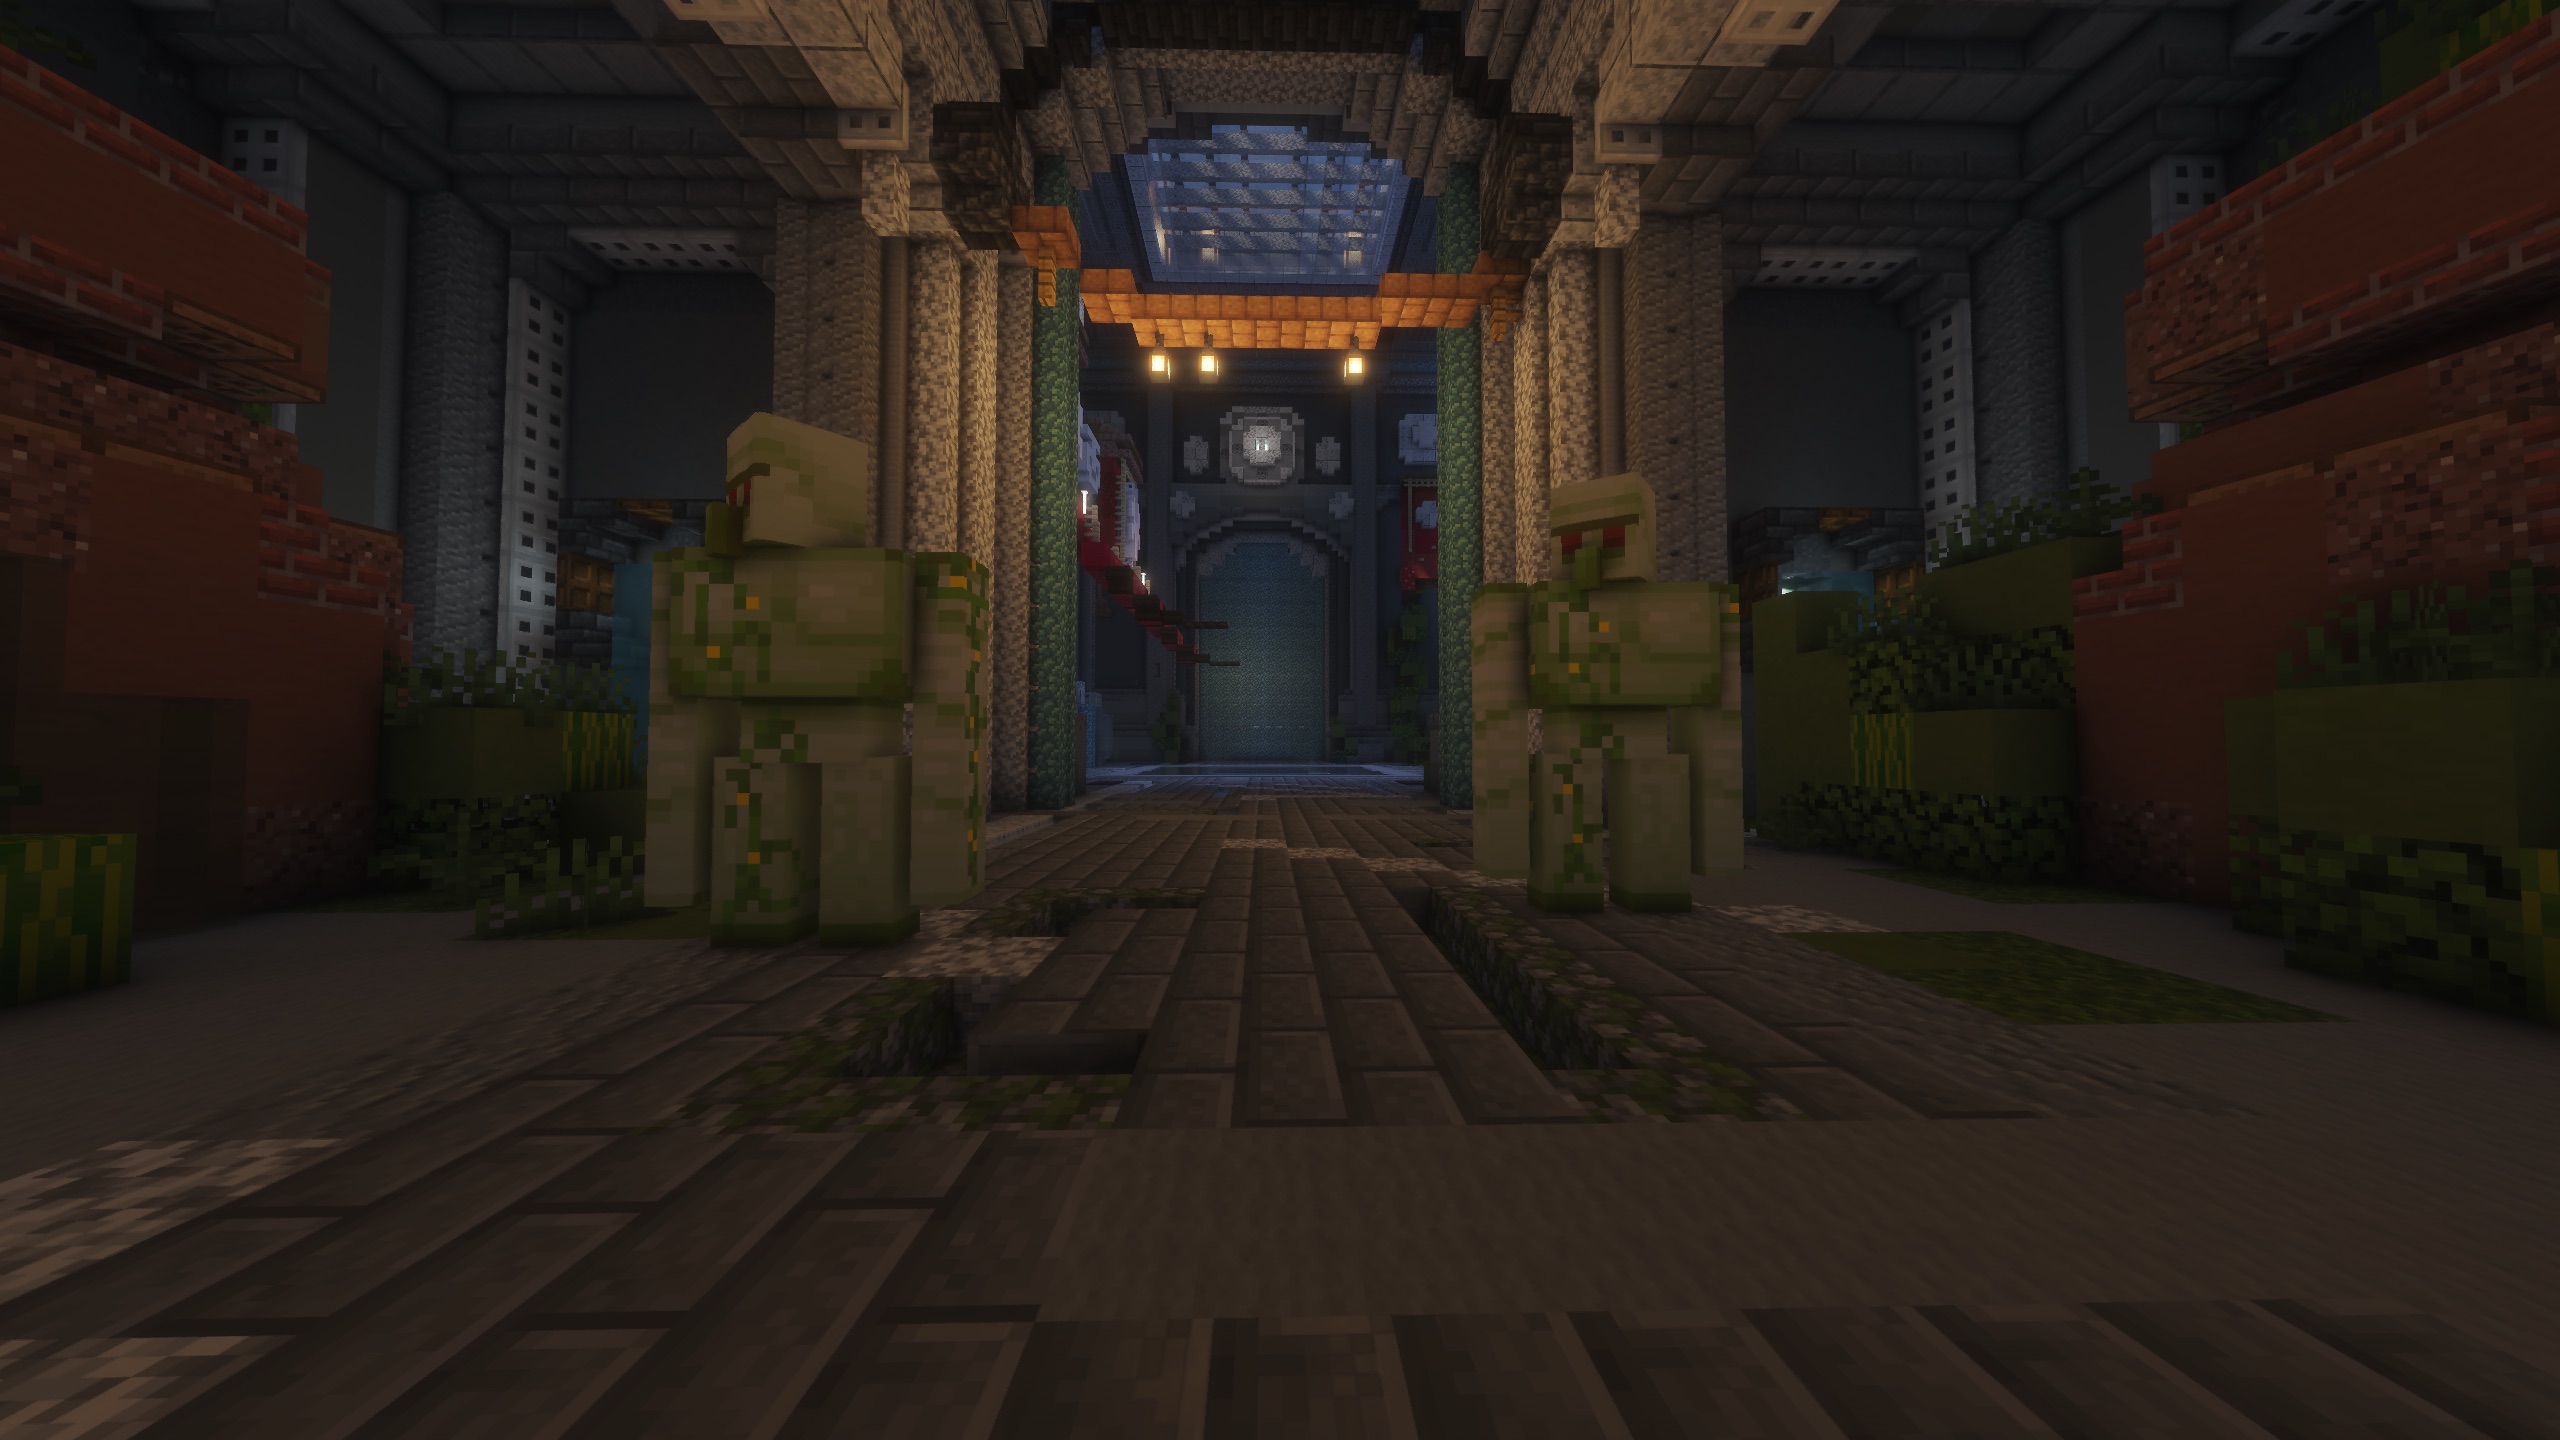
Two Reinforced Golems standing in the Daily Dungeon entrance corridor
Daily Dungeon Wave 1Two Reinforced Golems begin the Daily Dungeon.
Wave 2Mega Wardens
  • 2 Mega Wardens
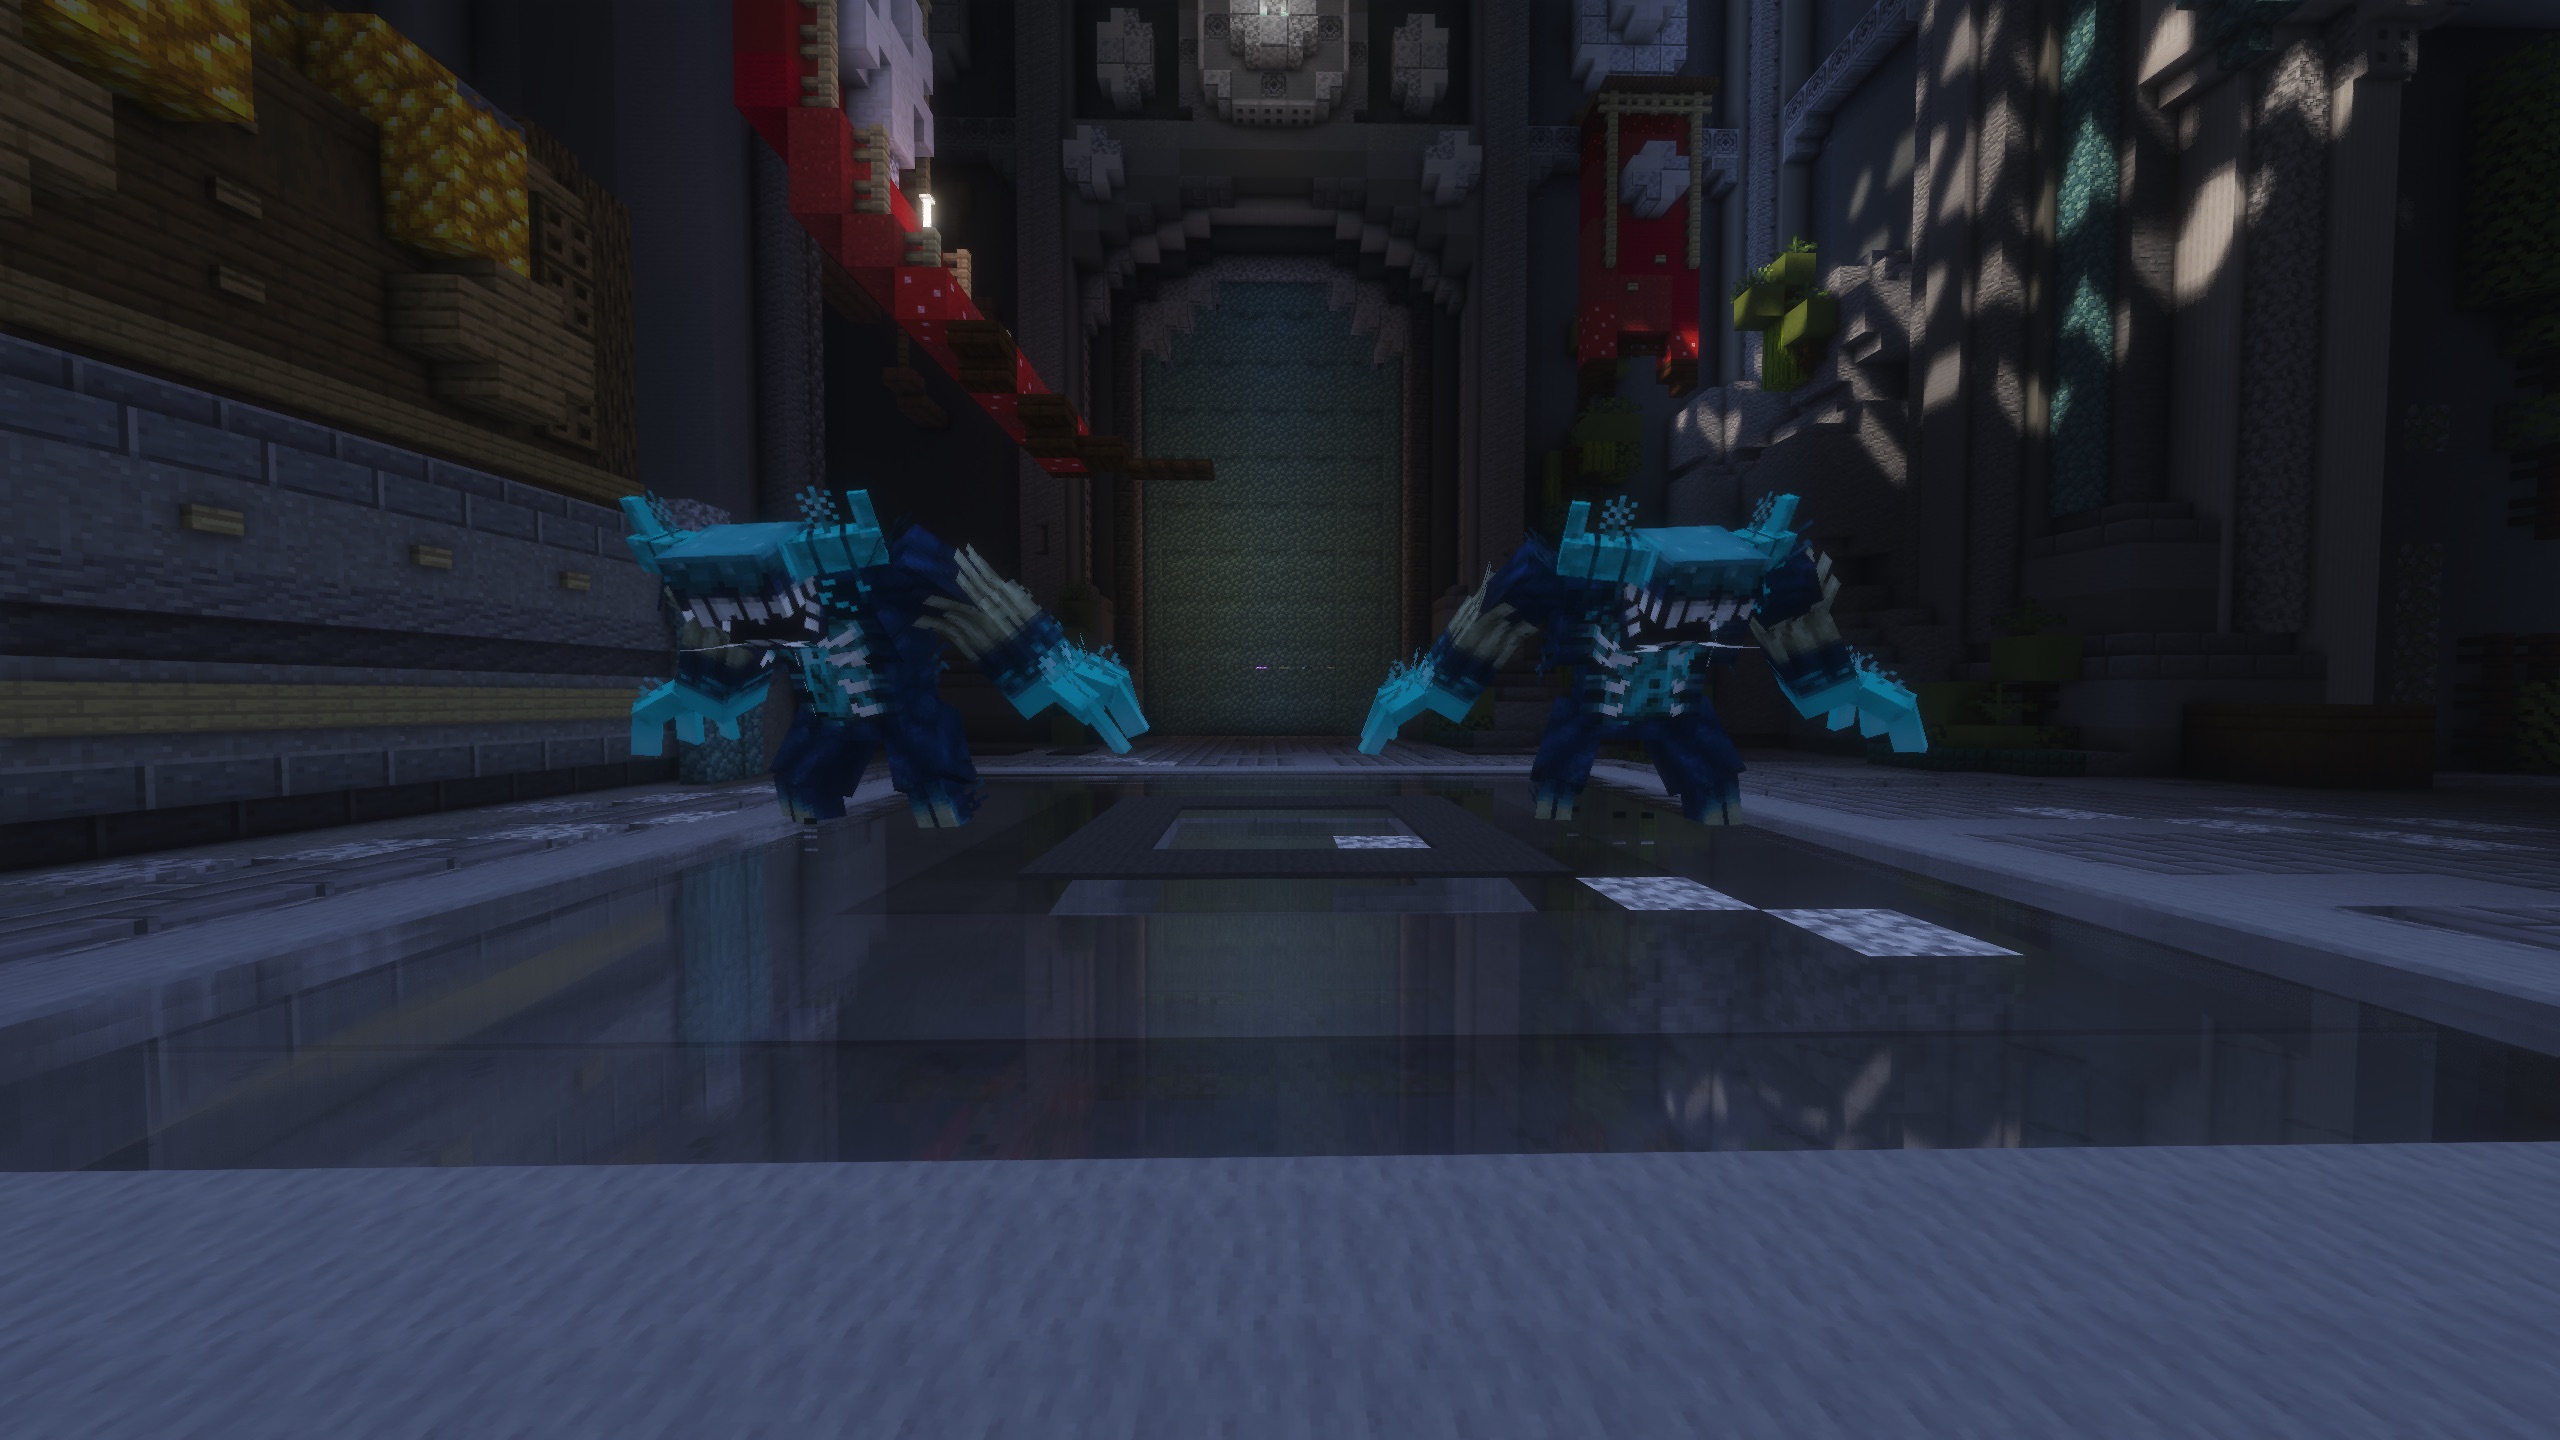
Two Mega Wardens standing in the Daily Dungeon corridor
Daily Dungeon Wave 2Two Mega Wardens are the second Daily Dungeon wave.
ConditionReward
Clear both waves$20
After completion24-hour cooldown begins
Chat message showing the Daily Dungeon victory and $20 completion reward
Daily Dungeon rewardClearing both waves grants $20 and starts the 24-hour cooldown.
Section 06Easy Dungeon Easy
Structure3 Waves
Wave Reward1 Common Shard
Completion2 Common Shards
Maximum Reward4 Common Shards
Wave 1Skeleton Openers
  • Archer Skeleton
  • Sword Skeleton

The Sword Skeleton can completely block one attack with its shield.

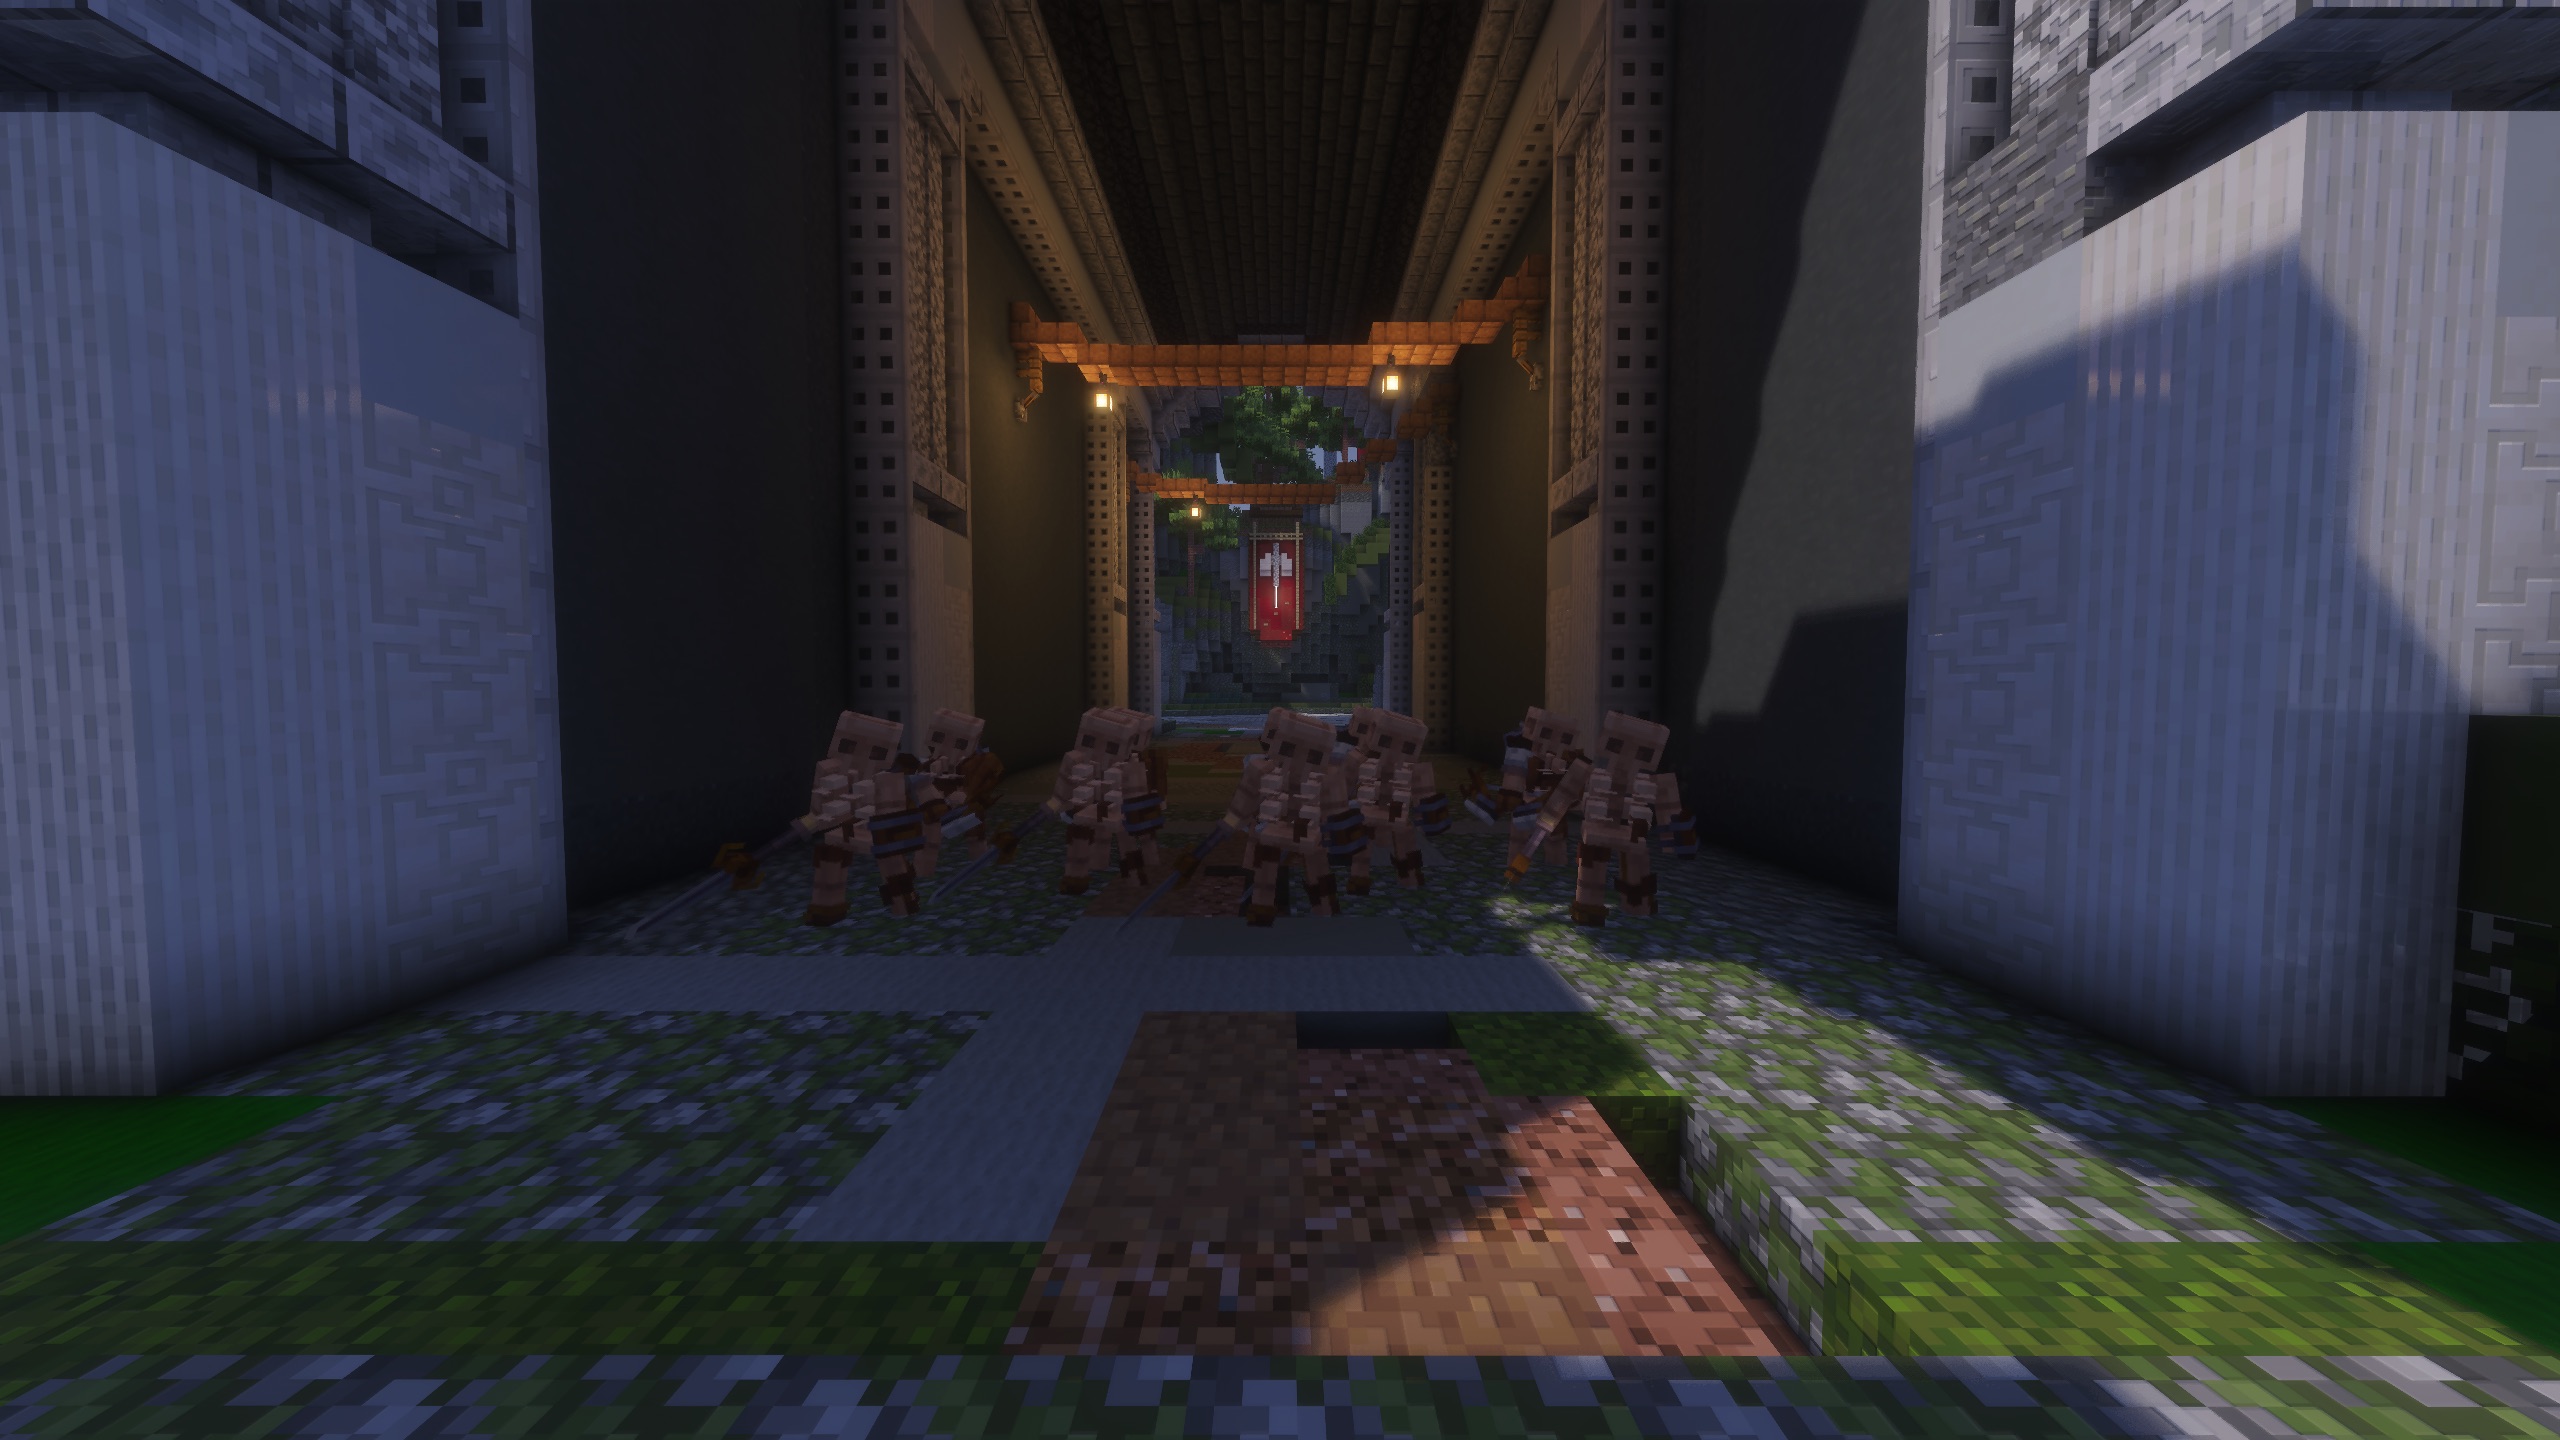
Easy Dungeon Wave 1 skeleton enemies inside the dungeon corridor
Easy Dungeon Wave 1Archer Skeletons and Sword Skeletons begin the run.
Wave 2Magic and Tank Skeletons
  • Magic Skeleton
  • Tank Skeleton

The Magic Skeleton shoots multiple homing magic missiles. The projectiles are easy to dodge but can overwhelm weaker players.

The Tank Skeleton has very high health, high damage, slow movement, and area attacks.

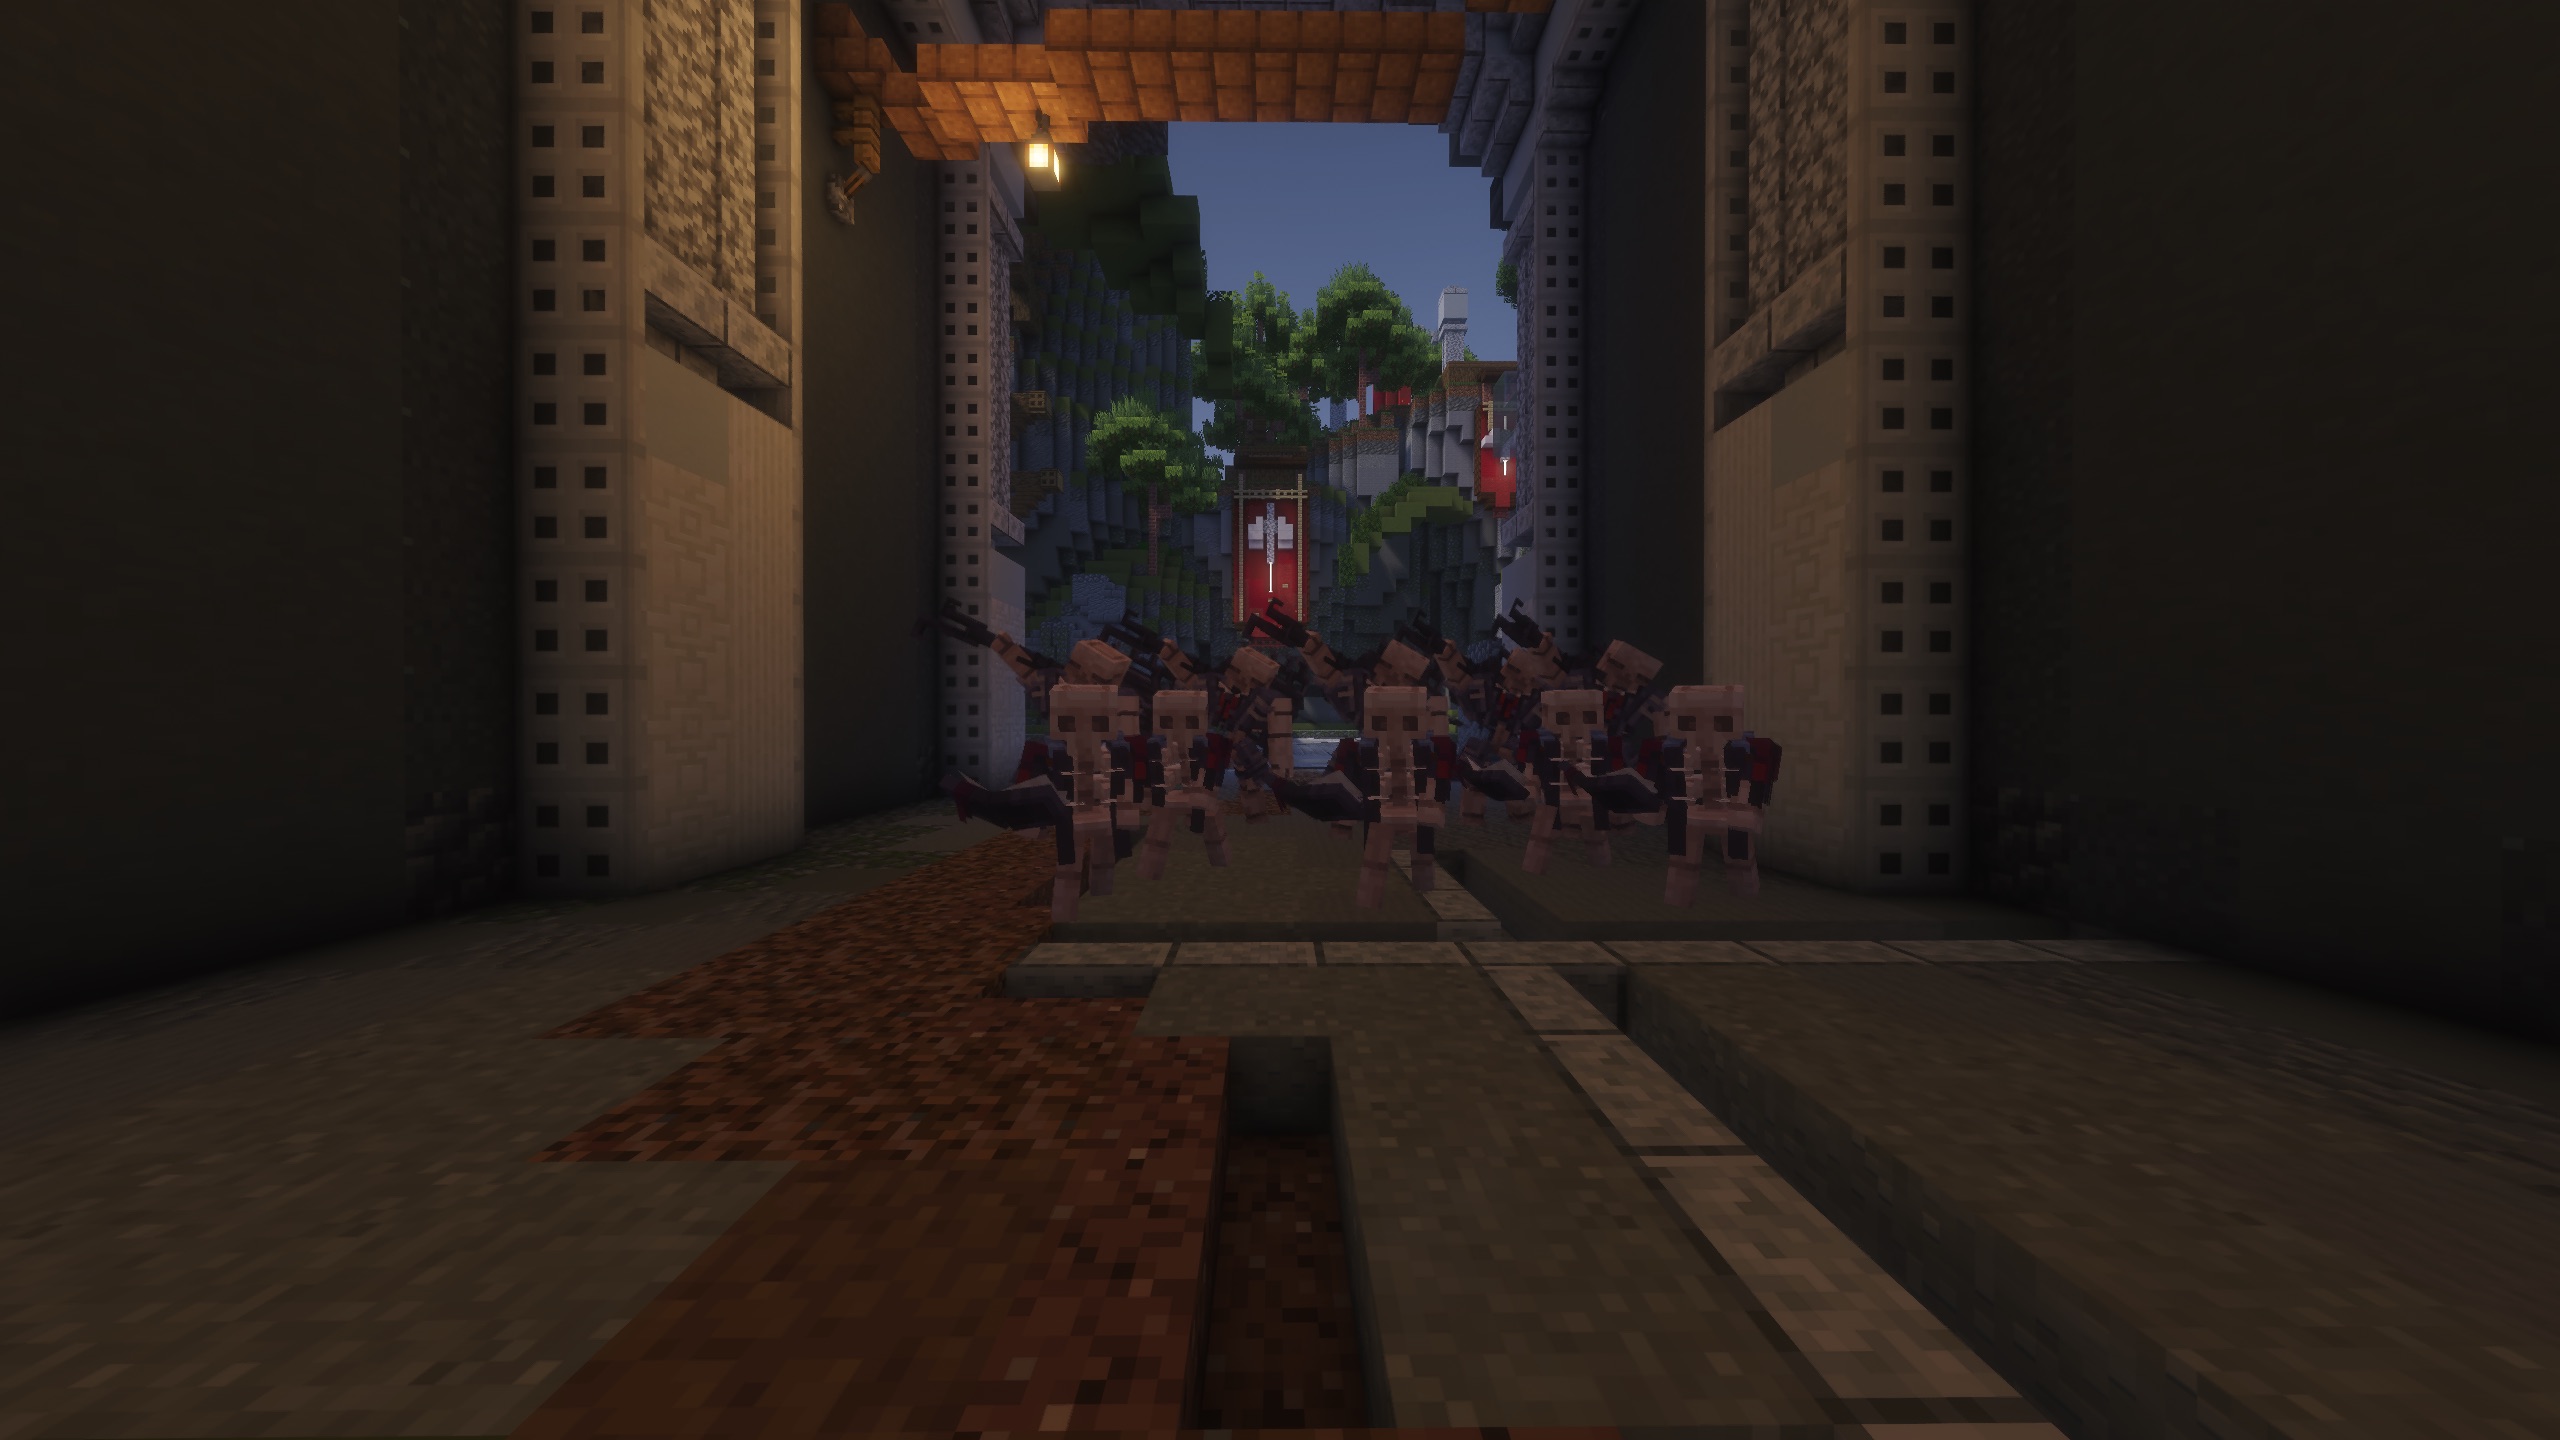
Easy Dungeon Wave 2 enemies charging through the dungeon corridor
Easy Dungeon Wave 2Magic Skeletons and Tank Skeletons are the second wave.
Boss

Large Skeleton Boss

The boss uses a large sword and shield. Its main mechanic is attempting to stomp players.

Main mechanicStomp attacks
StrategyDodge stomps and keep dealing damage
ComplexityNo complicated mechanics
Large Skeleton Boss in the Easy Dungeon arena
Easy Dungeon bossThe Large Skeleton Boss uses a sword, shield, and stomp attacks.
ProgressReward
Each monster wave1 Common Shard
Dungeon completion2 Common Shards
Maximum reward4 Common Shards
Common Shard tooltip showing it is used with /reforge to upgrade stones
Reward itemCommon Shards upgrade stones through /reforge.
Section 07Medium Dungeon Team Level 2
UnlockedTeam Level 2
Structure3 Waves
Reward TypeUncommon Shards

The first two waves are identical to Easy Dungeon, but every enemy has significantly more health and damage.

Wave 1Archer Skeleton and Sword SkeletonSame enemy types as Easy Dungeon.
Wave 2Magic Skeleton and Tank SkeletonSame enemy types as Easy Dungeon.
Boss2 FlaMentals simultaneouslyNo unique mechanics beyond fighting both bosses at once.
Boss

2 FlaMentals

Medium Dungeon ends with two FlaMentals at the same time. There are no unique mechanics beyond managing both bosses together.

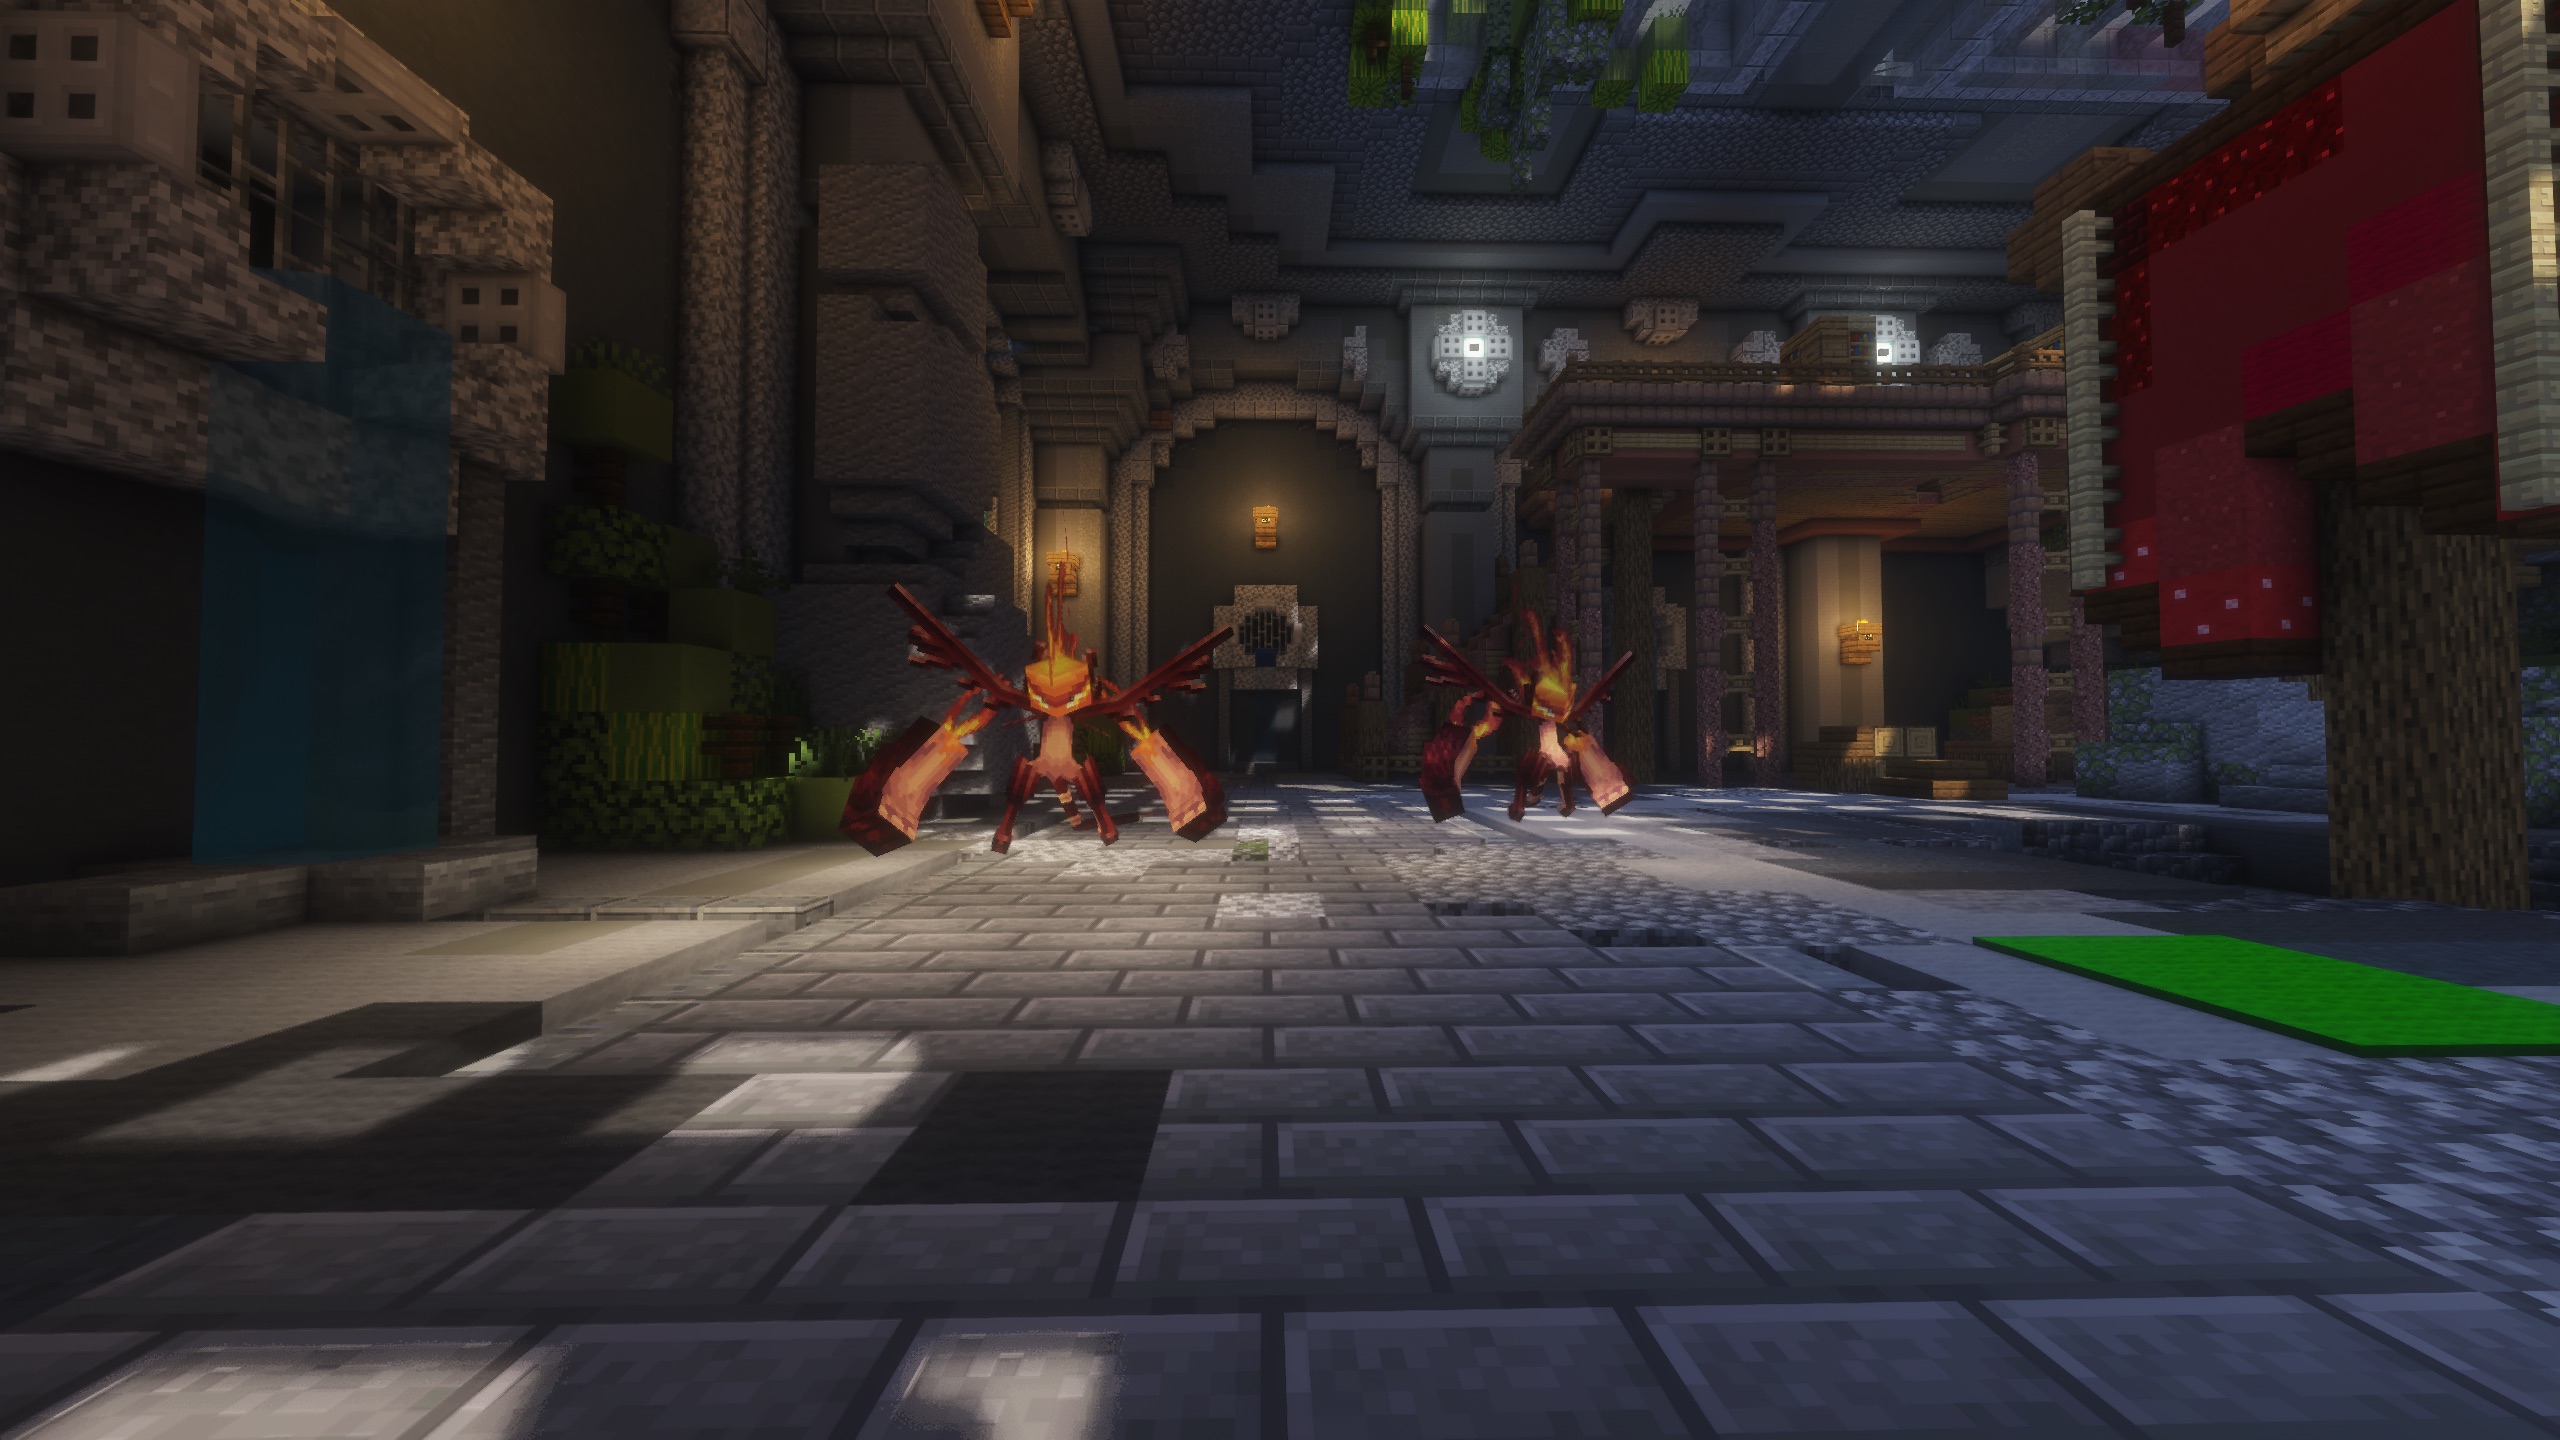
Two FlaMentals in the Medium Dungeon boss arena
Medium Dungeon bossMedium Dungeon ends with 2 FlaMentals at the same time.
ProgressReward
Each monster wave1 Uncommon Shard
Dungeon completion2 Uncommon Shards
Maximum reward4 Uncommon Shards
Uncommon Shard tooltip showing it is used with /reforge to upgrade stones
Reward itemUncommon Shards upgrade stones through /reforge.
Section 08Hard Dungeon Team Level 4
UnlockedTeam Level 4
StructureOnly one wave
Enemies2 Abyssal Knights
Completion Reward2 Rare Shards
Single wave

2 Abyssal Knights

Hard Dungeon is a one-wave fight against two Abyssal Knights. The team must complete the fight to receive rewards.

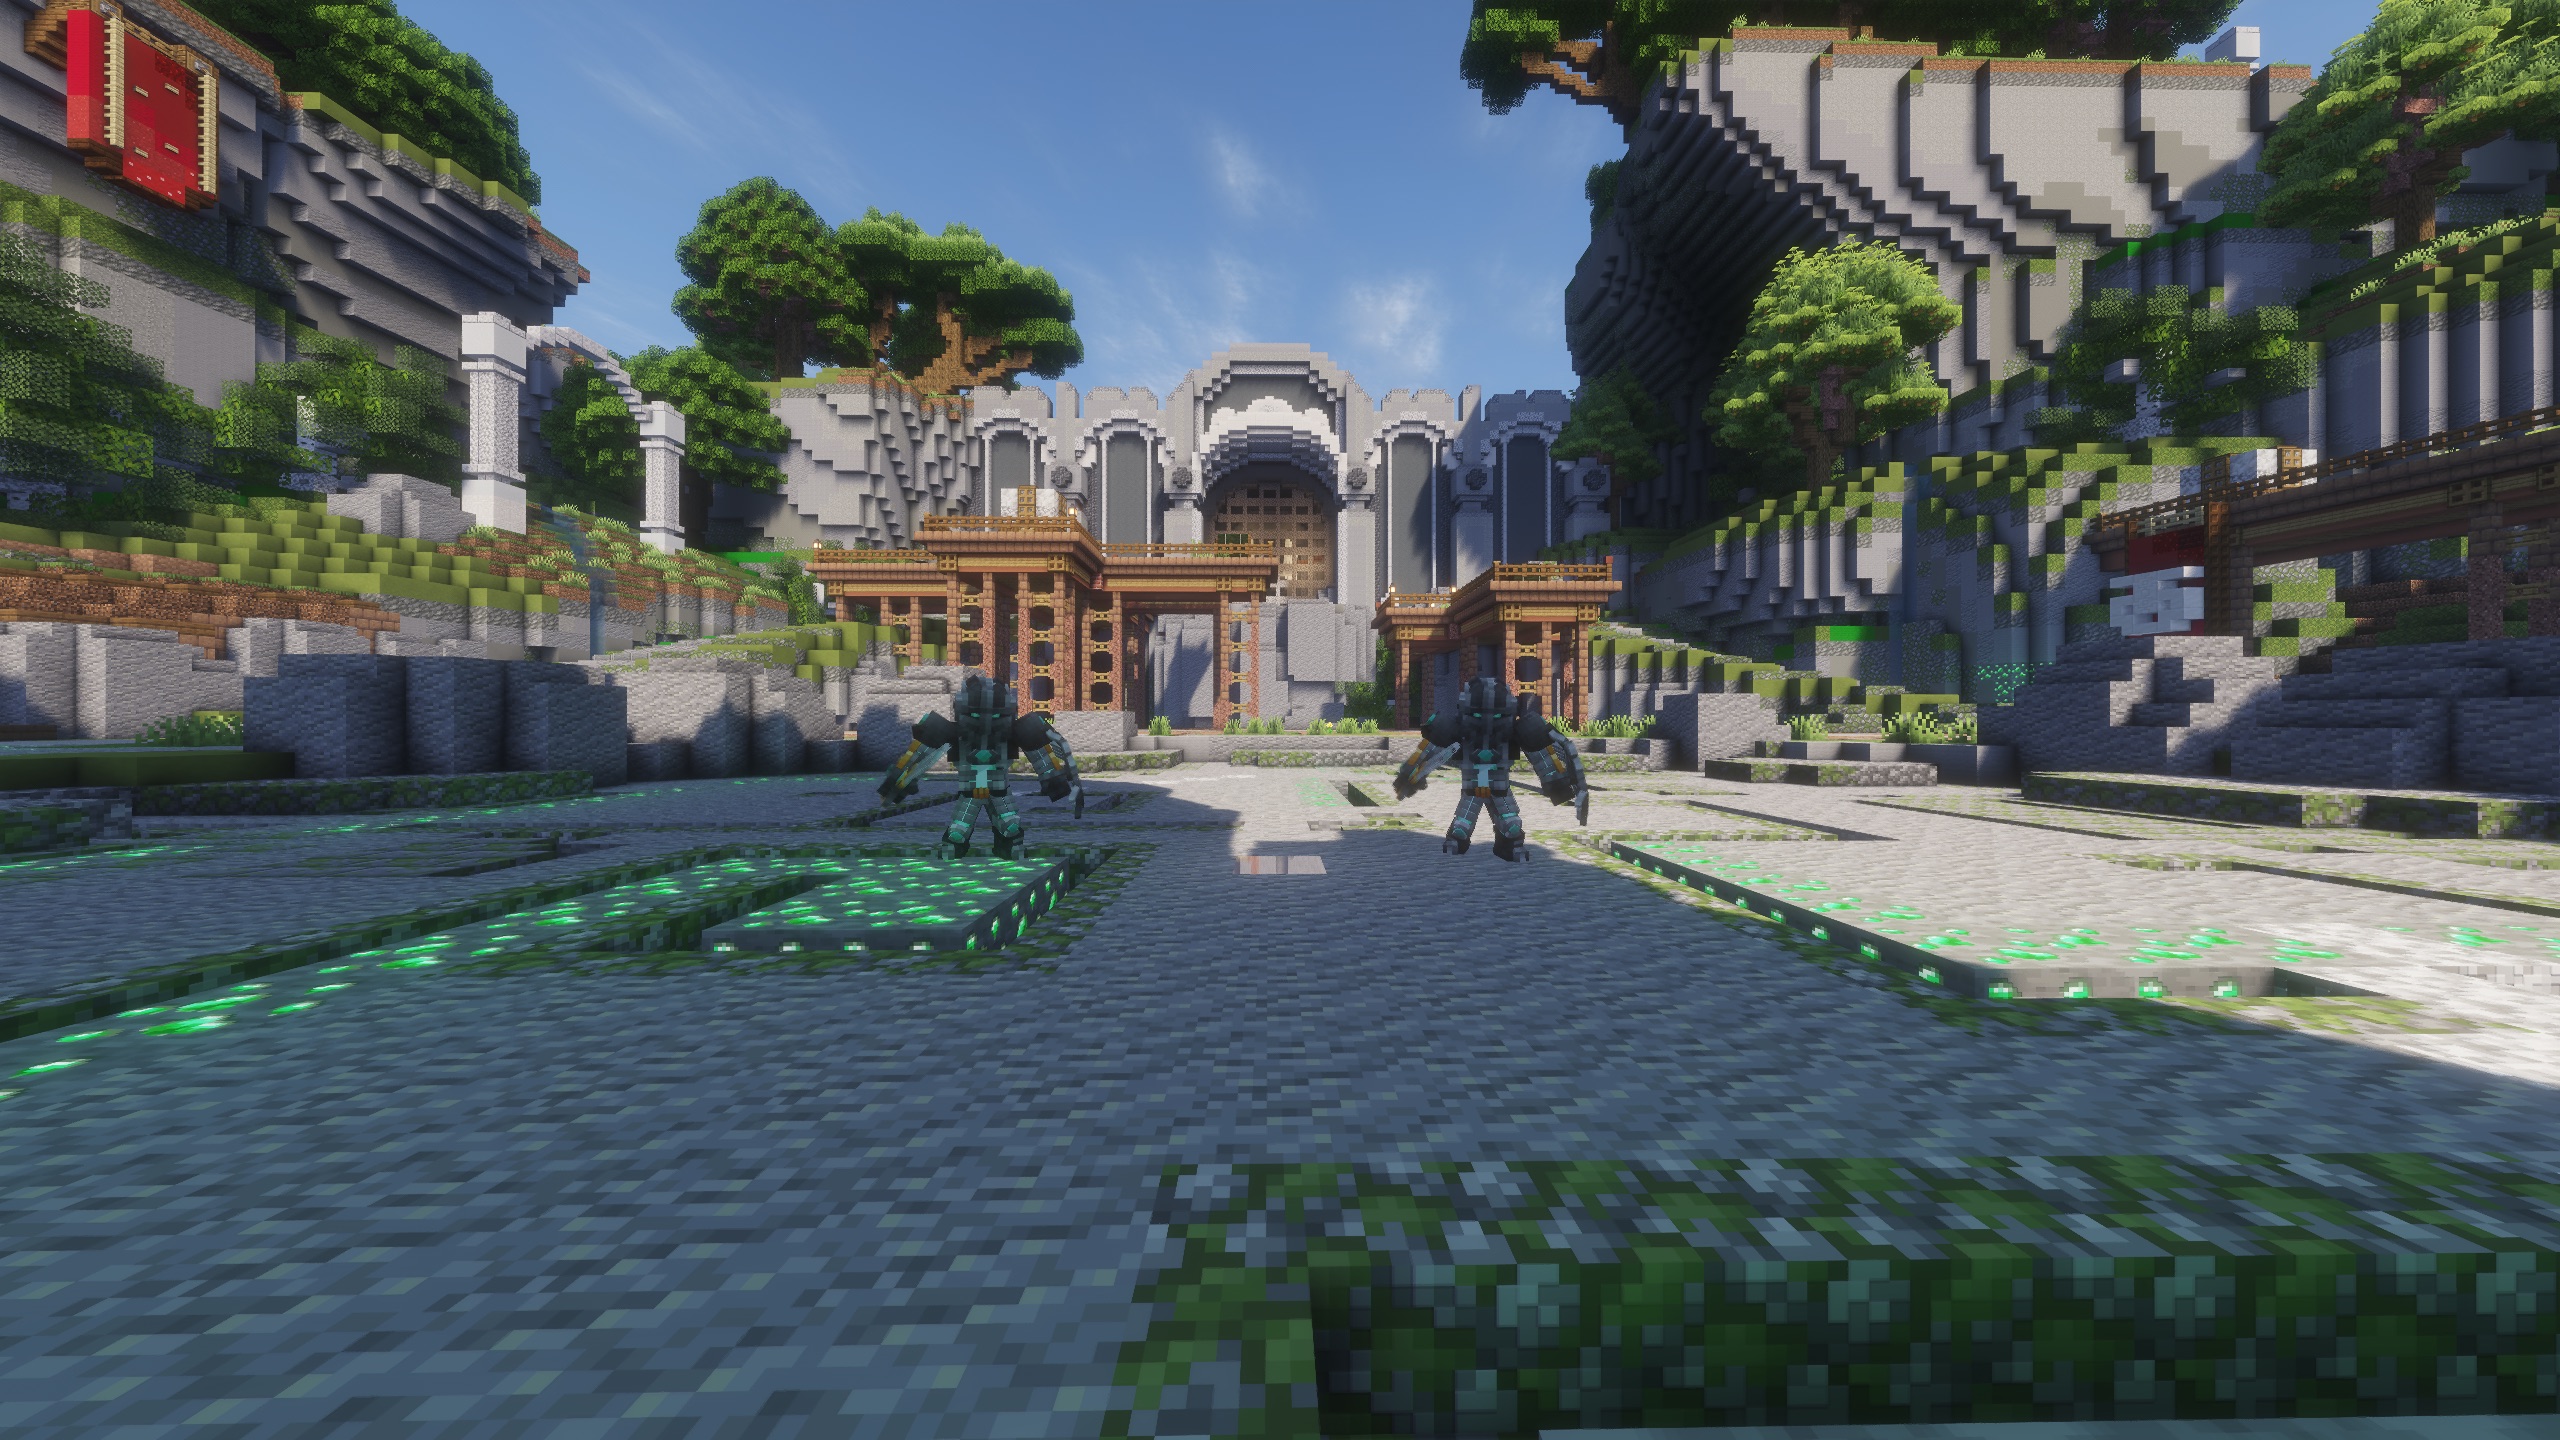
Two Abyssal Knights standing in the Hard Dungeon arena
Hard Dungeon waveTwo Abyssal Knights guard the Hard Dungeon arena.
ResultReward
Completion2 Rare Shards
FailureNo rewards
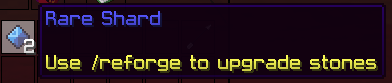
Rare Shard tooltip showing it is used with /reforge to upgrade stones
Reward itemRare Shards are rewarded by Hard and Infinite Dungeon progress.
Section 09Infinite Dungeon 20 minutes
UnlockedTeam Level 4
Run Length20 minutes
End ConditionEntire team dies
Reward TriggerAbyssal Knight wave

Infinite Dungeon is the ultimate Dungeon challenge. Players have 20 minutes to survive as many rounds as possible. If the entire team dies, the run immediately ends.

Wave 1Archer Skeleton and Sword Skeleton
Wave 2Magic Skeleton and Tank Skeleton
Wave 32 FlaMentals
Wave 42 Abyssal Knights
Completed WaveReward
Every Abyssal Knight wave2 Rare Shards
Rare Shard tooltip showing it is used with /reforge to upgrade stones
Reward itemRare Shards are rewarded after completed Abyssal Knight waves.
Leaderboards

Compete for Infinite Dungeon rankings

Teams compete for the Infinite Dungeon Leaderboards based on Highest Wave Reached and Fastest Completion Time.

Metric 1Highest Wave Reached
Metric 2Fastest Completion Time
Infinite Dungeon leaderboard showing highest wave reached and fastest completion time
Infinite Dungeon LeaderboardTracks Highest Wave Reached and Fastest Completion Time.
Section 10Dungeon Farm Always Open
Team RequiredNo
Warp/warp dungeon_farm
Trade NPCCamel NPC

Dungeon Farm is permanently open and can be accessed without a team. There are two ways to obtain Shards: Dungeon Deepslate and Dungeon Dust.

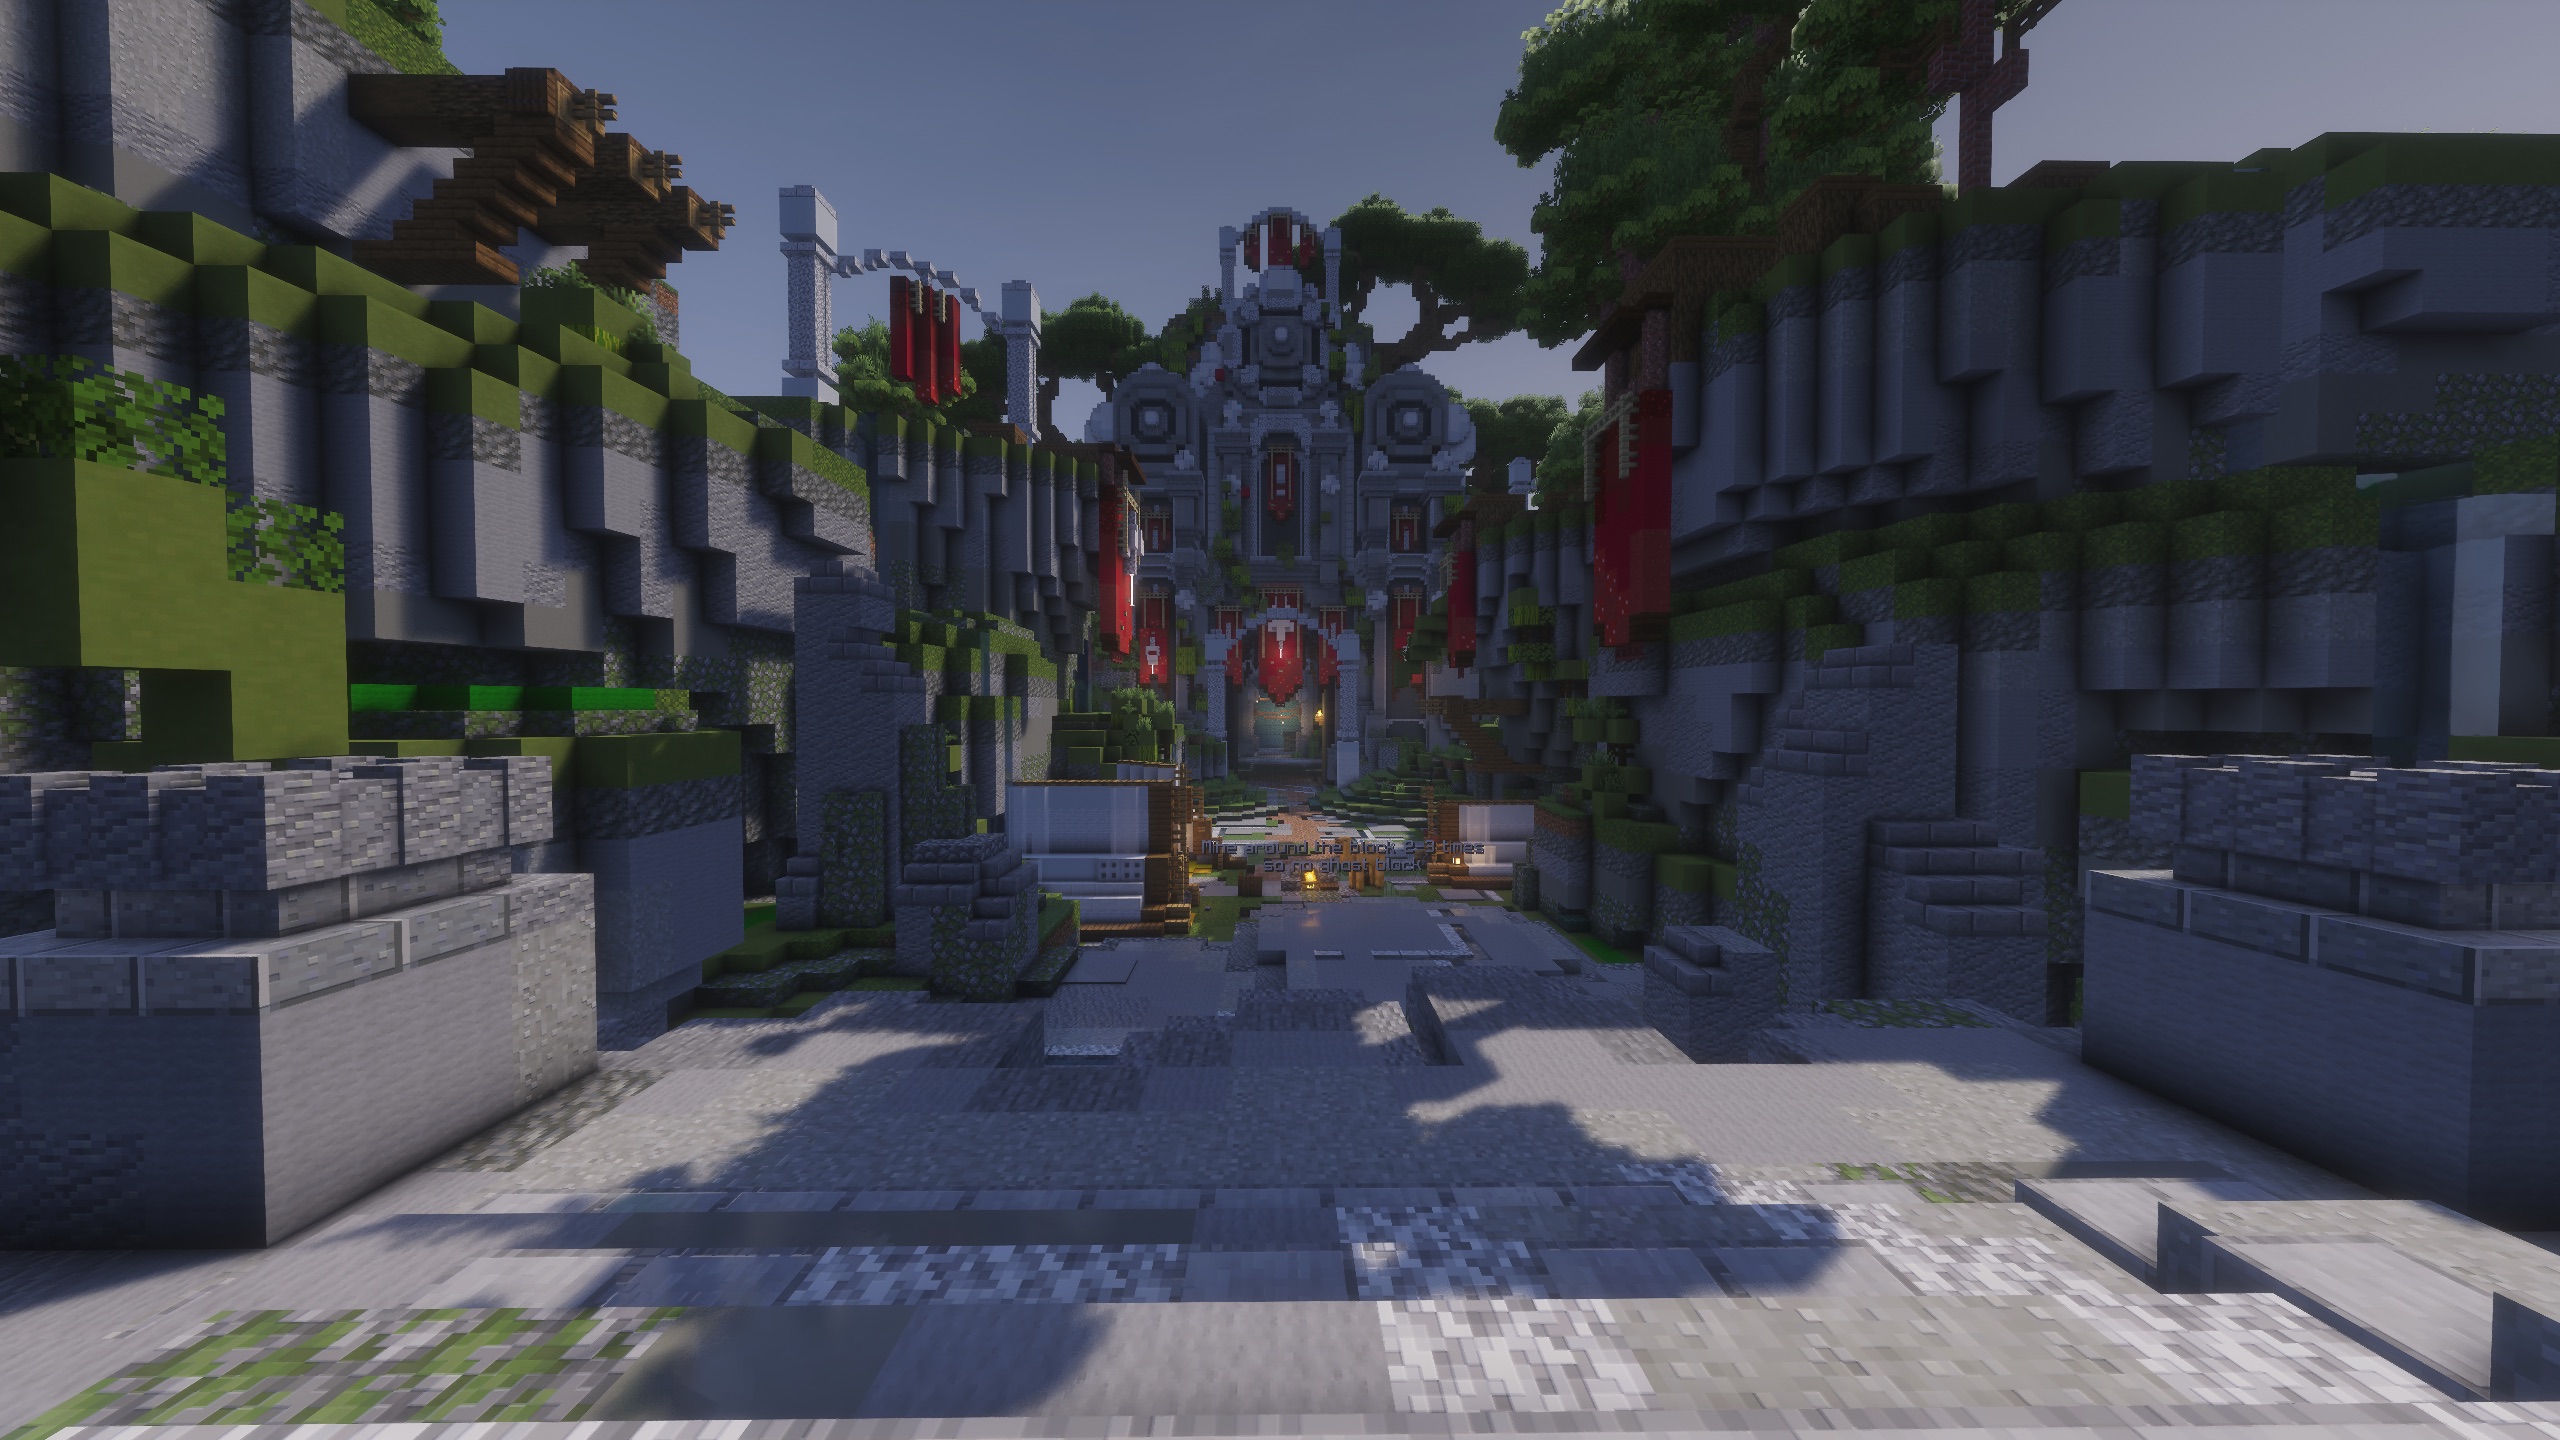
Wide view of the Dungeon Farm entrance and surrounding area
Dungeon FarmThe always-open Dungeon Farm area can be entered without a team.
Method 1

Dungeon Deepslate

Dungeon Deepslate is an extremely durable block.

Mining TimeApproximately 2 minutes
RespawnEvery 2 hours
Spawn Locations8
Trade LocationCamel NPC inside Dungeon Farm
1 Dungeon Deepslate 1 Uncommon Shard
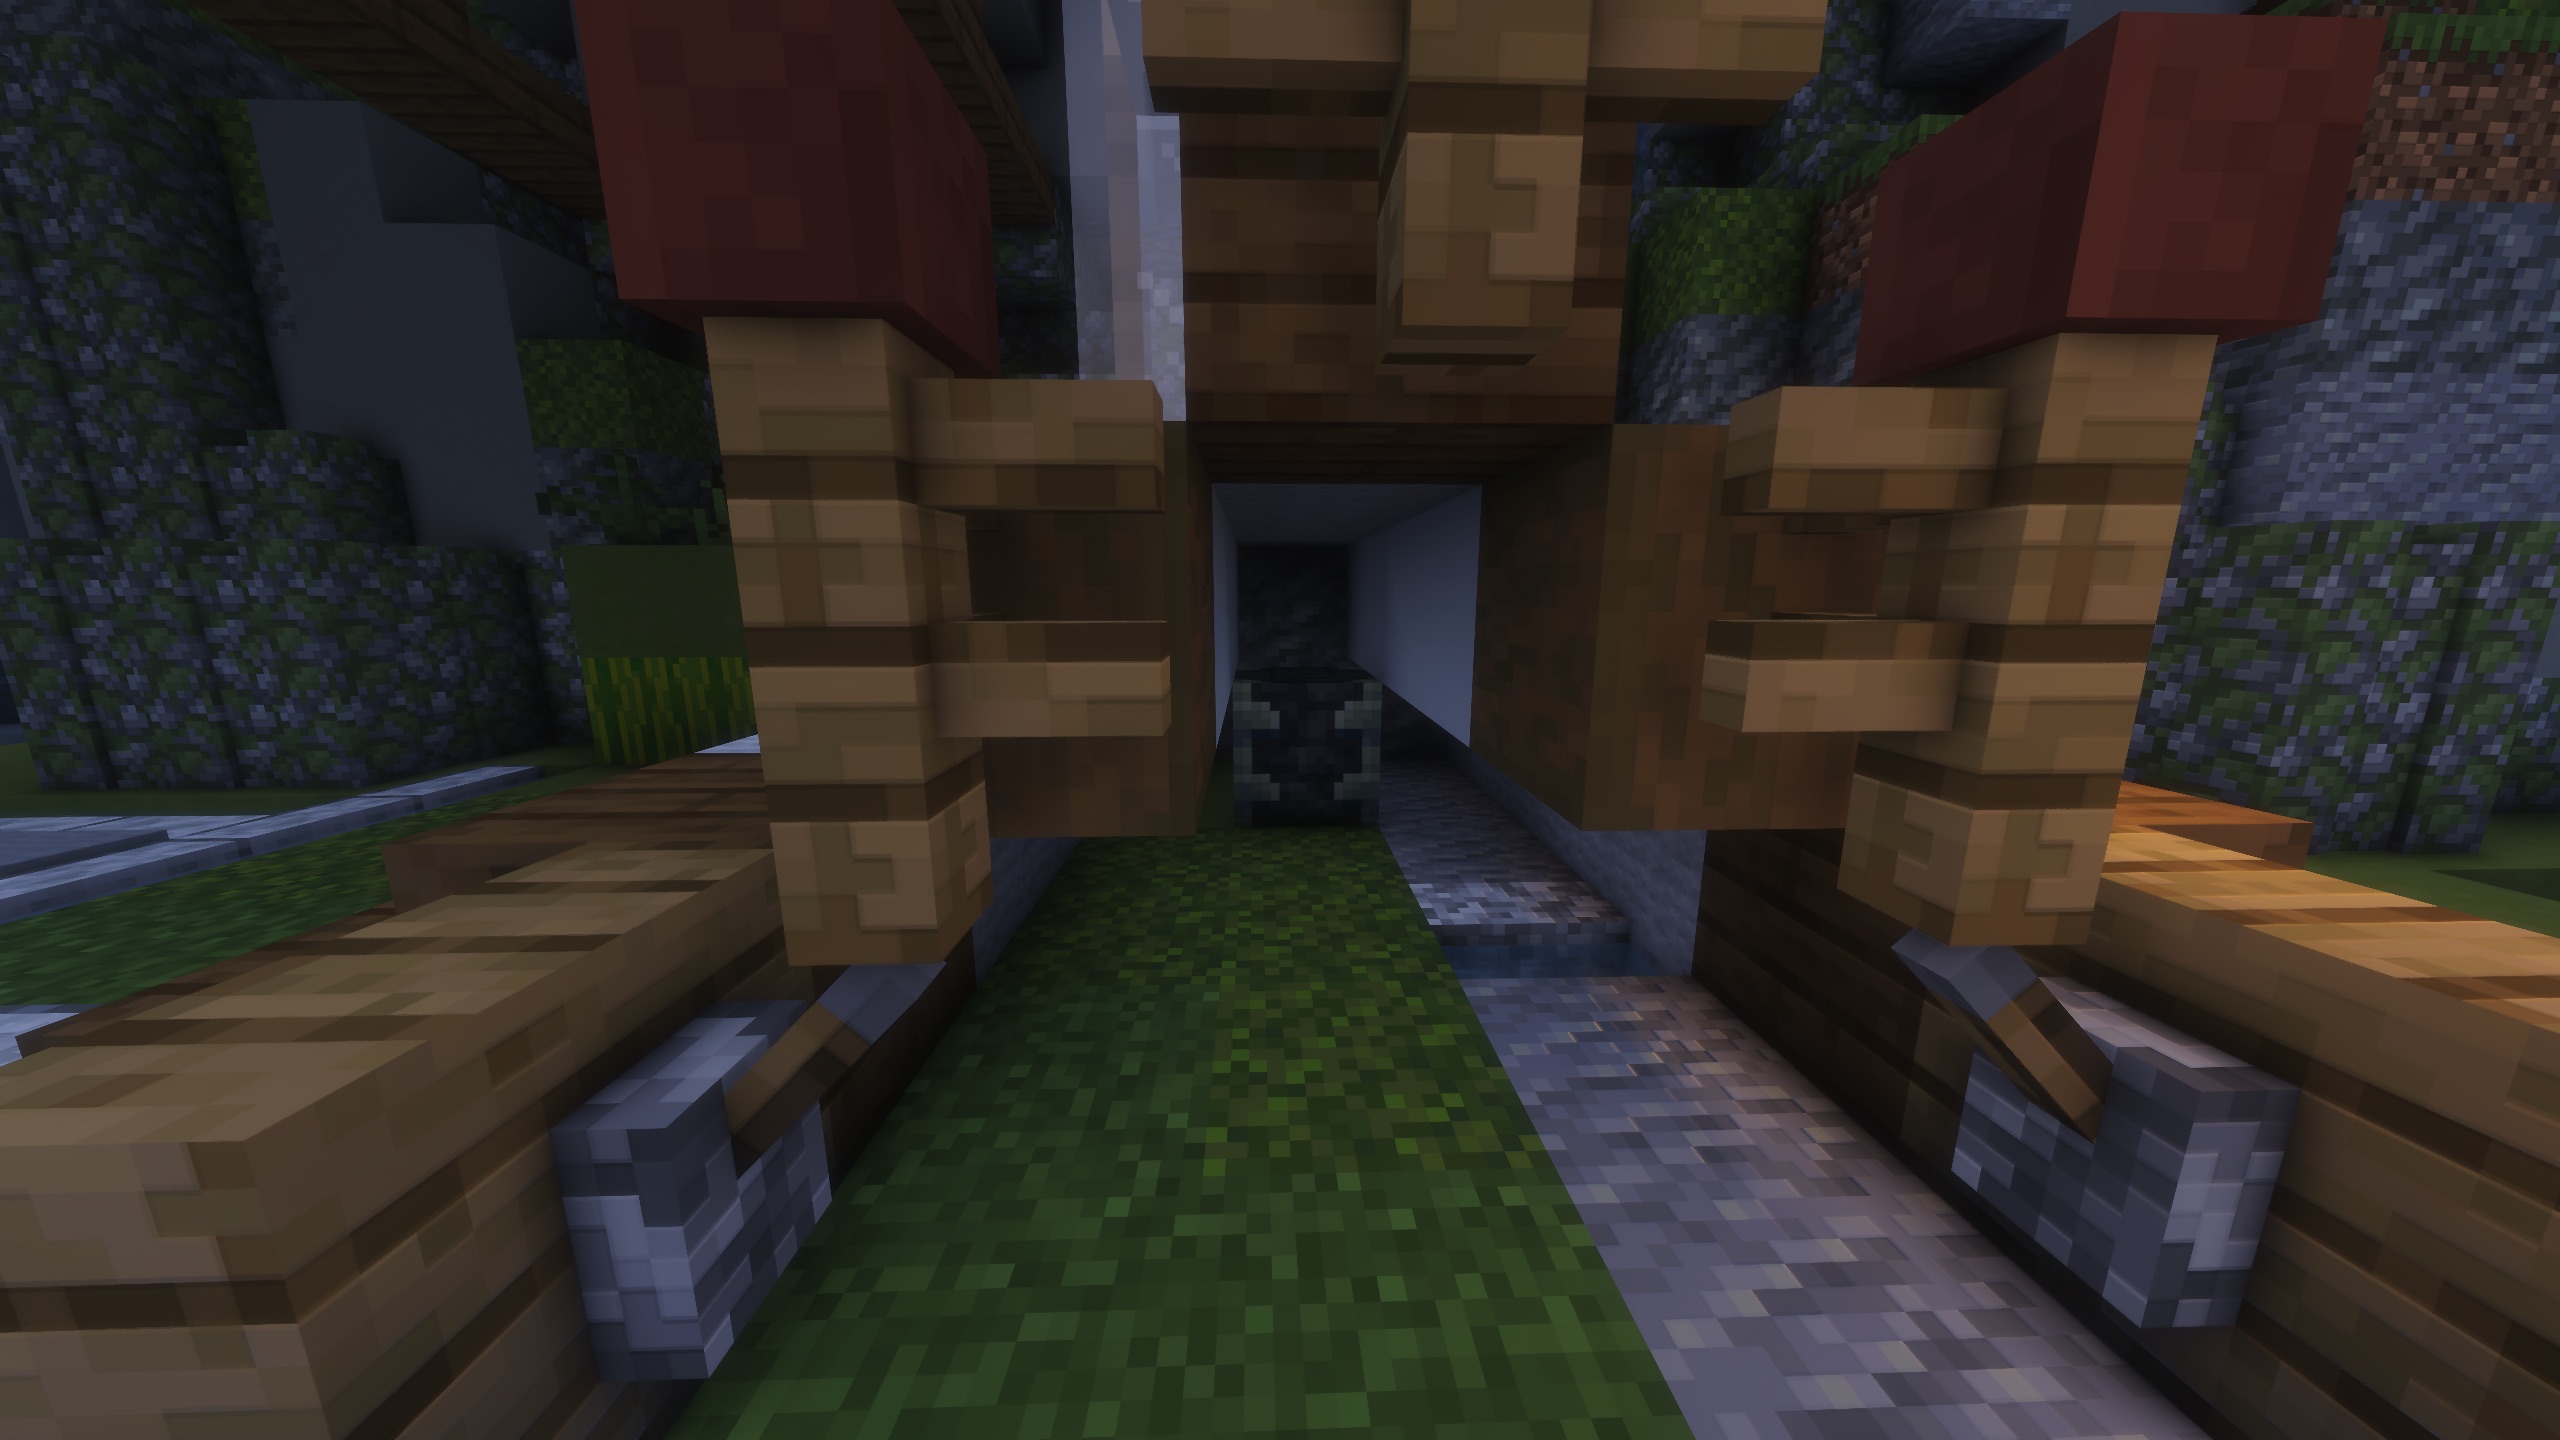
Dungeon Deepslate block tucked under a wooden structure in Dungeon Farm
Dungeon DeepslateMine durable Dungeon Deepslate and trade it for Uncommon Shards.
Method 2

Dungeon Dust

Dungeon Skeletons spawn throughout Dungeon Farm. Defeating them drops Dungeon Dust.

24 Dungeon Dust 1 Common Shard
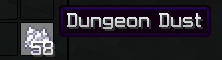
Dungeon Dust item tooltip
Dungeon DustTrade 24 Dungeon Dust for 1 Common Shard.
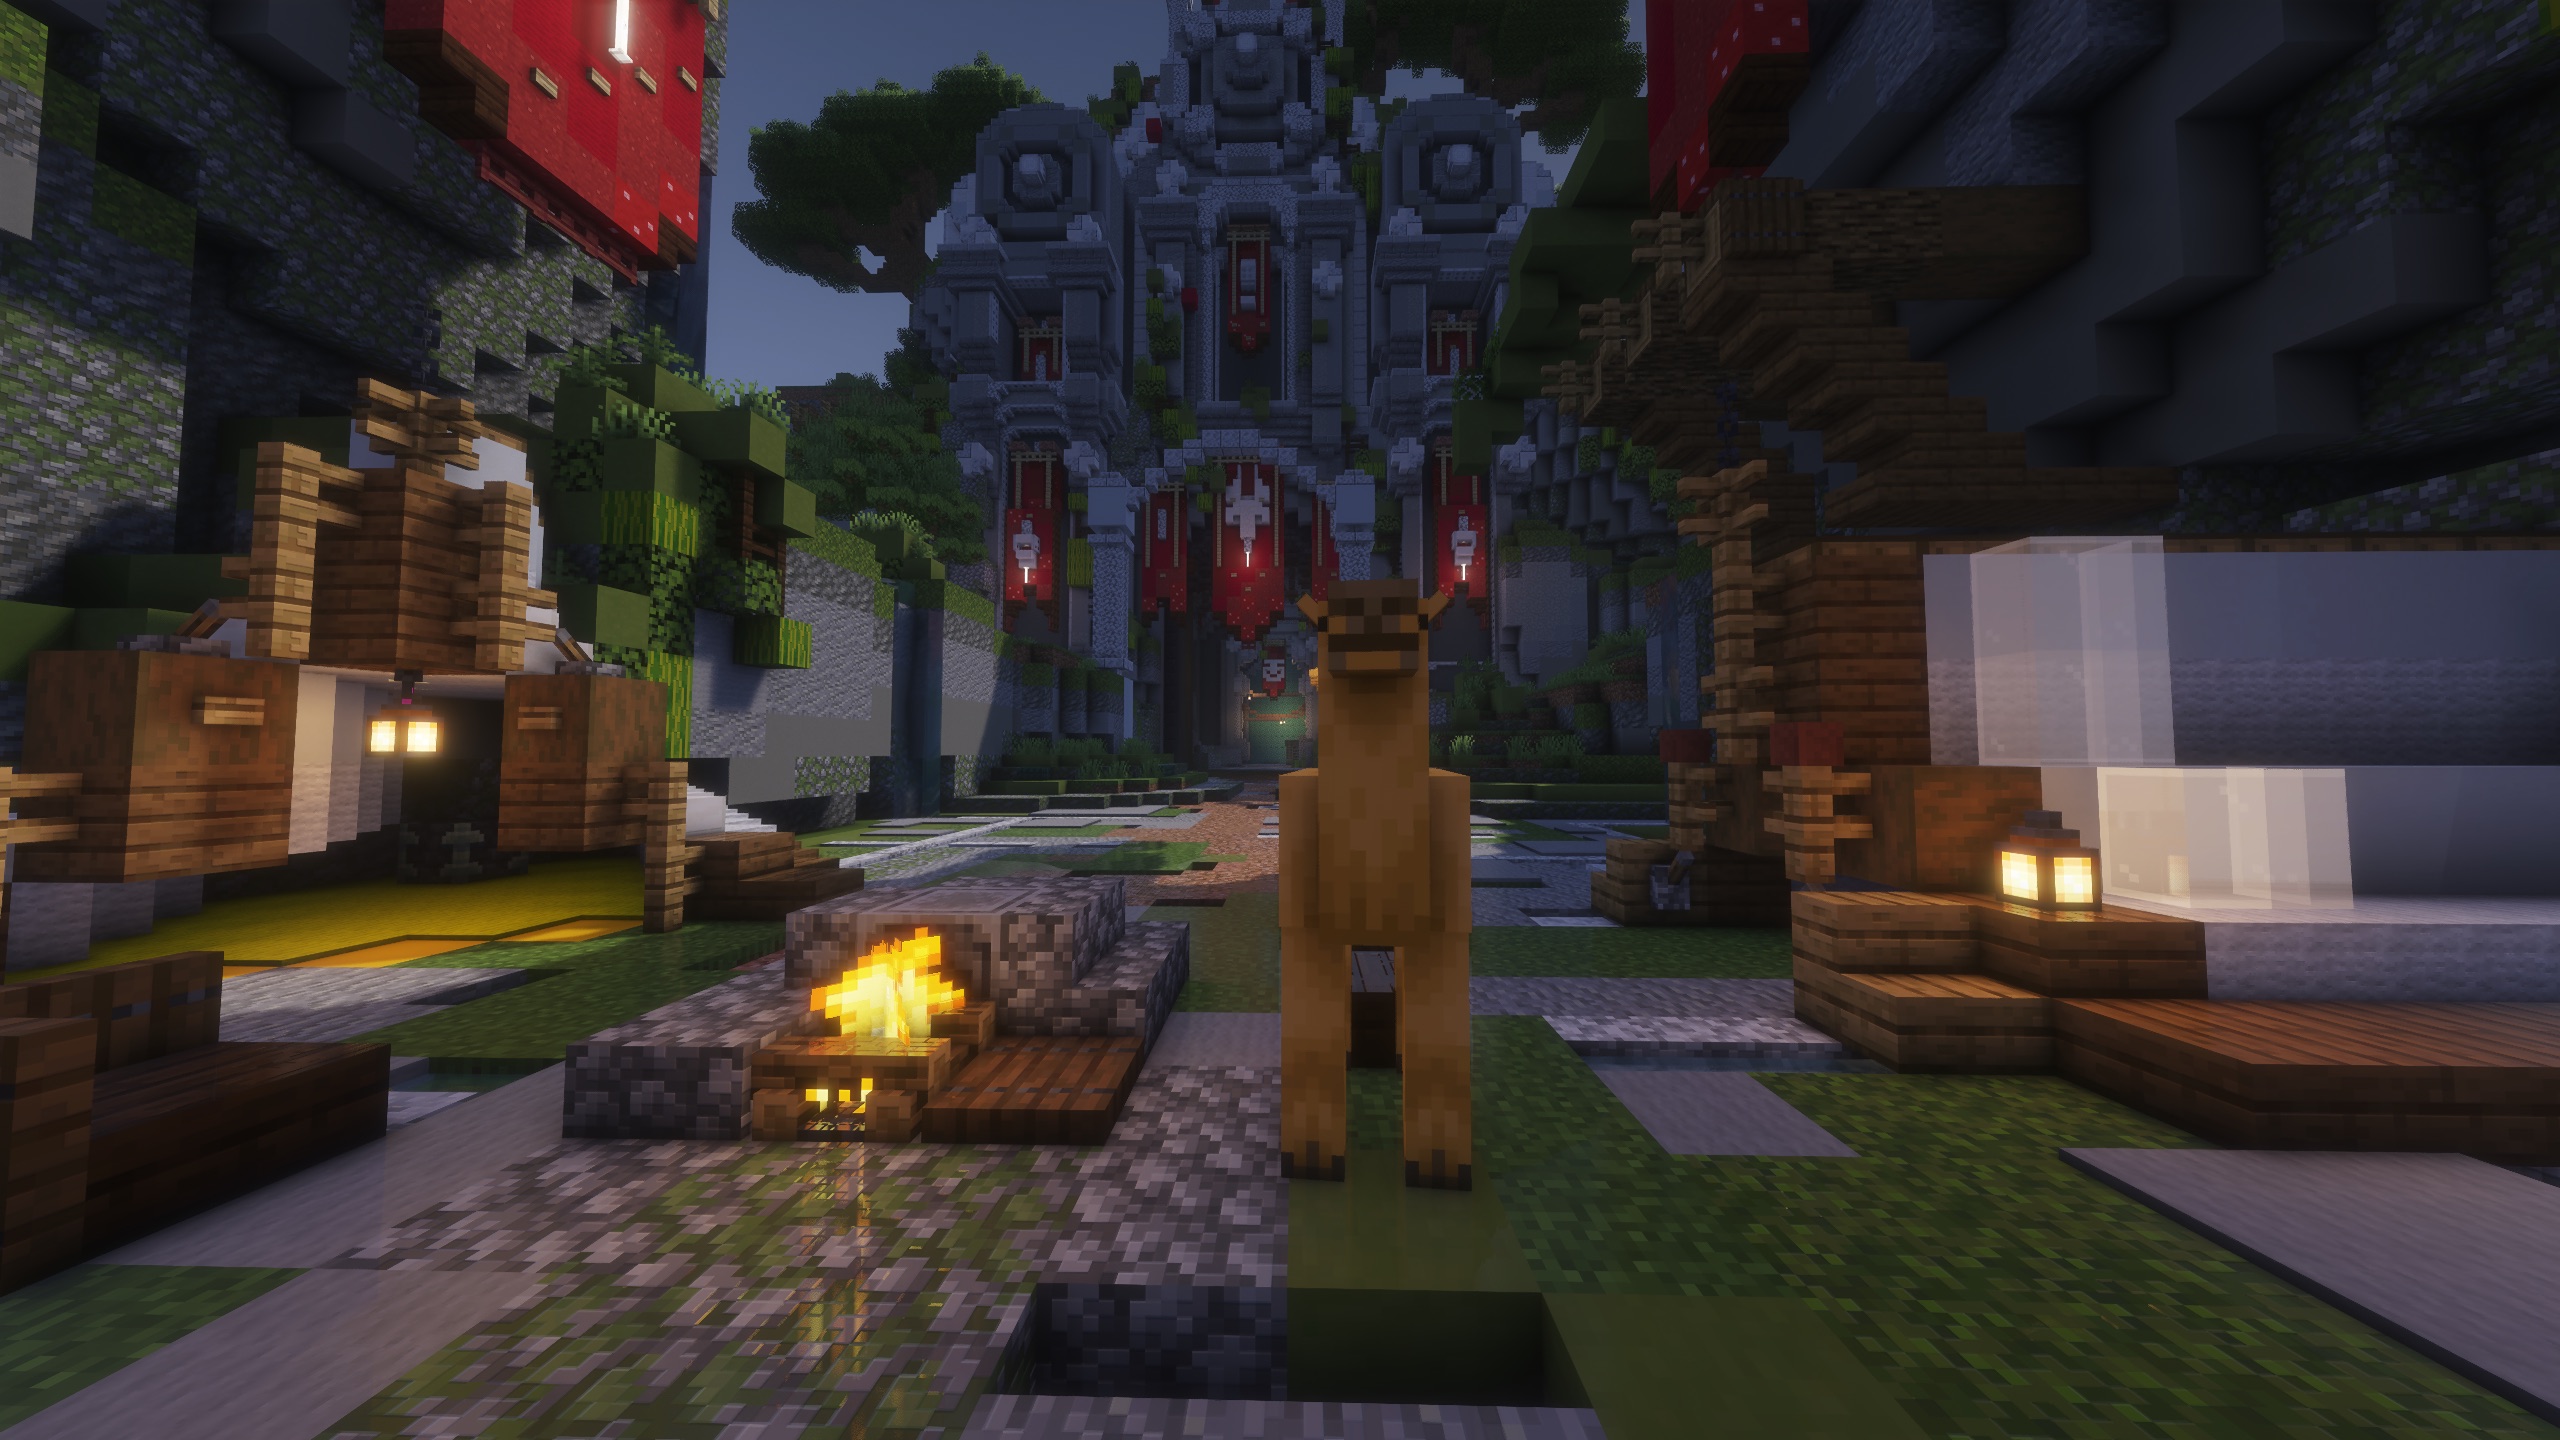
Camel NPC inside Dungeon Farm
Camel NPCThe Camel NPC handles Dungeon Deepslate and Dungeon Dust trades.
11
Team progression

Team Levels

Every newly created team starts at Level 1.

To level up, a hidden Team Token trade must be completed. There are currently 4 Team Tokens, and the maximum Team Level is 5.

A Team Token is found every two worlds. Each Team Token requires materials from both worlds it represents.

Upgrade command /team upgrade
Team Tokens4 currentlyMaximum Team Level: 5
Level 1New team
Level 2First upgrade
Level 3More features
Level 4Dungeon unlocks
Level 56th slot
Team LevelRewardsCommands
Level 2Pickaxe Fortune, unlocks Team Chat/tc /tctoggle
Level 3More Pickaxe Fortune, Tool Fortune, unlocks Team Chest/tchest
Level 4Additional Pickaxe Fortune, additional Tool Fortune, unlocks Medium and Infinite Dungeon progression-
Level 5Even more Pickaxe Fortune, even more Tool Fortune, unlocks a 6th Team Slot-
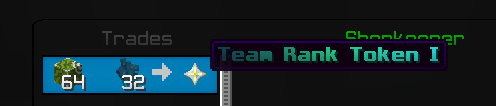
Trade showing Team Rank Token I as the result
Team Rank Token IThe hidden token trade upgrades early team progression.
12
Quick advice

Tips & Tricks

Use Dungeons and Dungeon Farm to build steady Shard progression.

01Daily Dungeon should always be completed for free money.
02Easy and Medium Dungeons are excellent sources of upgrade shards.
03Infinite Dungeon rewards skilled and coordinated teams.
04Dungeon Farm is the most consistent way to farm Shards over time.
05Upgrade your Team Level as early as possible to unlock stronger Dungeons and useful team features.
06Every player should always bring a full armor set and an equipped Talisman before entering a Dungeon.

Core progression system

Reforging

Upgrade your stones, increase your Fortune, boost your survivability, and strengthen your gear throughout your entire adventure.

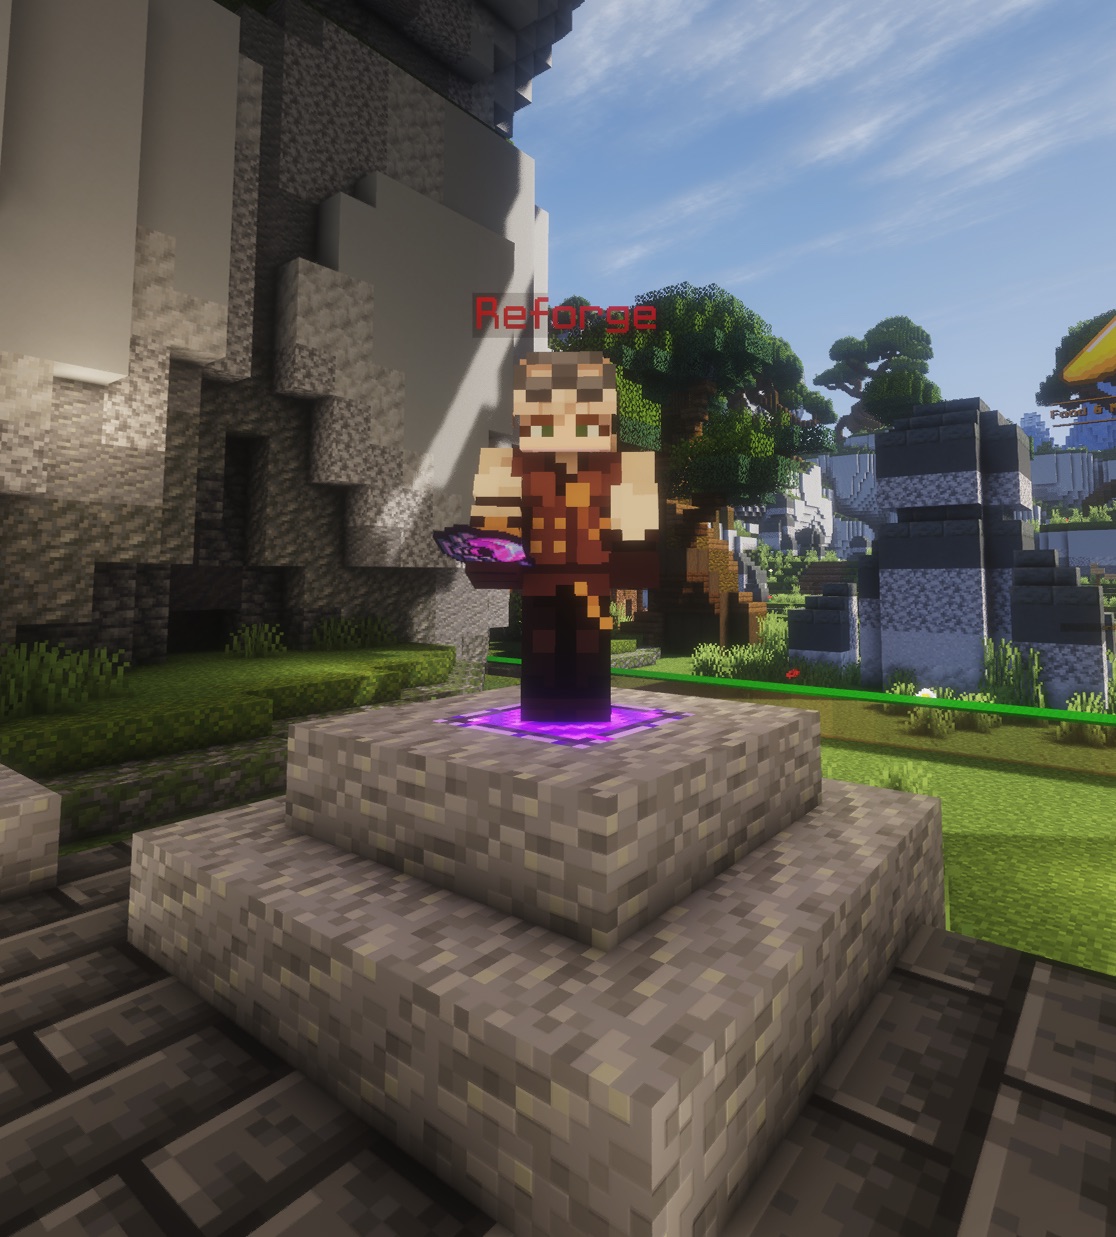
The Reforge NPC located to the left of RageMines spawn
At spawnThe Reforge NPC is the second NPC on your left.
Video walkthrough

Reforge Tutorial by FlibbleInBox

If the written guide feels hard to follow, this walkthrough shows the full Reforge system in action.
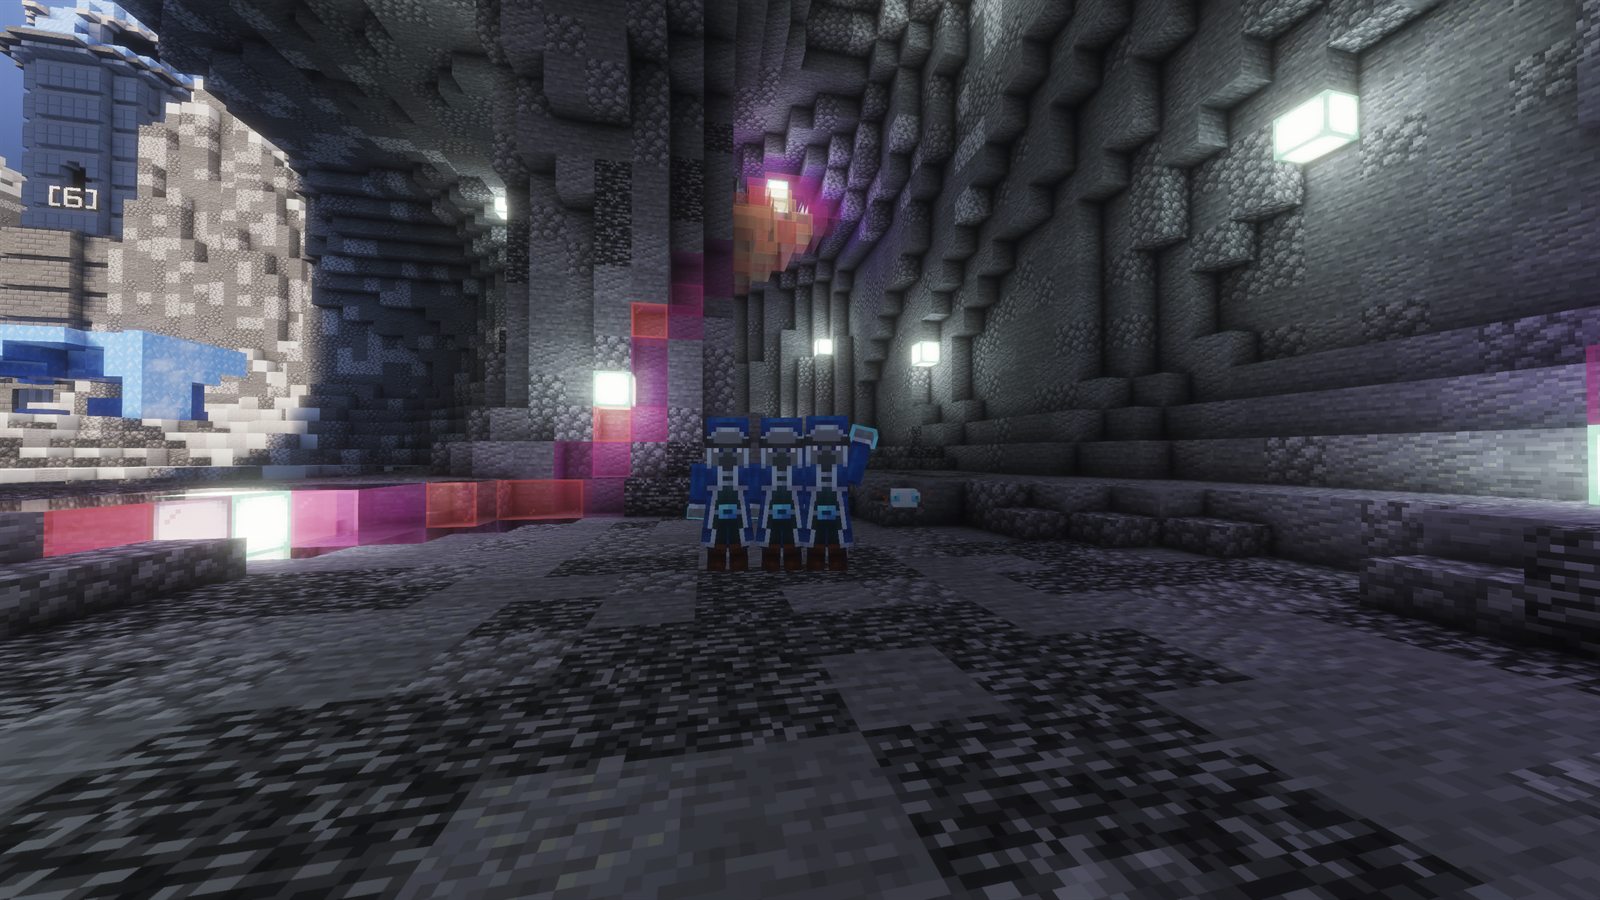
Watch on YouTube
Video guideEverything about Reforge, made by FlibbleInBox. Open on YouTube.
01
Find the Reforge NPC

Getting Your First Stone

The Reforge NPC sells the starter stones listed below. Follow these directions to find the NPC at spawn.
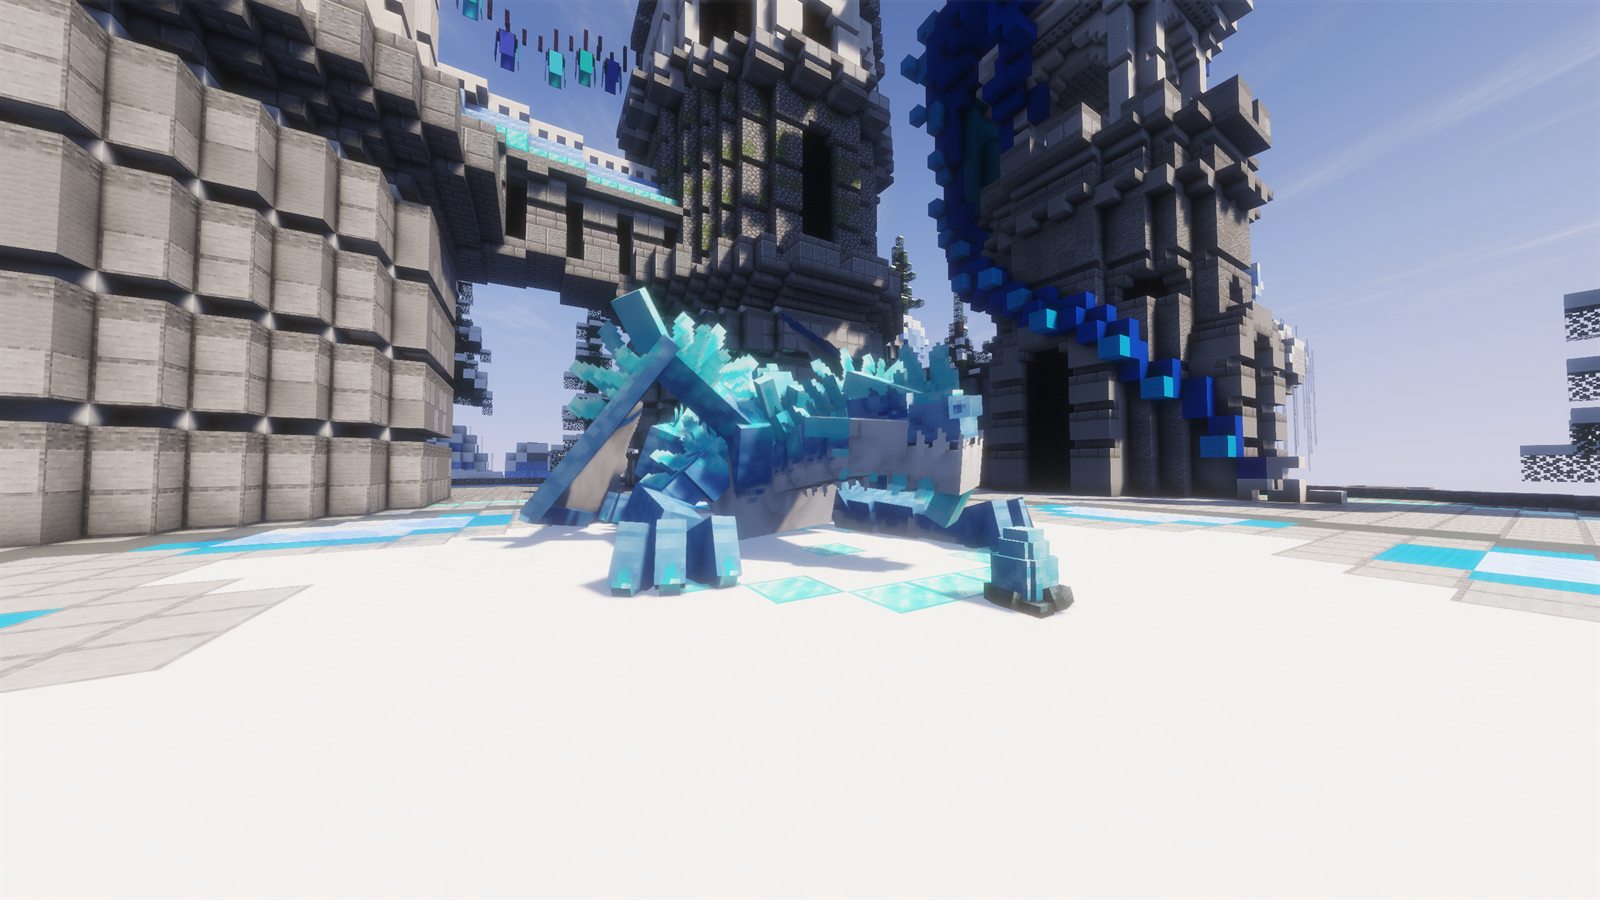
1/spawnReturn to the main spawn.
2Look leftFace directly to your left.
3Second NPCTalk to the Reforge NPC.
NPC inventory

Starter Stones

Available now
StonePrice
Key Finder Stone$50
Pickaxe Fortune Stone$150
Tool Fortune Stone$200
Chestplate HP Stone$150
Leggings HP Stone$150
02
Best first purchase

Which Stone Should I Buy First?

1
Pickaxe Fortune Stone

Your pickaxe is your primary progression tool and receives the biggest benefit from Fortune.

Best choice
2
Tool Fortune Stone

Tool Fortune becomes extremely valuable as you progress into later mines.

3
Everything else

HP stones are useful early on, but they should not be your first priority.

03
Using the GUI

Equipping Stones

Run /reforge to open the Reforge GUI.

Left Slot Your item
Right Slot Your stone
Confirm Complete the action
Available actions
AttachDetachUpgradeReroll

The interface works like an anvil: place the item on the left, the stone on the right, select an action, and press the Confirm button.

$10Attach or detach
04
Long-term upgrades

Upgrading Stones

Stones can be upgraded throughout the entire game by using Shards.

DDungeons

A primary source of Shards.

FDungeon Farms

A primary source of Shards.

//order

Obtain Shards from other players.

For more information about obtaining Shards, see the Dungeons page .

05
Inside /reforge

Upgrade Process

  1. 1
    Select Upgrade Stone

    Choose the upgrade action in the Reforge GUI.

  2. 2
    Place the stone

    Put the stone you want to upgrade in the right slot.

  3. 3
    Add Shards

    Place Shards into the middle slot.

  4. 4
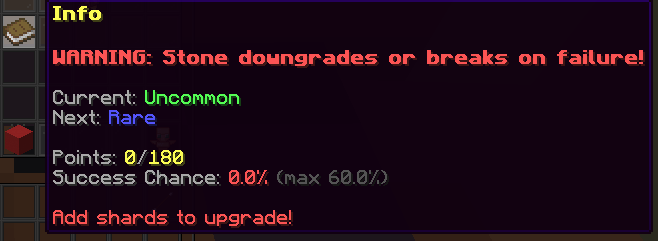
    Read the book

    Hover the book to view points, success chance, and upgrade information.

  5. 5
    Press Confirm

    Attempt the upgrade when you are ready.

Reforge GUI information book showing stone upgrade points and success chance
Upgrade informationHover the book before confirming.
Point values

Shard Points

Common Shard4 points
Uncommon Shard7 points
Rare Shard12 points
06
Understand the risk

What Happens If an Upgrade Fails?

Common

The stone breaks completely

If a Common stone fails, it is destroyed and you must purchase a new one.

Uncommon or higher

The stone loses one rarity tier

The stone survives, but drops down by one tier.

RareCurrent tier
Epic attemptUpgrade target
Failure
UncommonDowngraded result
07
Protect your rarity

Reforge Protection

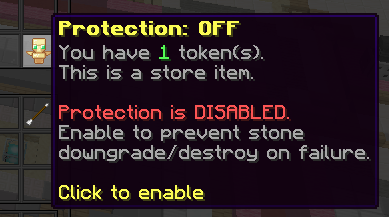
Reforge Protection prevents your stone from losing a tier when an upgrade fails.

Reforge Protection toggle shown as disabled in the Reforge GUI
Bottom-right GUI toggleEnable protection before upgrading.
08
Six tiers

Stone Rarities

Every successful upgrade attempts to move a stone one tier higher.

Common Uncommon Rare Epic Legendary Mythic
09
Choose your build

Stone Guide

Each stone supports a different part of your progression.

Roll reference

Reforge Stone Ranges

Legendary & Mythic
Fortune / Tool Fortune Percentage range
Legendary
43–53%
Mythic
63–76%
Health Additional HP range
Legendary
63–85 HP
Mythic
103–135 HP
Key Finder Percentage range
Legendary
0.0034–0.0043%
Mythic
0.0044–0.0055%
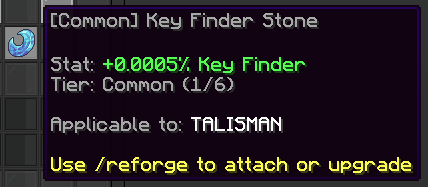
KTalisman

Key Finder Stone

Provides a small chance to obtain Key Shards while mining.

Example Common Key Finder Stone applicable to a Talisman
Example Key Finder Stone · Rolls vary
Using Key ShardsTrade them to the Donkey NPC beside the Trader NPC next to the Crates for keys from different worlds.
TTools

Tool Fortune Stone

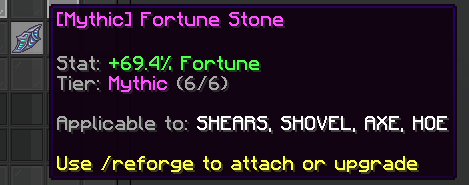
Works exactly like the Pickaxe Fortune Stone, but applies to tools.

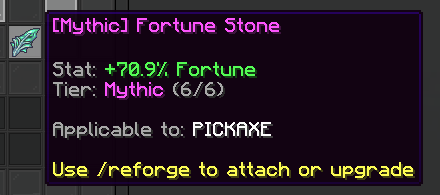
Example Mythic Fortune Stone applicable to Shears, Shovel, Axe, and Hoe
Example Tool Fortune Stone · Rolls vary
Noticeable gainsTools generally have less Fortune than pickaxes, but every increase still makes a noticeable difference.
BBow
Inferno stone

Homing Arrows Stone

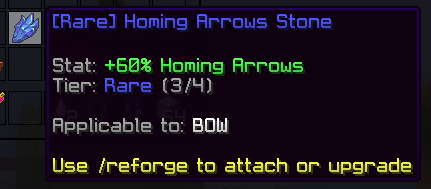
Adds Homing Arrows to bows so shots can curve toward targets.

Rare Homing Arrows Stone tooltip showing +60% Homing Arrows and Bow applicability
Rare Homing Arrows Stone · Tier 3/4
LocationObtainable in Inferno at 1973 71 -2096.
CChestplate

Chestplate HP Stone

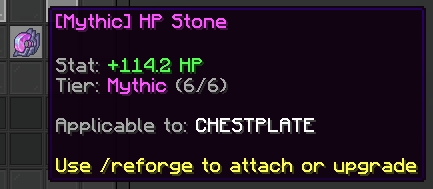
Provides additional Health depending on the stone's rarity.

Example Mythic HP Stone applicable to a Chestplate
Example Chestplate HP Stone · Rolls vary
SurvivabilityHigher rarity stones provide a significant survivability boost.
LLeggings

Leggings HP Stone

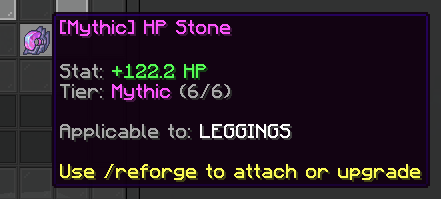
Provides additional Health depending on the stone's rarity.

Example Mythic HP Stone applicable to Leggings
Example Leggings HP Stone · Rolls vary
SurvivabilityHigher rarity stones provide a significant survivability boost.
?Staffs
Hidden stone

Cooldown Reduction Stone

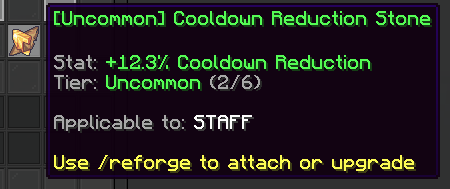
Reduces Staff cooldowns by a percentage.

  • Only obtainable in the Magic World.
  • Requires P1 progression.
Example Uncommon Cooldown Reduction Stone applicable to a Staff
Example Cooldown Reduction Stone · Rolls vary
Visit the Magic page
10
Improve your roll

Rerolling Stones

If you are unhappy with your current percentage, use Reroll to generate a new percentage within the same rarity.

ChangesThe percentage only
KeepsThe same rarity
CannotBreak the stone
CannotDowngrade the stone
11
Recommended progression

Beginner Recommendations

  1. 1
    Buy a Pickaxe Fortune Stone

    Make this your first Reforge purchase.

  2. 2
    Upgrade it whenever possible

    Keep improving it throughout your progression.

  3. 3
    Buy a Tool Fortune Stone

    Prepare for tool-based mines and later progression.

  4. 4
    Upgrade both Fortune stones

    Maintain both stones as you advance.

  5. 5
    Invest in HP stones later

    Add survivability after your Fortune setup is established.

  6. 6
    Reach the Magic World

    Obtain the Cooldown Reduction Stone once you meet its progression requirement.

Server address copied